
Beginner Drywall Repair: 5 Easy Steps to Fix Common Wall Issues
1. Gather Your Tools and Materials
Before any beginner drywall repair project, it’s essential to gather all the necessary tools and materials. Here’s a list of items you’ll need:
- Utility knife: Used for cutting drywall and trimming excess materials.
- Putty knife: Helps apply joint compound and smooth out patches.
- Sandpaper: Used for sanding down rough edges and surfaces.
- Joint compound: Also known as mud, this is the primary material used to fill gaps and cover patches.
- Patch kit: Contains self-adhesive mesh tape and patches for repairing small holes and cracks.
- Drywall screws and anchors: Used to secure large patches or pieces of drywall.
- Drywall saw: Helps cut out damaged sections of drywall for replacement.
- Measuring tape and pencil: Essential for accurately marking areas that need repair.

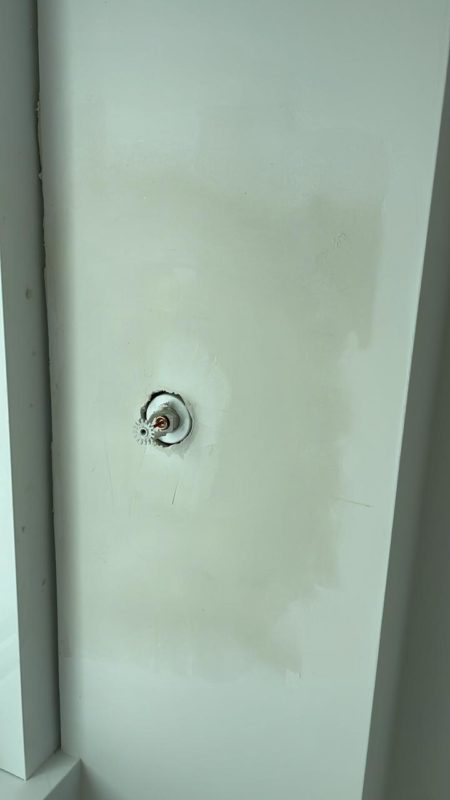
2. Clean and Prepare the Area
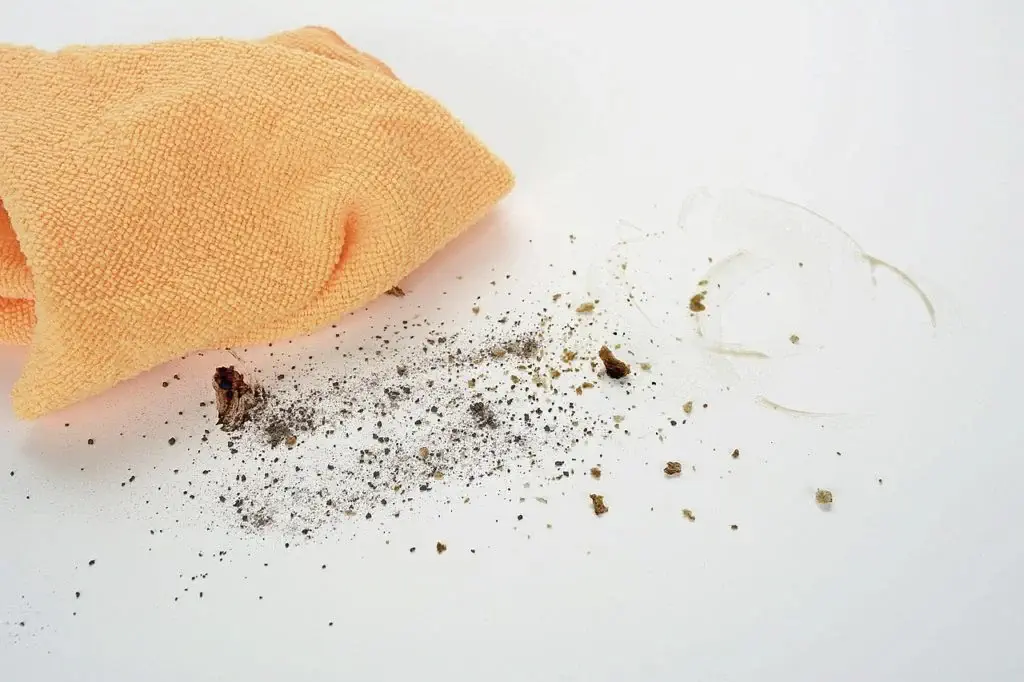
Before you can start repairing the damaged drywall, it’s important to clean and prepare the area properly. Follow these steps to ensure a smooth beginner drywall repair process:
-
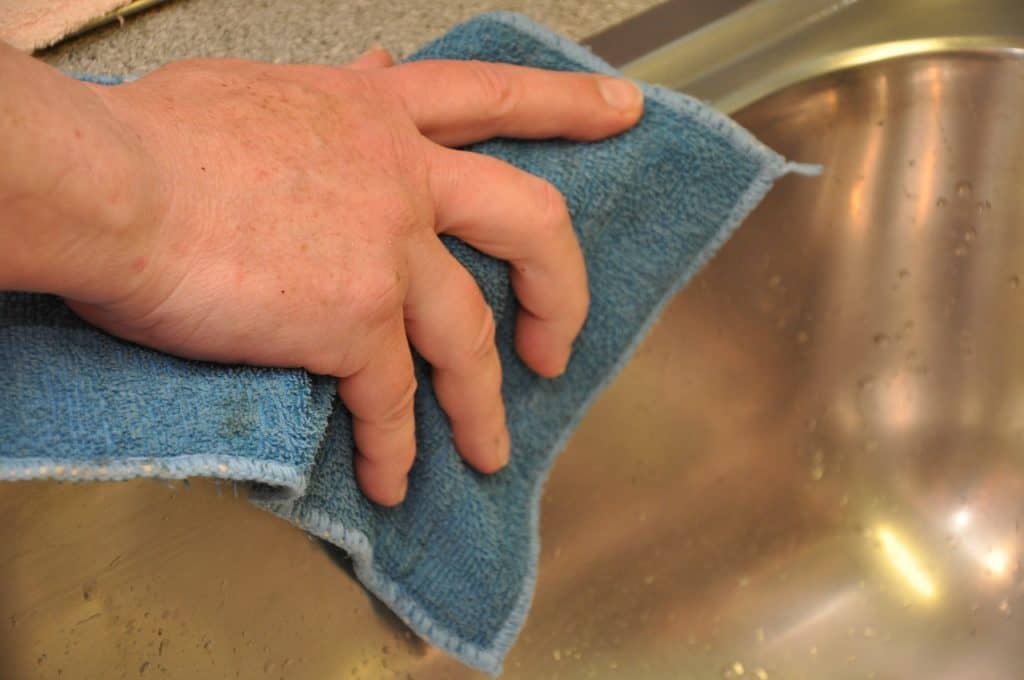
Clean the Area: Begin by cleaning the area around the damage. Use a damp cloth or sponge to remove any dust, dirt, or grime from the surface. This will help the repair materials adhere better and ensure a more durable finish.
-
Remove Loose Debris: Inspect the damaged area for any loose debris, such as chunks of drywall or old paint. Use a utility knife or sandpaper to carefully remove any loose material, creating a clean and smooth surface for the repair.
-
Scrape Away Old Paint: If the damaged area has old paint that’s peeling or flaking, use a putty knife or paint scraper to gently remove it. This will prevent the new repair materials from peeling or cracking and ensure a seamless finish once the repair is complete.
3. Patch Small Holes and Cracks
Repairing small holes and cracks in drywall is a manageable task for beginners. Follow these detailed instructions to achieve a seamless repair:
Apply Joint Compound:
- For small holes and cracks, use a putty knife to apply a thin layer of joint compound over the damaged area.
- Smooth it out, ensuring the compound fills the hole or crack completely.
- Feather the edges to blend the compound with the surrounding wall
Using a Patch Kit:
- For slightly larger holes, a patch kit can be very useful. Amazon has great options for patching kits, this is an example that can be very useful for beginner drywall repair project.
- Clean the area around the hole as described in the previous step.
- Apply the adhesive-backed patch from the kit over the hole.
- Press it firmly to ensure it sticks well to the wall.
Apply Joint Compound Over the Patch:
- Using a putty knife, apply a layer of joint compound over the patch.
- Spread it evenly and feather the edges to blend it with the surrounding wall.
- Allow the compound to dry according to the manufacturer’s instructions
Sand the Surface:
- Once the joint compound is dry, use fine-grit sandpaper to gently sand the area until it is smooth and level with the surrounding wall.
- Wipe away any dust with a damp cloth.
Sand the Surface:
- Once the joint compound is dry, use fine-grit sandpaper to gently sand the area until it is smooth and level with the surrounding wall.
- Wipe away any dust with a damp cloth.
Repeat if Necessary:
- For deeper holes or more noticeable cracks, you may need to apply a second layer of joint compound.
- Repeat the process of applying, smoothing, and sanding until the repair is seamless.
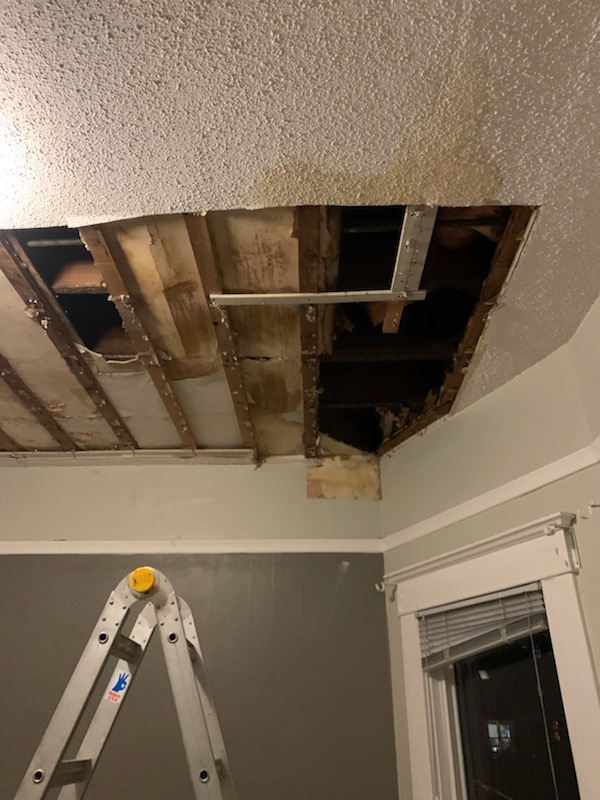
4. Repair Larger Holes
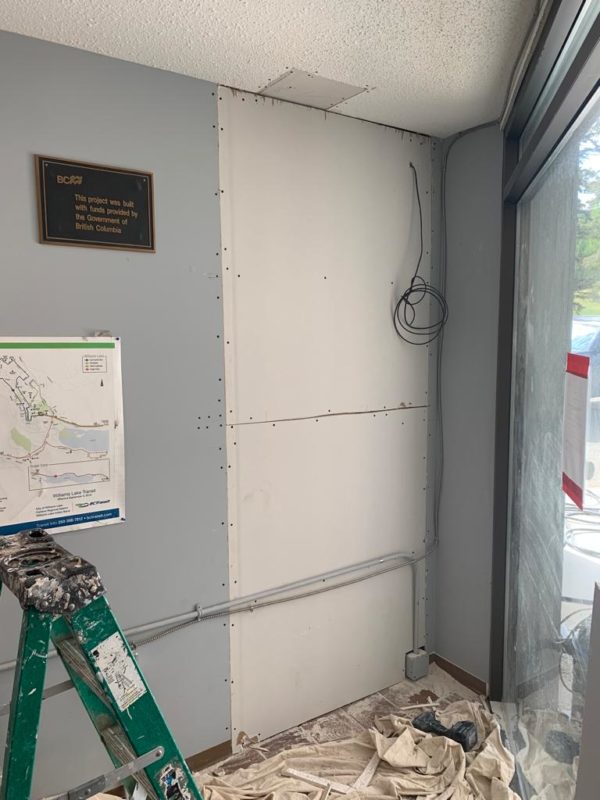
When it comes to beginner drywall repair, addressing larger holes can seem daunting, but with the right approach, it’s entirely doable. Here are the steps to repair larger holes in your drywall:
Cut Out the Damaged Area:
- Use a utility knife to carefully cut out the damaged area into a clean, square or rectangular shape.
- Ensure the edges are smooth to make it easier to fit a new piece of drywall.
Fit a New Piece of Drywall:
- Measure the hole and cut a piece of drywall to fit precisely into the opening.
- Place the new piece into the hole to ensure it fits snugly. Trim as necessary for a perfect fit.
Secure the New Drywall:
- Attach the new piece of drywall to the existing wall using drywall screws.
- Make sure the screws are flush with the surface of the drywall but not too deep to avoid damaging the paper layer.
Tape the Seams:
- Apply drywall tape over the seams where the new piece meets the existing wall. This helps to reinforce the joint and prevent future cracking.
- Smooth the tape with a putty knife to ensure it adheres well.
Apply Joint Compound:
- Use a putty knife to spread joint compound over the taped seams.
- Feather the edges to blend the compound with the surrounding wall.
- Apply a thin layer over the entire patch to create a smooth surface.
Allow to Dry:
- Let the joint compound dry completely according to the manufacturer’s instructions.
- Once dry, sand the area with fine-grit sandpaper until it is smooth and even with the surrounding wall.
Apply Additional Layers if Needed:
- For larger repairs, you may need to apply additional layers of joint compound.
- Repeat the process of applying, drying, and sanding until the repair is flawless.
By following these steps, you can effectively repair larger holes, making them blend seamlessly with the rest of the wall. This approach is an essential part of beginner drywall repair, empowering you to handle more significant repairs with confidence.
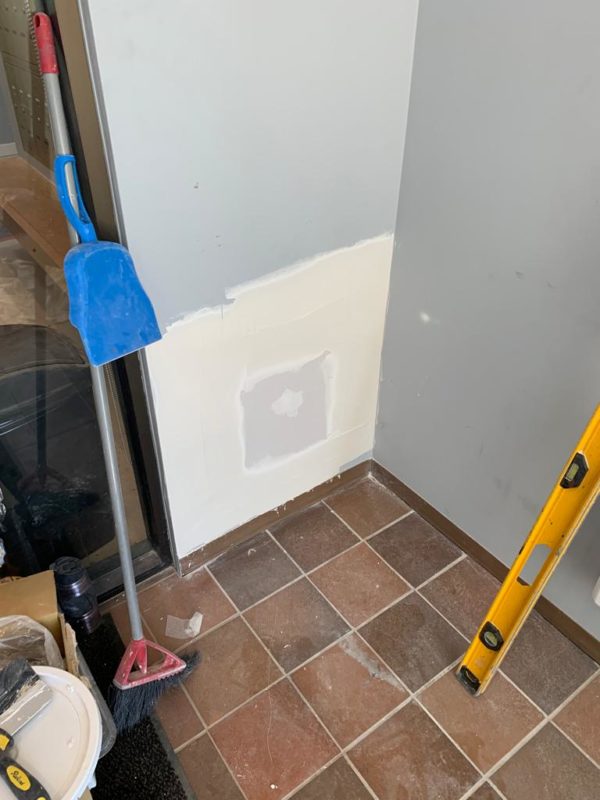
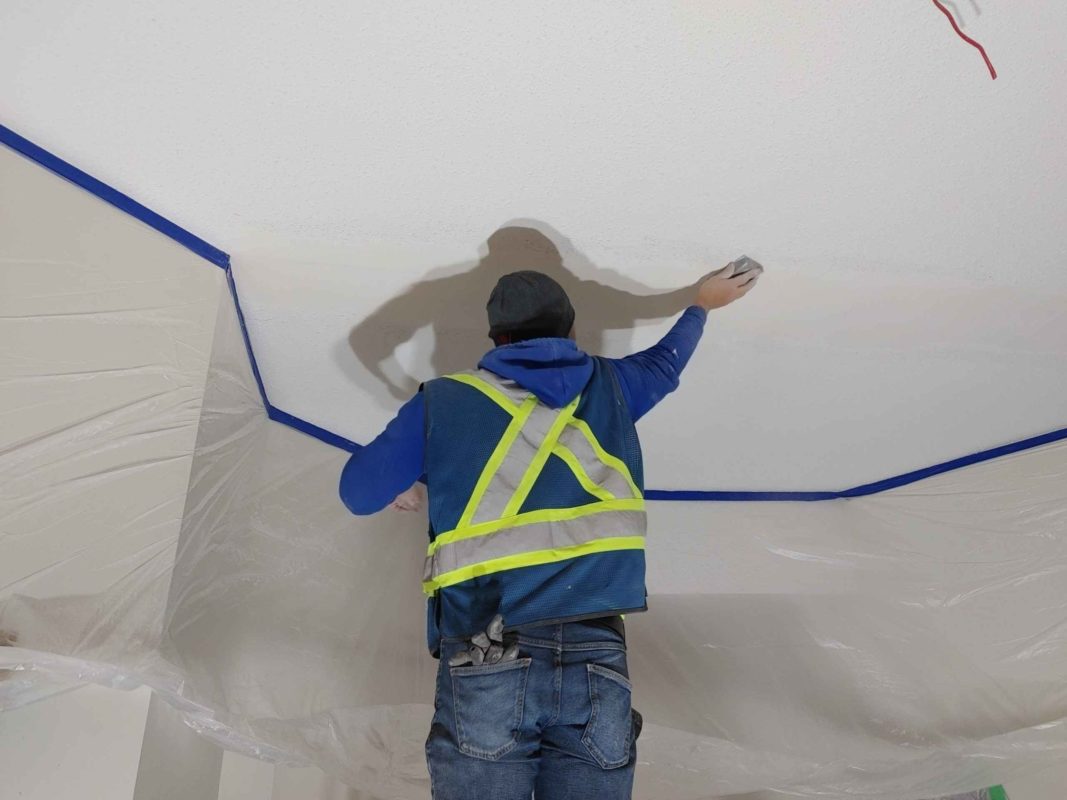
5. Sand and Finish the Repair
A crucial aspect of beginner drywall repair is achieving a smooth, professional-looking finish. Proper sanding and finishing ensure that your repair blends seamlessly with the surrounding wall. Here’s how to do it:
Sand the Repaired Area:
- Initial Sanding: Once the joint compound is completely dry, use fine-grit sandpaper (such as 120-grit) to sand the repaired area. Sand in a circular motion to smooth out any ridges or bumps.
- Feathering Edges: Feather the edges of the joint compound to create a gradual transition between the patched area and the rest of the wall. This helps to avoid noticeable seams and ensures the repair blends in well.
- Check for Smoothness: Run your hand over the sanded area to check for any rough spots. If you find any, sand them down until the surface feels uniformly smooth.
Clean the Surface:
- Remove Dust: After sanding, wipe down the repaired area with a damp cloth to remove any dust and debris. This step is essential for ensuring that the primer and paint adhere properly.
Apply Primer:
- Choose the Right Primer: Select a high-quality primer suitable for drywall. Primer helps to seal the joint compound and prepares the surface for paint.
- Application: Using a brush or roller, apply a thin, even coat of primer over the repaired area. Extend the primer slightly beyond the edges of the repair to blend it with the surrounding wall.
- Let it Dry: Allow the primer to dry completely according to the manufacturer’s instructions before proceeding to the next step.
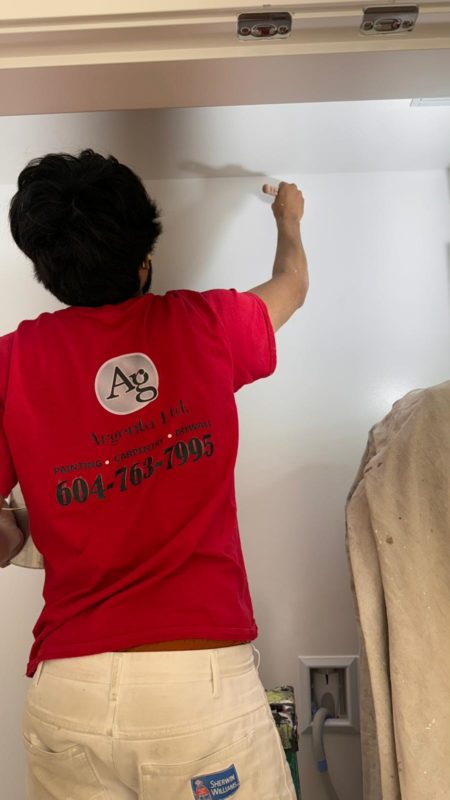
Paint the Repaired Area:
- Match the Paint: Use the same paint color and finish as the rest of the wall for a seamless look. If you don’t have leftover paint, take a small sample of the existing wall color to a paint store for an exact match.
- First Coat: Apply the first coat of paint using a brush or roller, ensuring even coverage. Feather the edges to blend the repair with the surrounding wall.
- Second Coat: Once the first coat is dry, apply a second coat of paint for a more uniform finish. This helps to cover any remaining imperfections and ensures the repair is completely integrated with the wall.
Final Inspection:
- Check for Flaws: After the paint is dry, inspect the repaired area in good lighting to ensure it blends seamlessly with the rest of the wall. Look for any visible seams, uneven texture, or color differences.
- Touch-Ups: If necessary, perform any touch-ups with a small brush to address minor flaws.
By following these steps, you can achieve a smooth, professional finish on your beginner drywall repair. Sanding and finishing are critical components of beginner drywall repair, ensuring that your patched area is virtually indistinguishable from the rest of the wall. This meticulous attention to detail not only enhances the aesthetic appeal of your repair but also contributes to the overall longevity and integrity of your home’s interior walls. Embracing these techniques as part of your beginner drywall repair routine will help you maintain a polished and durable finish throughout your home.

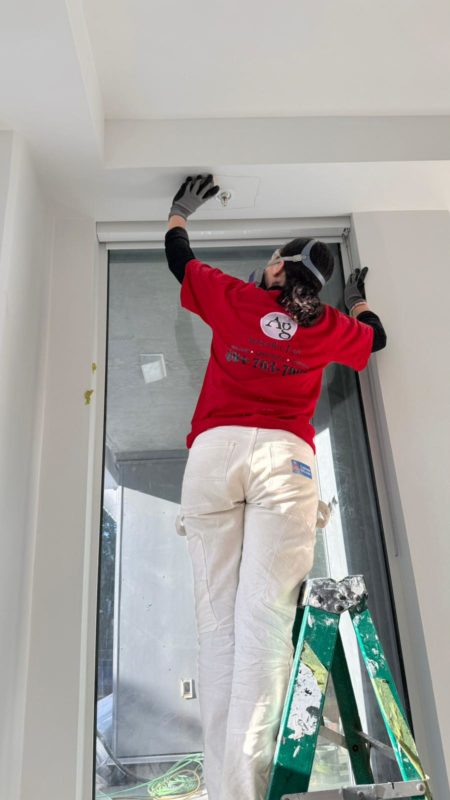
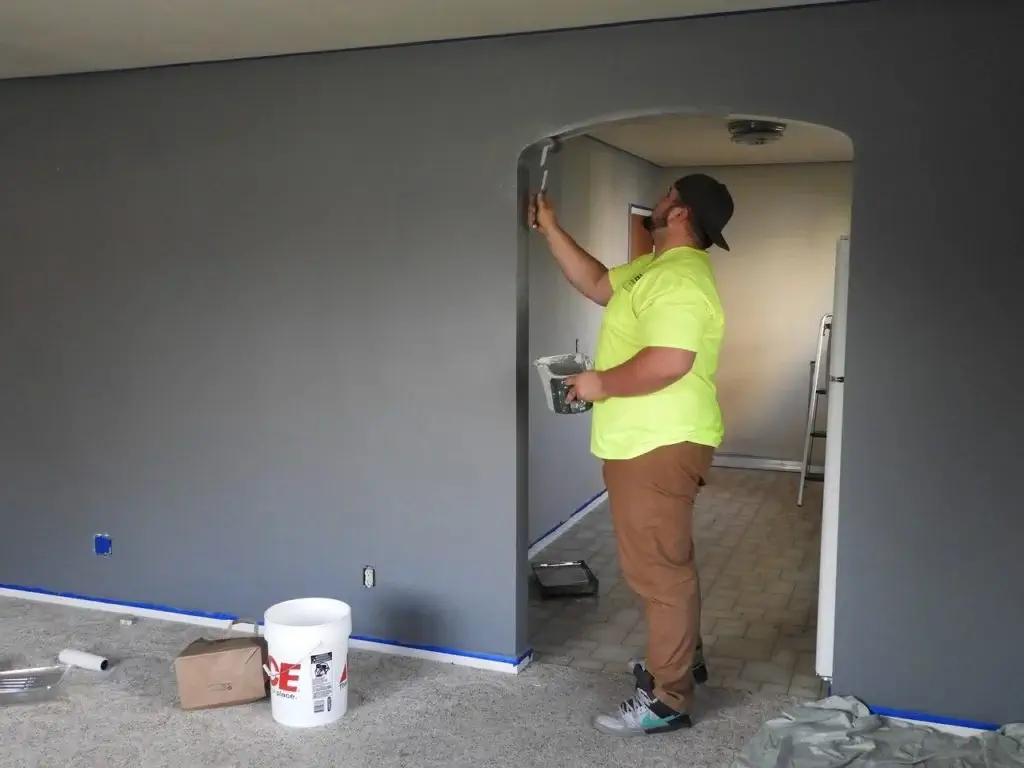
Call a Professional
If you’re unsure about tackling beginner drywall repair on your own, let the experts help! Contact Argenta Painting for professional drywall repair services and ensure your walls look flawless. Reach out to us today!