

How to Prepare Your Home for Exterior Painting: A Step-by-Step Rot Repair Checklist
A beautiful exterior paint job does more than improve curb appeal—it protects your home from the elements. But even the best paint won’t last if it’s applied over dirty surfaces, peeling layers, or rotted wood. Proper prep work is the foundation of any long-lasting finish.
Skipping key steps like rot repair, thorough cleaning, or priming can lead to premature paint failure, costing you more time and money in the long run. That’s why it’s essential to prepare your home for exterior painting the right way.
In this blog, we’ve put together a practical, step-by-step checklist to guide you through everything from inspecting for wood rot to priming bare surfaces—so your next paint job stands the test of time.
Inspect for Wood Rot
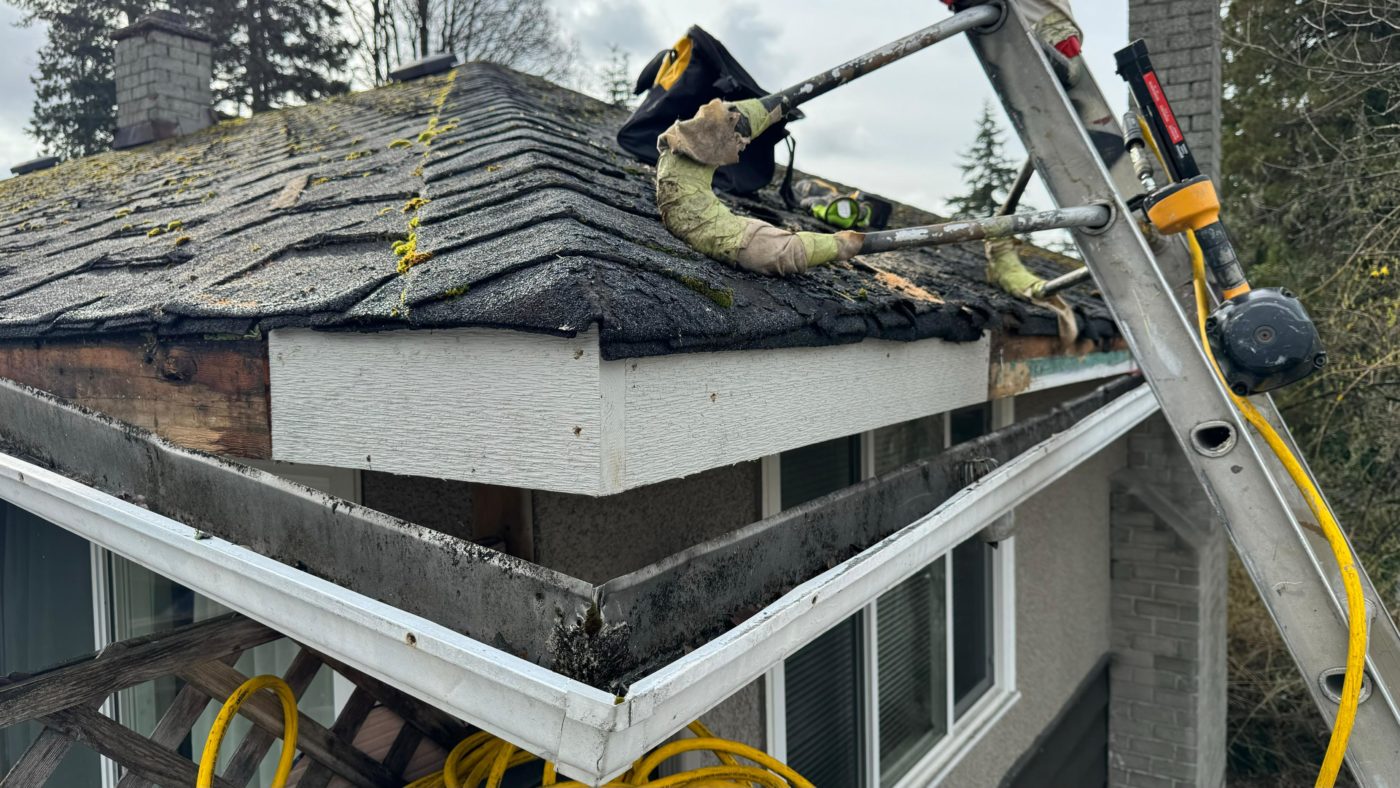
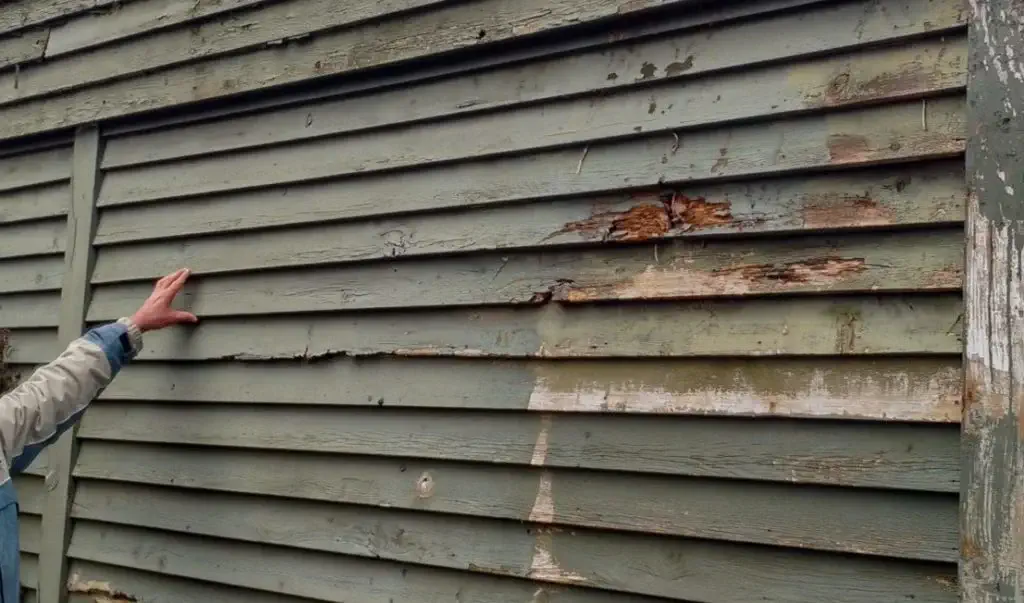
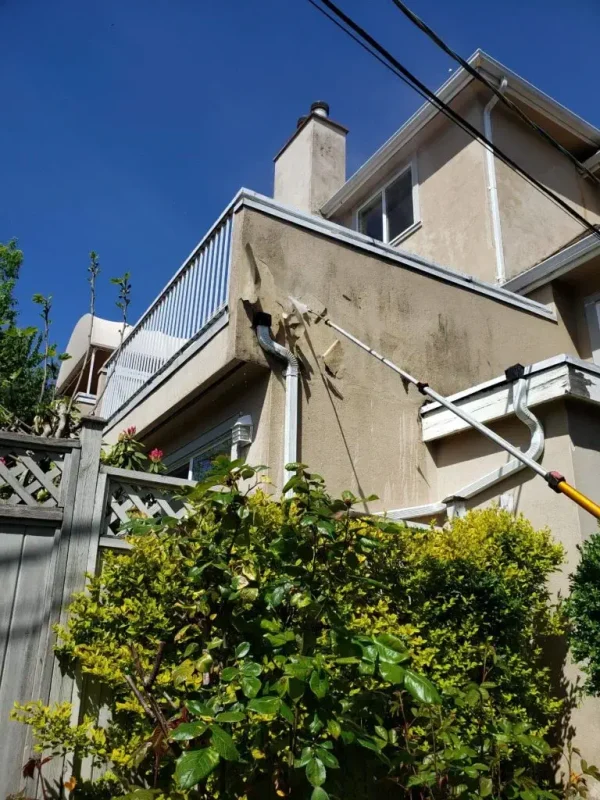
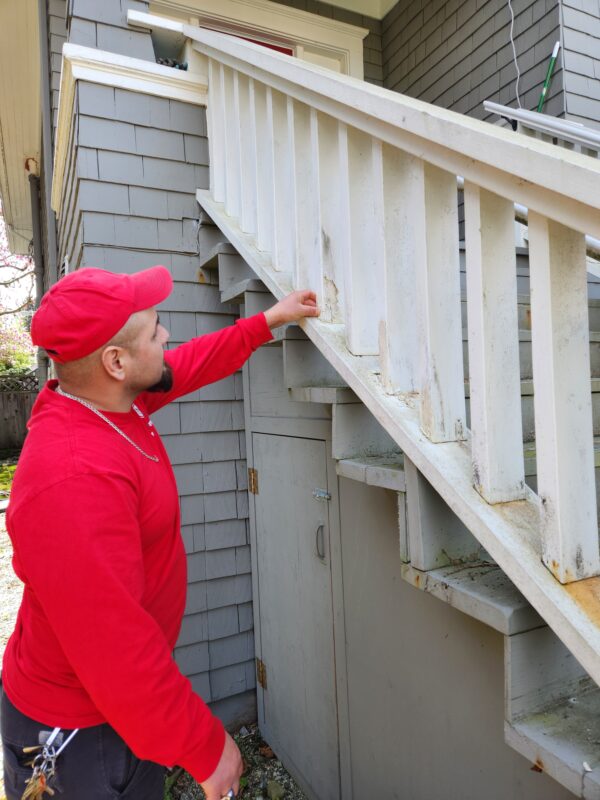
To properly prepare your home for exterior painting, the first and most crucial step is inspecting for wood rot. Wood rot is caused by moisture and fungal growth, and if left untreated, it can compromise both your siding and the effectiveness of your paint. Painting over rotted wood may temporarily improve the appearance, but it won’t stop the decay—and the paint will eventually fail.
Check vulnerable areas such as siding, trim, decks, fascia boards, soffits, and window frames. Use a screwdriver to gently press into the wood; if it feels soft, spongy, or crumbles easily, it’s likely rotted.
If the damage is minor, you may be able to replace small sections yourself. But if the rot is widespread or in structural areas, it’s best to hire a professional. Addressing rot early is key if you want to prepare your home for exterior painting that truly lasts.
Repair or Replace Damaged Wood
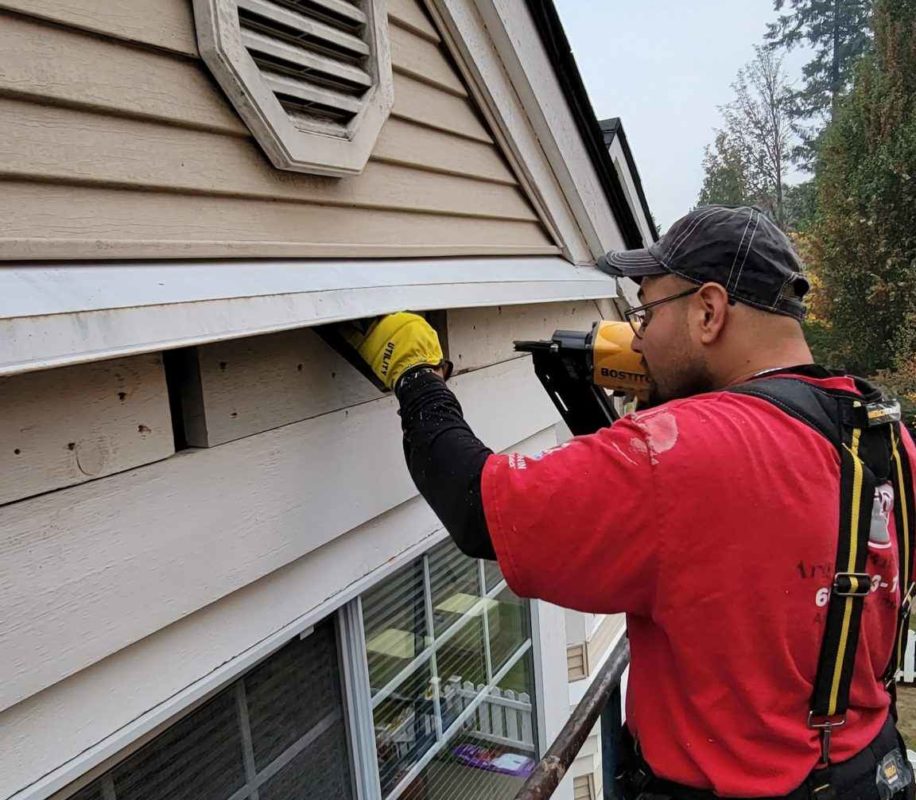
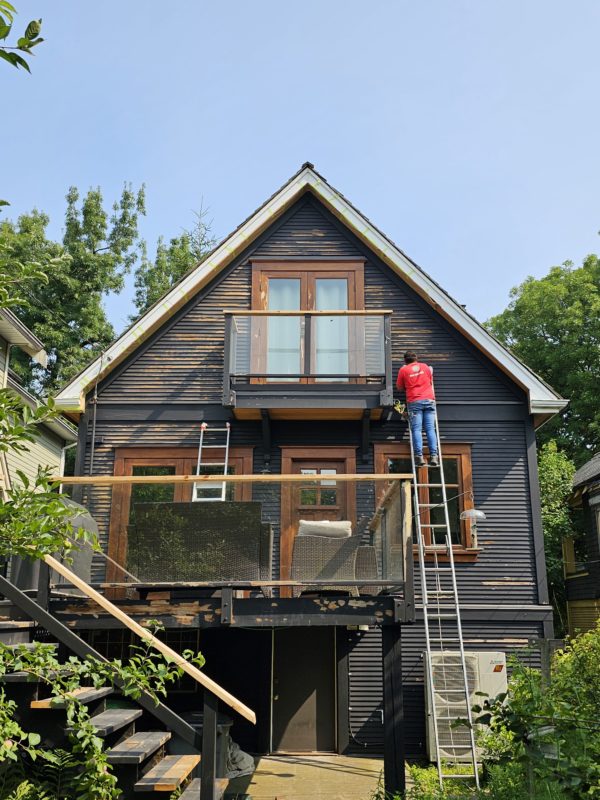
Once you’ve identified wood rot, the next step to prepare your home for exterior painting is removing and replacing all damaged areas. Painting over soft or decayed wood won’t solve the problem—in fact, it can trap moisture inside and lead to even faster deterioration.
Use durable, paintable materials like treated lumber or exterior-grade trim to replace what’s been removed. Be sure the new wood is properly fitted and secured.
After the replacement, seal all joints, seams, and gaps with high-quality exterior caulking. This step is essential to prevent future moisture intrusion and helps create a smooth, sealed surface for painting.
Thorough repairs ensure that your paint adheres properly and that your home stays protected for years to come.
Clean All Surfaces
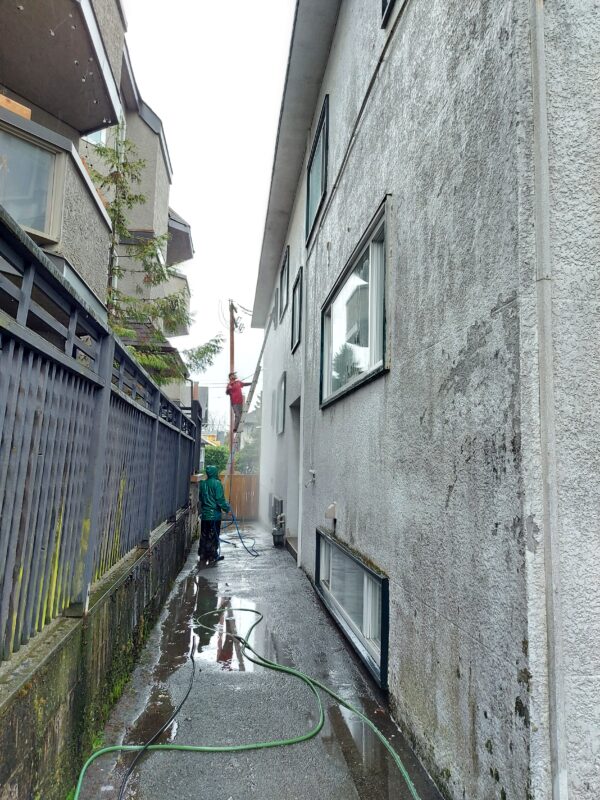
To effectively prepare your home for exterior painting, cleaning is a non-negotiable step. Dirt, dust, mildew, and chalky residue can all interfere with paint adhesion, leading to uneven coverage and premature peeling.
For large areas like siding, decks, and fences, power washing is an efficient way to remove built-up grime. Just be sure to use the appropriate pressure setting to avoid damaging the surface. For more delicate areas—like wood trim, windowsills, or detailed mouldings—hand-washing with a sponge or soft brush is safer and more controlled.
If you spot mildew or algae, treat those areas with a specialized mildew remover or a diluted bleach solution before rinsing thoroughly. A clean, dry surface is essential to ensure the new paint bonds properly and looks great for years to come.
Scrape and Sand Peeling Paint
To properly prepare your home for exterior painting, it’s important to remove any flaking, cracked, or peeling paint. If left behind, these loose layers will prevent new paint from adhering and can cause future bubbling or chipping.
Start by scraping off all visibly loose paint using a putty knife or paint scraper. Once the surface is clean, sand the edges of the remaining paint to create a smooth transition between bare wood and painted areas. Sanding also helps the new coat of paint bond better to the surface.
As you sand, pay attention to any soft spots in the wood—these may indicate hidden rot that wasn’t visible during the initial inspection. Catching those areas now will help avoid costly repairs later and ensure your paint job lasts.
Prime Bare Wood and Repairs
Priming is a critical step as you prepare your home for exterior painting, especially over bare wood, new repairs, or patched areas. Primer seals the surface, improves paint adhesion, and helps create an even finish. Skipping this step can result in blotchy colour, uneven texture, and a shorter paint lifespan.
Use a high-quality, exterior-grade primer that’s designed to withstand weather exposure and seal porous surfaces. It’s especially important for raw wood, which tends to absorb paint unevenly without a proper base coat.
Depending on your project, you may also need specialty primers—for example, metal primers for flashing or stained wood primers to block bleed-through. Taking the time to prime correctly ensures your final coat goes on smoothly and lasts much longer.
Final Walkthrough Before Painting
Before opening the first can of paint, take time for a final walkthrough to ensure everything is ready. To fully prepare your home for exterior painting, all surfaces should be clean, dry, smooth, and properly sealed. This is your chance to catch any missed spots or touch up areas that need extra attention.
Double-check that all wood rot has been repaired, caulking is intact, and primer has been applied where needed. These final details make a big difference in the overall durability and finish of your paint job.
And finally, don’t forget to check the weather! Good conditions are essential to prepare your home for exterior painting—ideally dry, mild days with little wind and no rain in the forecast.
Taking the time to properly prepare your home for exterior painting is the key to achieving long-lasting, high-quality results. From inspecting for rot and making necessary repairs to cleaning, sanding, and priming—each step ensures your new paint adheres well and stands up to the elements.
Rot repair is especially important when you prepare your home for exterior painting, as damaged wood can quickly compromise even the best paint job. Addressing these issues early leads to a smoother finish, better protection, and fewer costly repairs down the line.
If you’re unsure where to start or would rather leave the prep work to the pros, contact Argenta Restoration Ltd. Our team specializes in rot repair and exterior painting, and we’re here to help you get the job done right from the ground up.
And don’t forget to check out our YouTube channel for tips, behind-the-scenes project clips, and more home improvement insights!