

Exterior Painting Preparation: 7 Proven Steps for a Flawless Finish
Exterior painting is an excellent way to enhance your home’s curb appeal and protect it from the elements. However, before you can start painting, it’s crucial to properly prepare the surface. Proper exterior painting preparation involves several essential steps that ensure your paint job not only looks great but also lasts longer. In this step-by-step guide, we’ll walk you through the comprehensive process of preparing your home’s exterior for painting. From cleaning and repairing the surface to priming and masking, our detailed exterior painting preparation tips will help you achieve a flawless finish that stands the test of time.
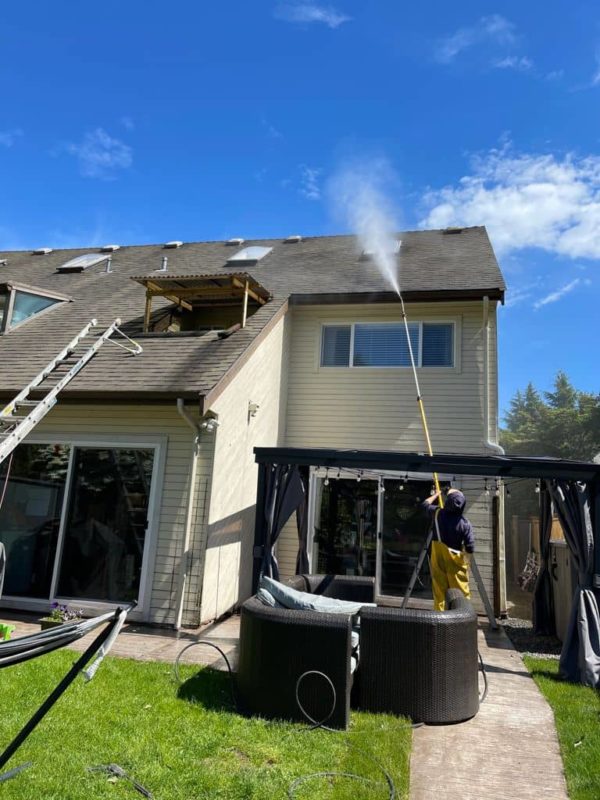
Step 1: Clean the Surface
The first step in your exterior painting preparation is to clean the surface thoroughly. Use a power washer to remove dirt, debris, and any loose or chipping paint. Pay special attention to areas prone to mold and mildew, such as shady spots and areas with poor ventilation. You can also use a cleaning solution to remove any remaining dirt or stains. Be sure to rinse the surface thoroughly with a hose or power washer and let it dry completely before moving on to the next step.
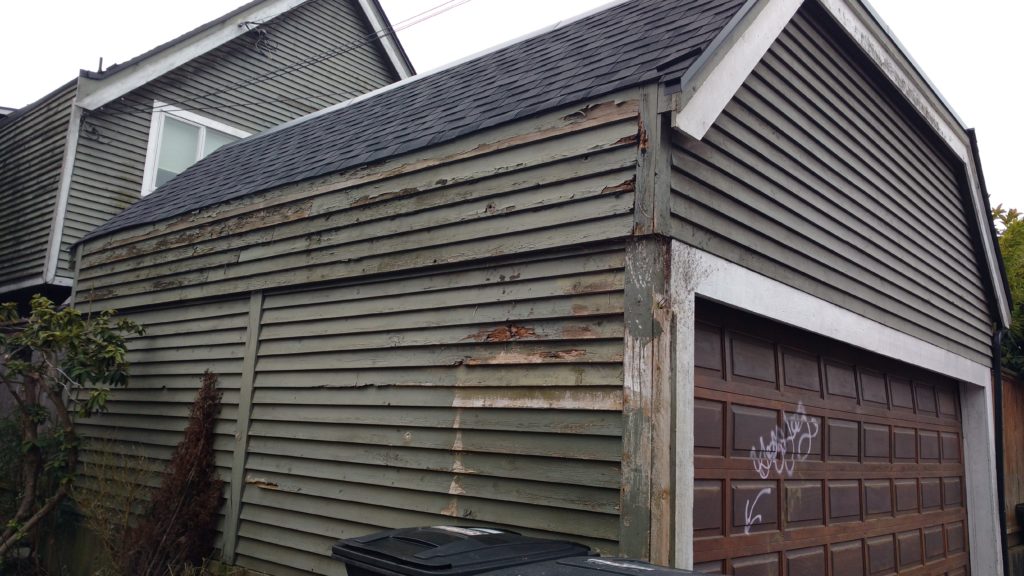
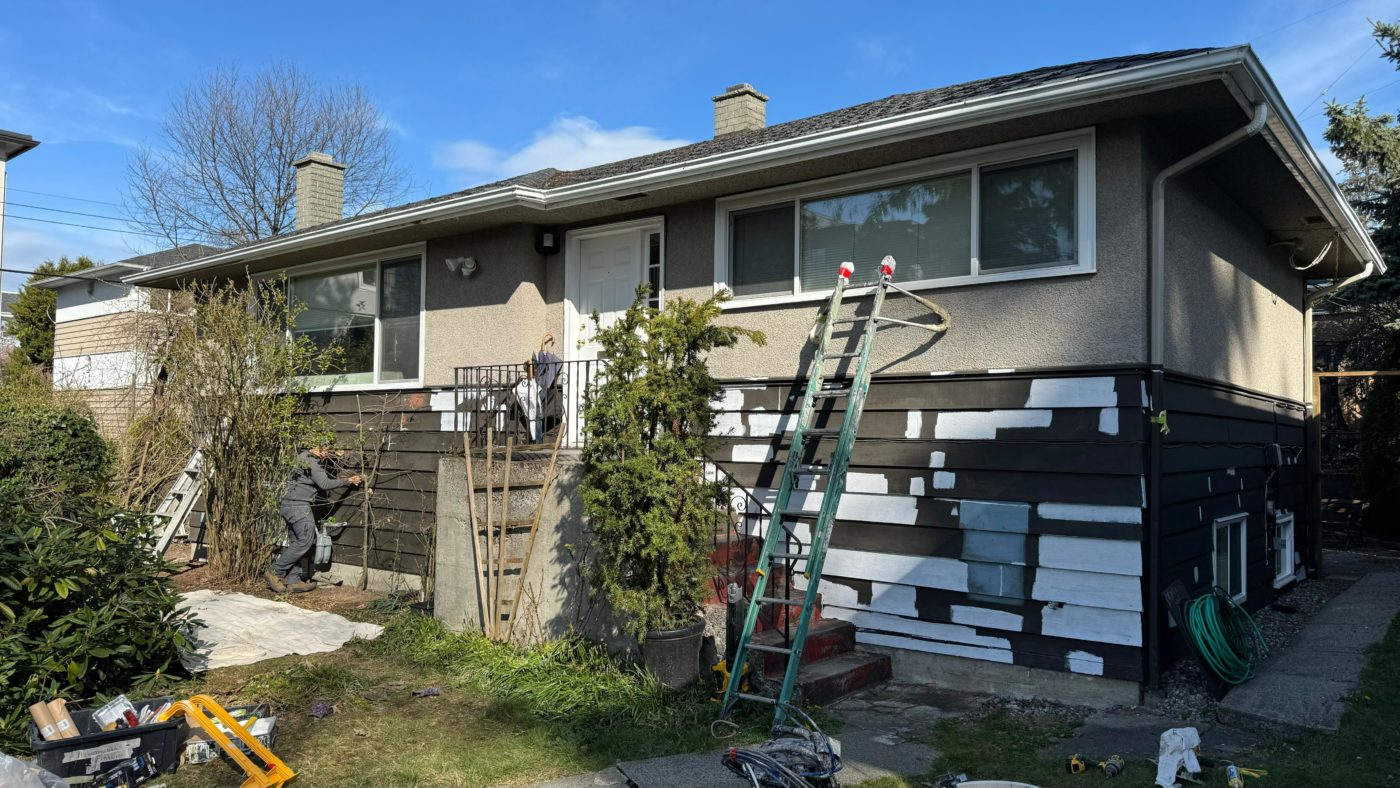
Step 2: Scrape and Sand
After the surface is clean and dry, it’s time to scrape and sand any remaining loose or chipping paint as part of your exterior painting preparation. Use a paint scraper or putty knife to remove any peeling paint, and then use sandpaper to smooth out any rough edges or surfaces. Be sure to wear a mask and goggles to protect yourself from paint dust and debris.
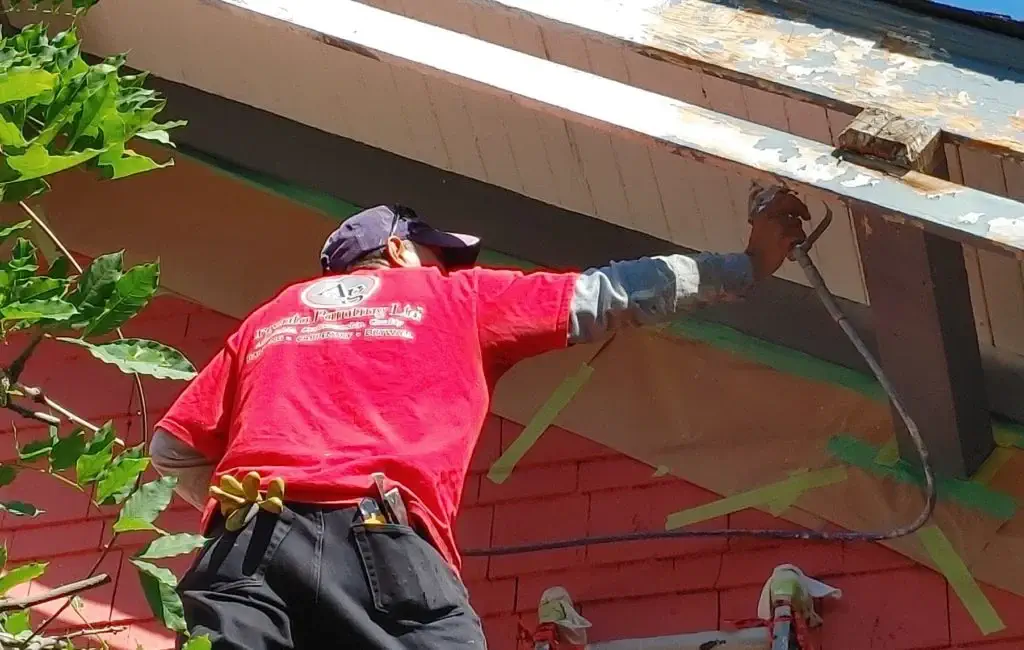
Step 3: Repair and Replace
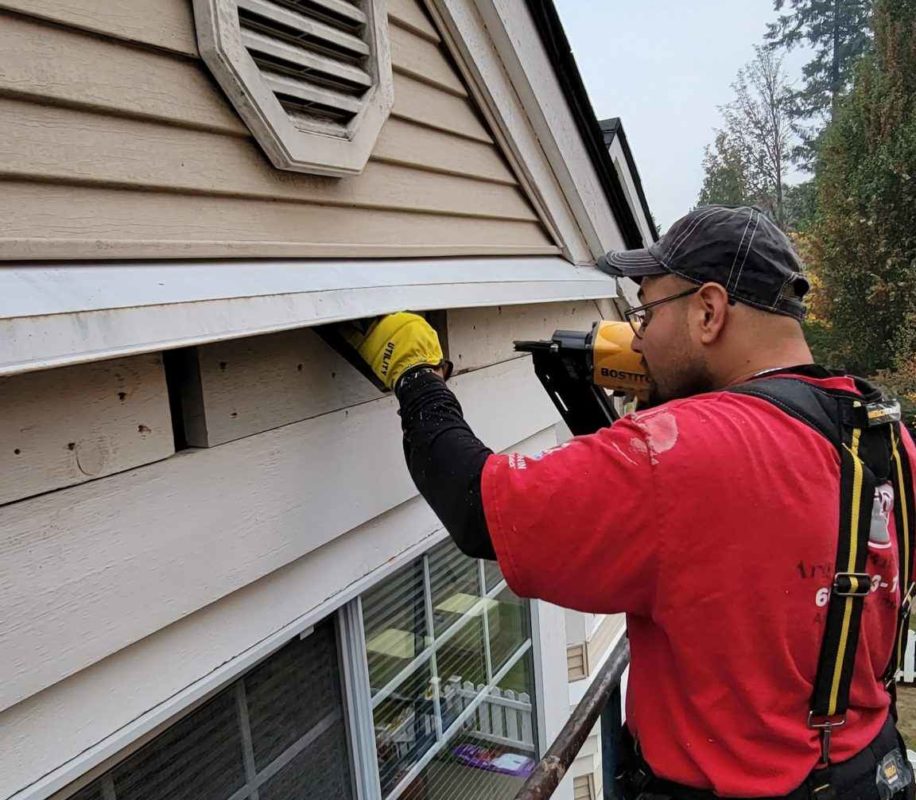
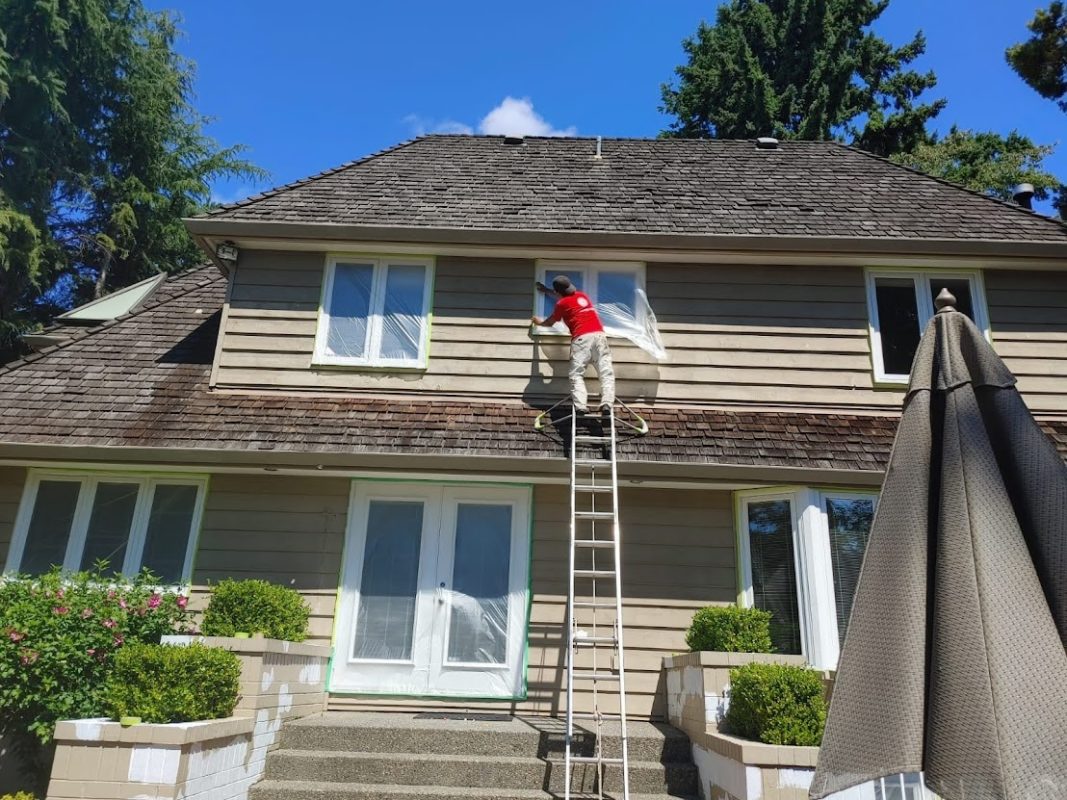
Step 4: Mask and Cover
Step 5: Prime the Surface
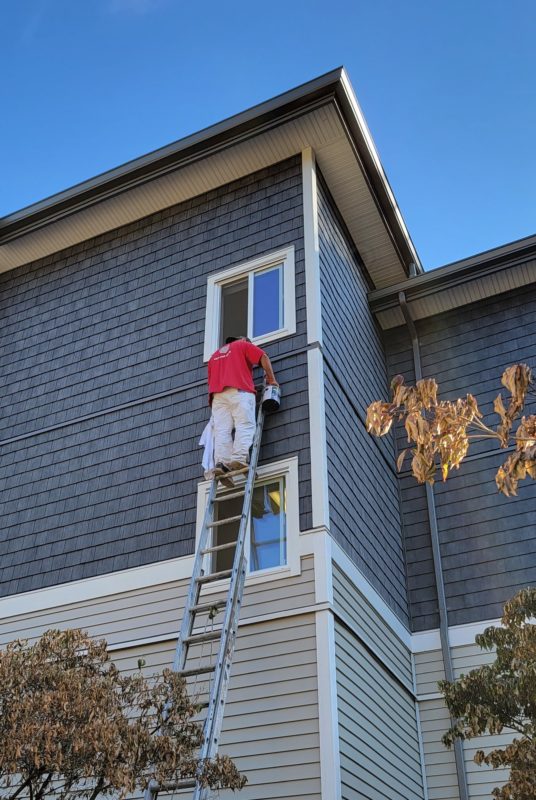
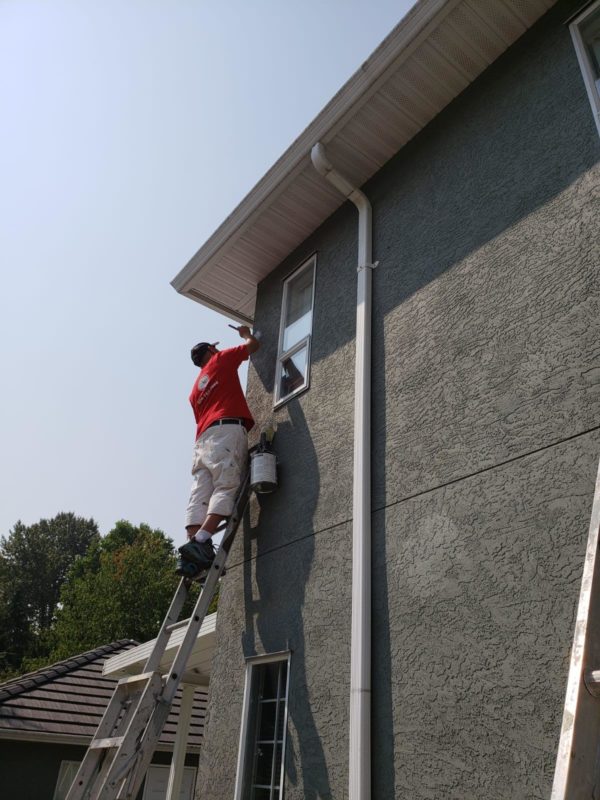
Step 6: Paint the Surface
With the surface primed and prepared, it’s time to unleash your creativity with a fresh coat of paint. Select a premium-quality exterior paint suited for the specific surface you’re working on. Whether using a brush or roller, aim for smooth, even strokes to ensure uniform coverage. Follow the application instructions provided by the manufacturer meticulously, including recommended drying times between coats. Consider applying a second coat for added durability and vibrancy, allowing each layer to dry completely before removing any masking tape or protective coverings.
This step not only adds aesthetic appeal but also serves as the culmination of meticulous exterior painting preparation, promising a flawless and long-lasting finish.
Step 7: Finishing Touches
Once the painting is complete and the paint has dried, remove all masking tape and coverings carefully. Inspect the painted surface for any missed spots or touch-ups that may be needed. Clean up your tools and dispose of any materials responsibly. These final touches are crucial to ensuring a flawless finish and protecting your home’s exterior for years to come, making it an essential part of the exterior painting preparation process.
Additional Tips for Exterior Painting Preparation:
- As you plan your painting project, consider the optimal weather conditions for painting. Extreme temperatures, rain, or windy weather can negatively impact the paint’s drying time and adhesion. Choose a time when the weather is mild and dry for the best results in your exterior painting preparation.
- When selecting paint for your project, weigh the pros and cons of different types. Hybrid paints offer durability and water-resistance, but they may have longer drying times and require special solvents for cleanup. On the other hand, latex paints dry faster, are easier to clean up, and are more environmentally friendly. Evaluate your project’s requirements and budget to choose the most suitable paint type for your exterior painting preparation needs.
In conclusion, proper exterior painting preparation is crucial for a successful and long-lasting paint job. By following these steps, you can ensure that your home is ready for painting, enhancing its appearance and durability. Remember to take your time during the preparation process, as it can make all the difference in achieving a professional finish. If you’re unsure about any step or feel overwhelmed, don’t hesitate to reach out to a professional painting company for assistance with your exterior painting project. Check out our YouTube video to discover why “Argenta Painting the Best Option for your Home Transformation!!”

Call A Professional
Ready to transform your home’s exterior? Contact us today for expert painting services and let us help you achieve a flawless finish that enhances your curb appeal and protects your home for years to come!