
Interior Caulking and Sealing: How to Boost Comfort and Energy Efficiency This Winter
As the temperatures drop, homeowners and business owners alike begin to feel the sting of heat loss—and the higher utility bills that come with it. Drafty rooms, cold spots, and rising energy costs are all too common in fall and winter, especially in older buildings or homes with outdated sealing.
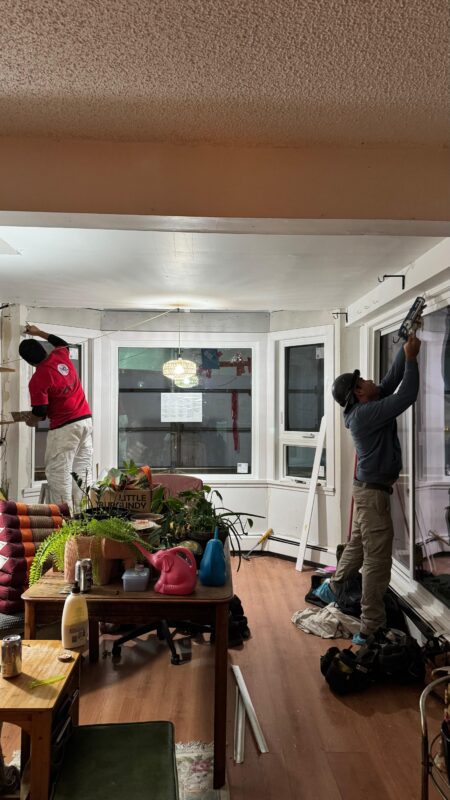
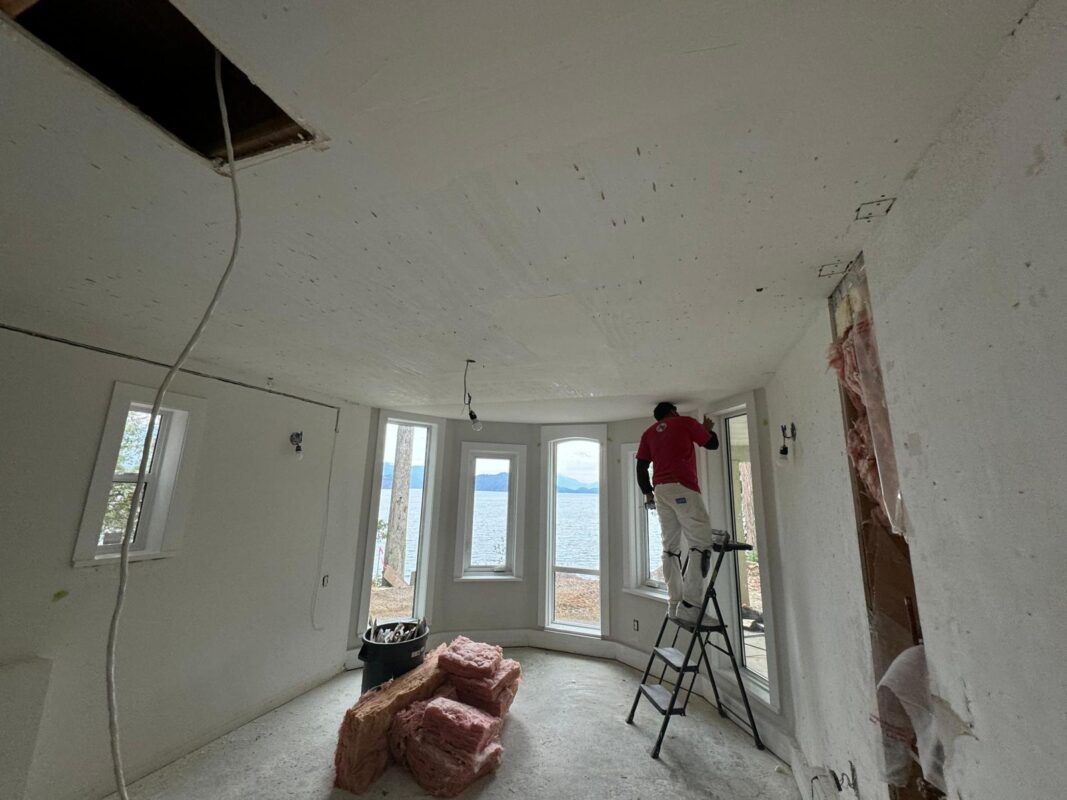
Interior caulking and sealing is one of the most cost-effective ways to tackle these problems before they worsen. By addressing gaps and cracks around windows, doors, trim, and baseboards, you can significantly reduce heat loss, block cold air infiltration, and keep your indoor environment warmer and more comfortable.
In this blog, we’ll guide you through the key areas of your property that benefit from interior caulking and sealing, the right products to use, and how to apply them like a pro—or when to call in experts like Argenta Restoration Ltd. for guaranteed results.
Why Interior Caulking and Sealing Matters
Interior caulking and sealing plays a crucial role in maintaining a comfortable and energy-efficient indoor environment, especially during the colder months. By sealing gaps and cracks around windows, baseboards, doors, and trim, you effectively block air leaks that allow warm air to escape and cold drafts to enter. These tiny openings, if left unsealed, can drastically reduce the performance of your insulation and force your heating system to work harder.
In addition to improving insulation, interior caulking and sealing helps protect your home or commercial space from moisture infiltration. Excess humidity and condensation can lead to mould growth, which not only damages your property but also contributes to poor indoor air quality and potential health issues like allergies or respiratory irritation.
When applied correctly, interior caulking and sealing enhances the effectiveness of your entire heating system, reduces energy waste, and creates a more consistent indoor temperature—all while lowering your utility bills. It’s a small maintenance step that delivers big long-term benefits for both your comfort and your wallet.
Types of Caulking Products and Their Uses
Choosing the right caulking product is essential for successful interior caulking and sealing. Different formulas are designed for specific applications, and using the appropriate type ensures better adhesion, flexibility, and longevity.
Latex Caulk
Latex caulk is water-based, easy to apply, and cleans up with soap and water. It’s ideal for sealing gaps between baseboards, door frames, and window trims. This type is perfect for interior caulking and sealing in living spaces because it’s low-odour and dries quickly. It also adheres well to wood and drywall.
Silicone Caulk
Silicone caulk is moisture-resistant and flexible, making it the best option for high-humidity areas like kitchens and bathrooms. It adheres well to smooth surfaces like tile, glass, and metal. However, it’s not paintable, so it’s better suited for locations where the caulk line won’t need a coat of paint.


Paintable Caulk
For areas that will be painted—like crown moulding or baseboards—paintable caulk is the top choice. These hybrid caulks combine flexibility with paint adhesion, giving your interior caulking and sealing project a seamless, finished look.
Fire-Rated Caulk
In utility rooms, garages, or spaces where fire safety is a concern, fire-rated caulk provides an added layer of protection. It expands when exposed to high temperatures, helping to seal penetrations around pipes or wires and slowing the spread of flames and smoke.
By selecting the right product for each location, you ensure that your interior caulking and sealing efforts not only look good but also perform effectively under the conditions they’ll face.
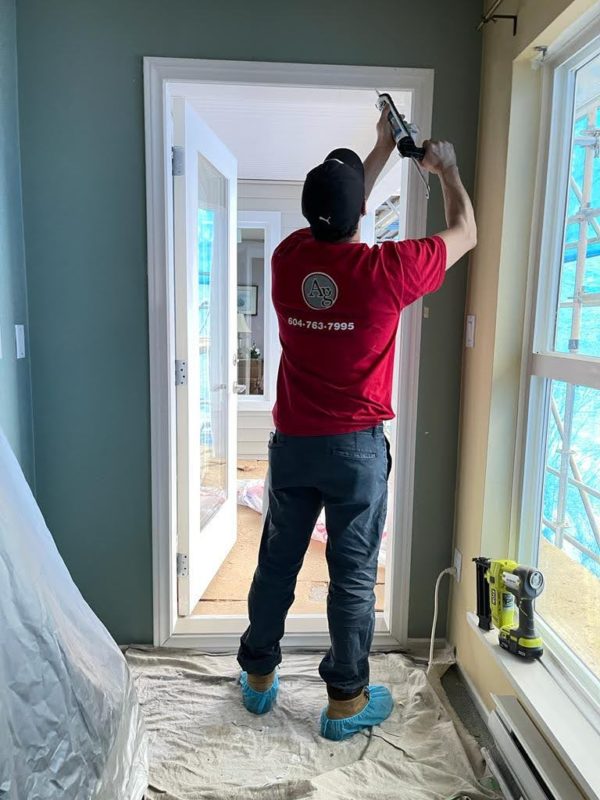
Step-by-Step: How to Apply Interior Caulking Properly
Executing interior caulking and sealing with precision ensures long-term performance, especially in colder months when every draft counts. Here’s a simple, effective step-by-step guide to achieving clean, professional results:
1. Prep the Surface
Before you apply any product, preparation is key. Remove old or cracked caulk with a utility knife or scraper. Then, clean the surface thoroughly using soap and water to remove dust, debris, or grease. Dry the area completely—moisture can prevent proper adhesion.
2. Cut the Tip and Load the Caulk
Use a utility knife to cut the tip of the caulking tube at a 45° angle, choosing a hole size that matches your gap. For more precision, start with a smaller opening. Load the tube into a caulking gun, ensuring it’s properly seated.


3. Apply the Caulk
Hold the caulking gun at a consistent 45° angle and apply steady pressure as you guide the tip along the seam. For best results, try to maintain a smooth and continuous bead, especially in high-visibility areas like window trims and baseboards.
4. Smooth the Bead
Use a caulk-smoothing tool or your finger (dipped in water for latex or rubbing alcohol for silicone) to press the caulk into the gap and smooth out the bead. This not only improves appearance but also ensures better sealing performance.
5. Let It Cure
Allow the caulk to cure according to the manufacturer’s instructions—typically 24 hours—before painting or exposing it to moisture. This final step is critical to making sure your interior caulking and sealing job holds up over time.
6. Professional Tips for Long-Lasting Results
When it comes to interior caulking and sealing, knowing a few pro-level tips can make all the difference between a quick fix and a long-lasting solution.
When to Caulk vs. Use Foam Sealant
While caulk is ideal for narrow joints—such as baseboards, window trims, and gaps less than 1/4 inch—expanding foam sealants are better suited for wider cracks and cavities, particularly around pipes, electrical outlets, or in attic and basement areas. Choosing the correct product ensures a tighter seal and better energy efficiency.
Best Practices for Cold-Weather Applications
Standard caulks may struggle to adhere in low temperatures. Choose cold-weather-rated products and store them indoors before application. Applying caulk when the surface is dry and above freezing is key for proper bonding. According to Energy.gov, air sealing—including caulking and weatherstripping—is one of the most cost-effective ways to increase comfort and energy savings.
Use High-Quality Materials
Don’t cut corners with cheap caulk. Choose premium-grade latex or silicone-based products suitable for interior use—especially if you plan to paint over them. Better materials resist shrinkage, cracking, and discoloration over time.


When to Call the Pros
While many interior caulking and sealing tasks can be handled by a capable DIYer, some situations are better left to professionals to ensure long-lasting results and proper insulation.
-
Tackling Large Gaps and Difficult Areas
Sealing oversized gaps—such as those found around attic hatches, basement rim joists, or HVAC penetrations—often requires specialized tools, foam sealants, or vapour barriers that pros are equipped to handle safely and effectively. -
Recurring Issues with Drafts or Condensation
If you’ve already sealed problem spots and still notice cold air, moisture buildup, or condensation on windows and walls, it may indicate hidden issues that need expert diagnosis and more comprehensive sealing solutions. -
Integrated with Other Repairs or Renovations
When your project involves drywall repairs, painting, or trim installation, having a professional coordinate interior caulking and sealing as part of a broader scope ensures clean lines, energy efficiency, and a polished final result.

As temperatures drop, taking the time to properly address interior caulking and sealing can make a noticeable difference in your home’s comfort and energy efficiency. By blocking drafts, sealing moisture-prone areas, and supporting your insulation, this simple yet effective maintenance step helps lower heating costs and keeps your space cozy all season long.
Don’t wait until cold air starts creeping in—fall is the perfect time to inspect and seal problem areas before winter hits.

Call a Professional
Need help identifying or sealing tricky areas? Contact Argenta Restoration Ltd. today for expert interior caulking and sealing services and let us help you prep your space for a warm and energy-smart winter.