Prepping Your Kitchen Cabinets for Refinishing: A Step-by-Step Guide
Embarking on a kitchen cabinet refinishing project can breathe new life into your kitchen space and elevate its aesthetics. However, to achieve impeccable results, proper preparation is key. Prepping your kitchen cabinets lays the foundation for a successful refinishing project, ensuring a durable and beautiful finish that will stand the test of time. In this comprehensive guide, we will walk you through each step of the preparation process, whether you’re tackling the project yourself or enlisting the help of professionals from Argenta Painting.
Assess the Condition of Your Cabinets
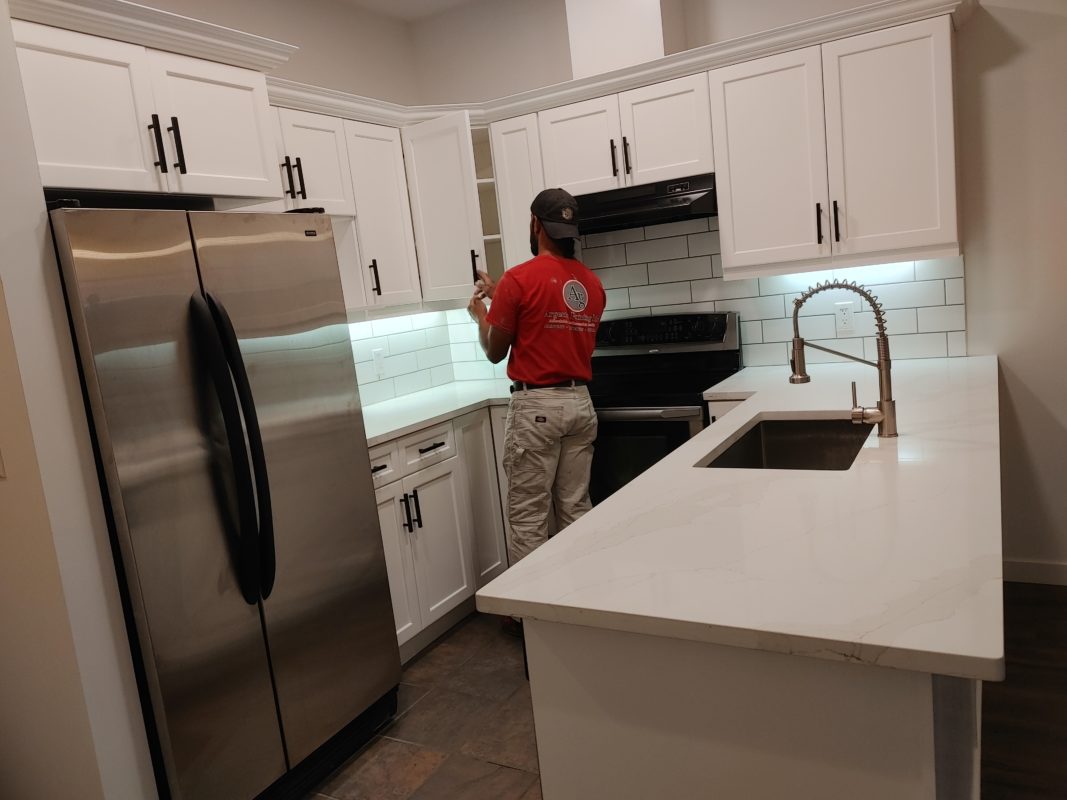
Before diving into the refinishing process, take a close look at the condition of your kitchen cabinets. Check for any structural damage, loose hinges, or hardware that needs repair or replacement. Identifying and addressing these issues beforehand will ensure a smoother and more effective refinishing process.

Gather Your Tools and Materials
For a successful refinishing project, gather all the necessary tools and materials. Depending on your chosen refinishing method, you may need sandpaper, paint or stain, paintbrushes, painter’s tape, drop cloths, a screwdriver, and cleaning supplies. Investing in high-quality materials will contribute to a professional-looking outcome.
Clear and Clean the Cabinets
Before any sanding or painting begins, remove all items from your cabinets. This allows you to work on a clean, unobstructed surface. Once cleared, thoroughly clean the cabinets with a gentle cleaner to remove grease, grime, and built-up dirt. Cleaning ensures the paint or stain adheres properly to the surface.

Label and Store Hardware
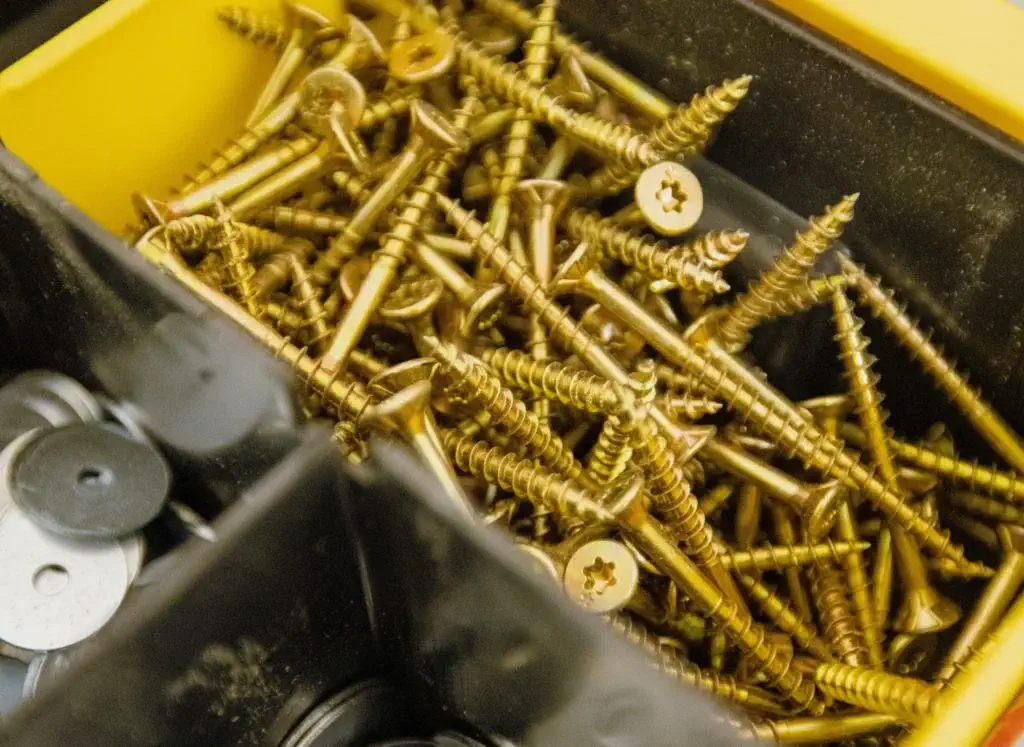
If you’re disassembling your cabinets for refinishing, it’s essential to label and store the hardware properly. Use small plastic bags or containers to keep screws, hinges, and other small pieces organized and prevent them from getting lost.
Repair and Patch Imperfections
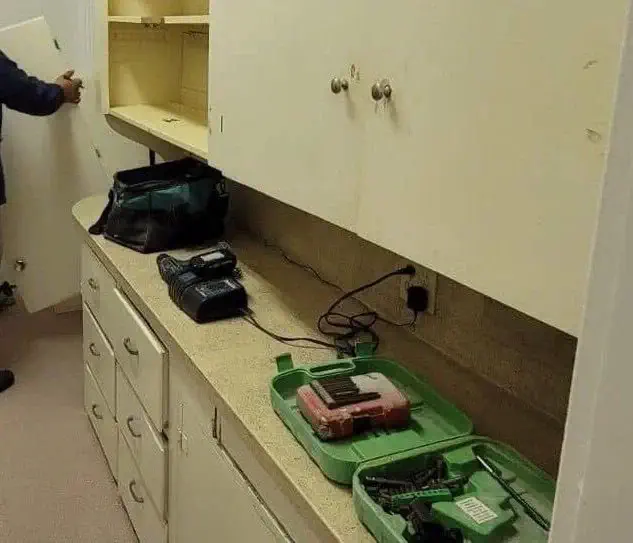
Inspect the surfaces of your cabinets for any dents, scratches, or holes. Use wood filler or putty to patch these imperfections, and then sand the patched areas smooth. This step ensures a seamless and professional finish.
Sanding for a Smooth Surface
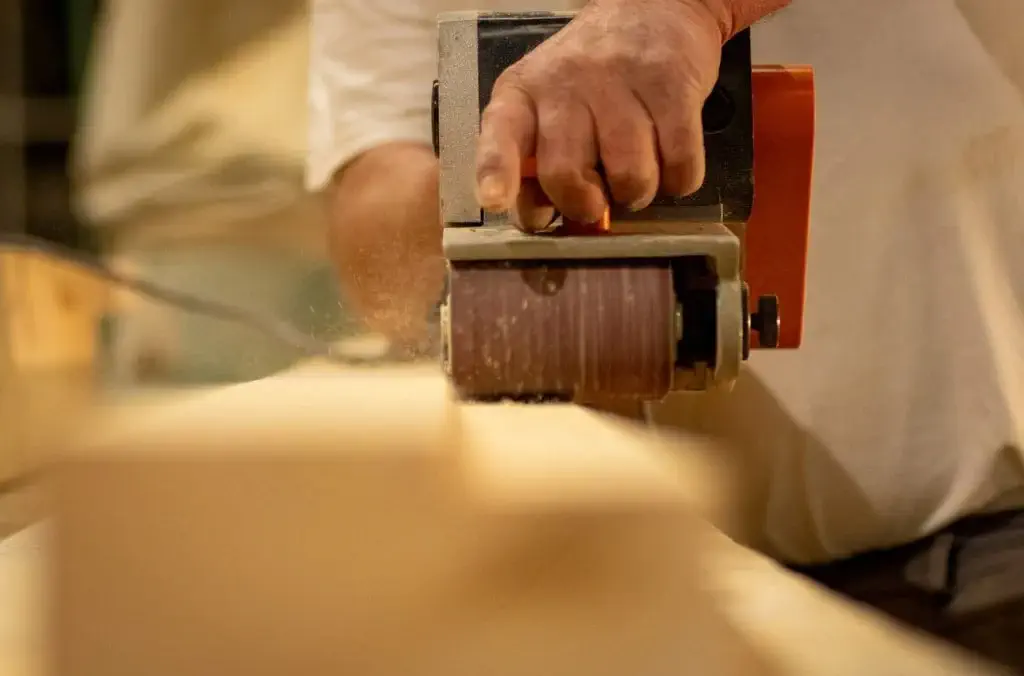
Sanding is a critical step in the prepping process. Use a fine-grit sandpaper to lightly sand all cabinet surfaces, including doors, drawers, and frames. Sanding creates a smooth surface, removes old finishes, and helps the new paint or stain adhere better.
Clean Thoroughly After Sanding
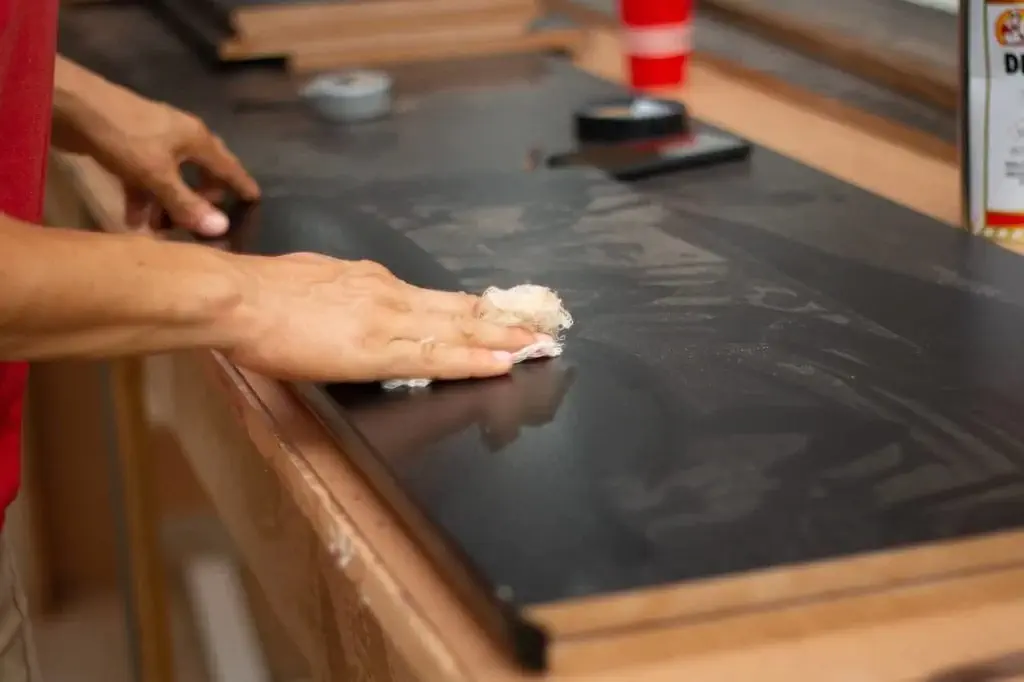
After sanding, it’s crucial to clean away any dust or debris left behind. Wipe down all surfaces with a damp cloth and let them dry completely before moving on to the next step.

Apply Painter’s Tape
To achieve clean lines and protect areas you don’t want to paint, apply painter’s tape along the edges and frames of the cabinets. This step ensures a professional-looking finish without accidental paint splatters.
Choose Your Refinishing Method
Consider the best refinishing method for your cabinets, whether it’s painting or staining. Each method has its benefits and aesthetic appeal. If you’re unsure which option suits your kitchen best, our experts at argenta painting can provide valuable insights and recommendations.


Prime the Cabinets (if necessary)
Depending on the type of paint or stain you’re using, you may need to apply a primer first. Primer helps create a smooth, even surface and enhances the durability of the final finish. Follow the manufacturer’s instructions when applying the primer.
Start the Refinishing Process
Now it’s time to apply your chosen paint or stain to the cabinets. Work in smooth, even strokes, and allow each coat to dry completely before adding another layer. Patience and attention to detail will ensure a flawless finish.

Conclusion:

Call A Professional
Whether you’re a DIY enthusiast or seeking professional assistance, our team at Argenta Painting is here to help you every step of the way. Don’t hesitate to reach out to us for expert advice and impeccable refinishing services to transform your kitchen cabinets with confidence.
