Pro Tips for Effective Rot Repair | Achieving Long-Lasting Results
Your home is a sanctuary, a place of comfort and security. However, over time, the harsh elements and natural wear and tear can take a toll on its structural integrity, especially when it comes to rot. Rot is a silent enemy that can slowly eat away at the wood, compromising your home’s stability and aesthetics. In this blog, we will unveil pro tips for effective rot repair, helping you safeguard your property and achieve long-lasting results. Whether you’re a seasoned DIY enthusiast or a homeowner looking to understand the process better, these expert techniques will empower you to tackle rot repair with confidence.
Understanding the Importance of Timely Rot Repair:
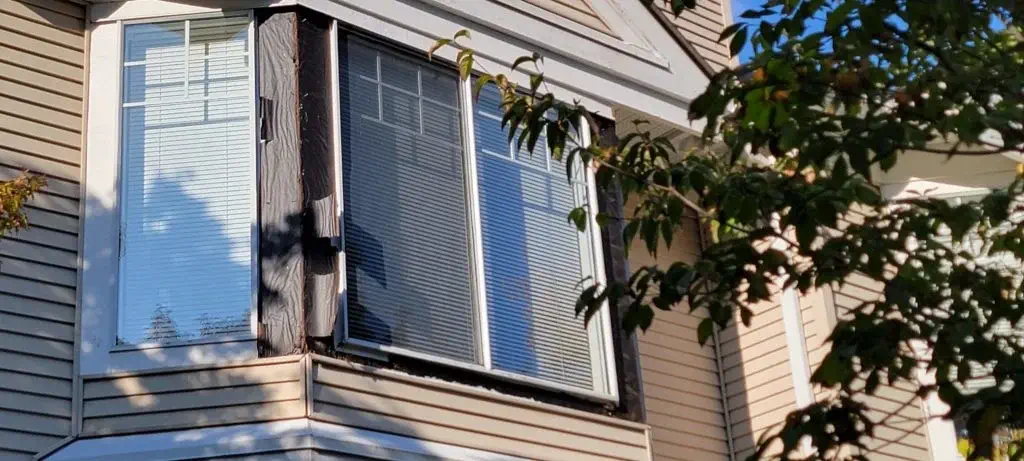
The key to effective rot repair lies in recognizing the early signs of decay. Whether it’s on your deck, siding, or window frames, addressing rot promptly can prevent further damage and save you from costly repairs down the road. Signs of rot include discoloration, soft and spongy wood, and a musty odor. Regular inspections, especially after wet or humid weather, can help you catch rot in its infancy and take action before it spreads.
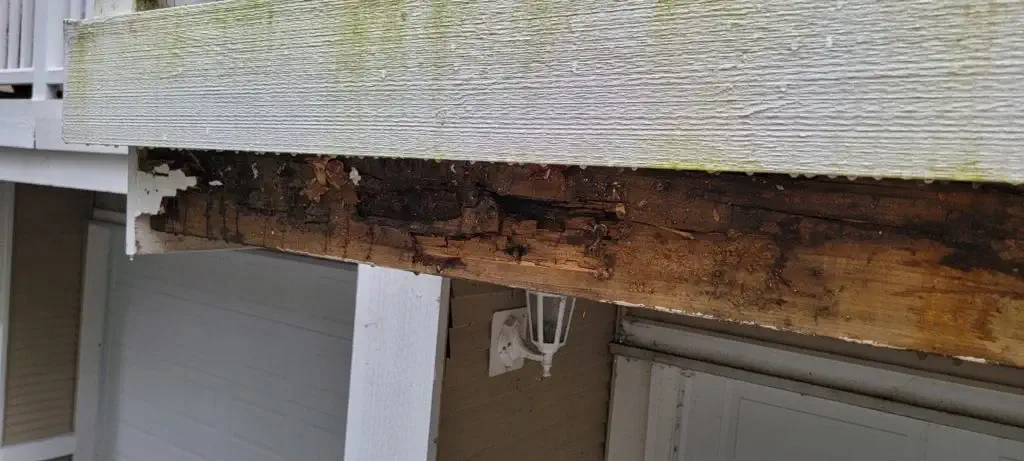
Pro Tip 1: Assess the Extent of Damage
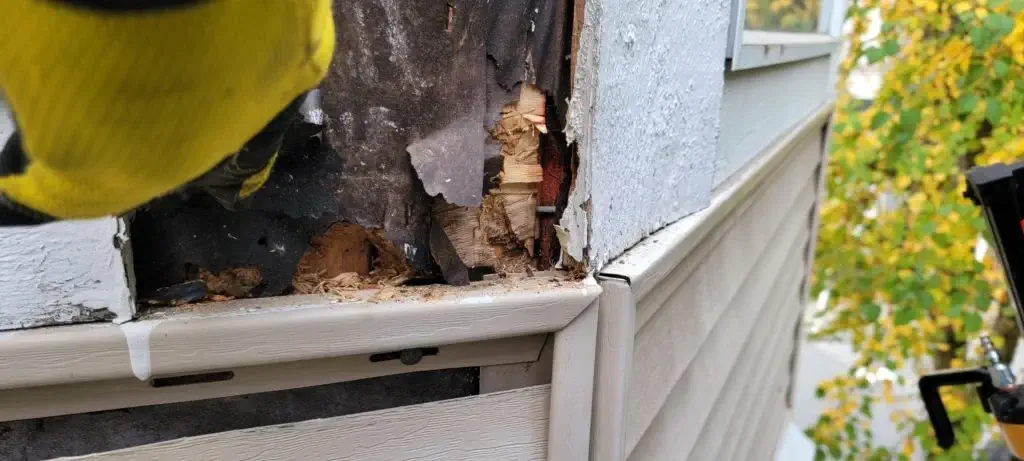
Before diving into the repair process, carefully assess the extent of the rot. Surface-level rot may only require sanding and refinishing, while deeper rot may necessitate more extensive repairs or even replacements. Use a screwdriver or awl to probe the affected areas, checking for soft spots and measuring the depth of the decay. Understanding the severity of the damage will guide you in choosing the appropriate repair method.
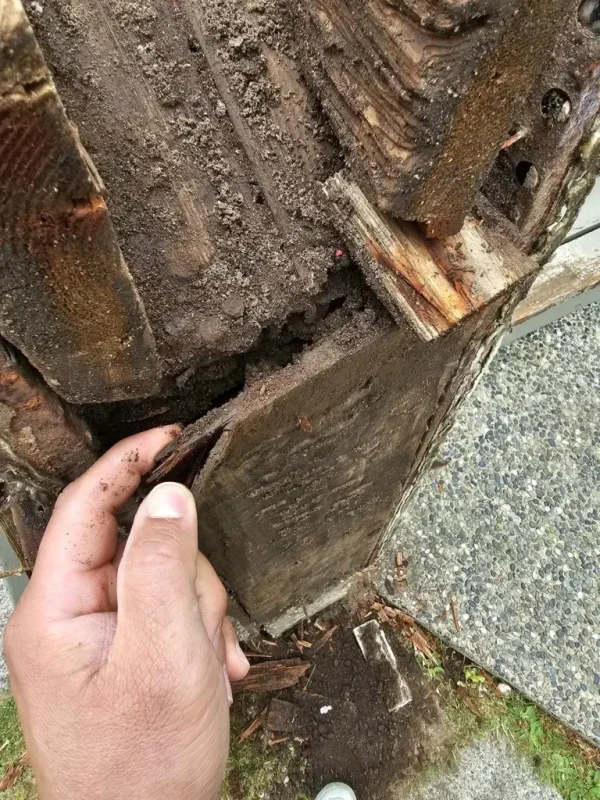
Pro Tip 2: Choose the Right Repair Method
There are various rot repair methods, each suited for specific levels of damage. For minor surface-level rot, scraping and sanding the affected areas may be sufficient. Utilize wood fillers or epoxy putty to fill in any gaps and restore the wood’s appearance. For deeper rot, consider using wood patches or splice repairs to replace the damaged sections. If the rot is extensive and affects the structural integrity, consulting a professional carpenter is advisable to ensure the safety of your home.
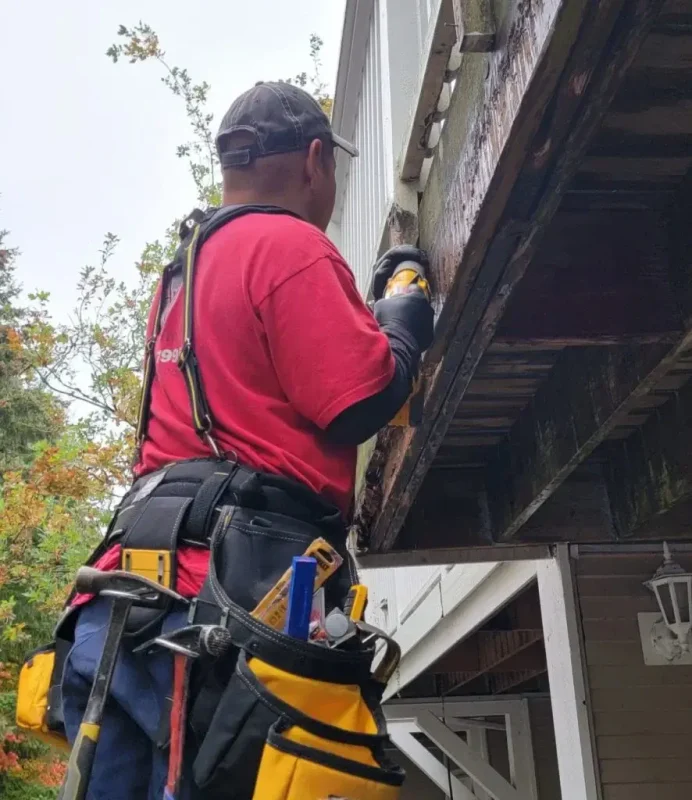
Pro Tip 3: Treat the Wood with Preservatives
After removing the rotted wood, it’s crucial to treat the remaining healthy wood to prevent future decay. Applying a wood preservative can protect the wood from moisture, insects, and fungal growth, prolonging its lifespan and reducing the risk of future rot. Be sure to follow the manufacturer’s instructions and use a preservative that is compatible with the type of wood you’re treating.

Pro Tip 4: Reinforce Vulnerable Areas
Some areas of your home are more susceptible to rot than others, such as the base of door frames, window sills, and corners where water can accumulate. Reinforce these vulnerable areas with metal flashings or other moisture-resistant materials to prevent water infiltration and subsequent rot formation. Regularly inspect and maintain these critical areas to ensure they remain protected.
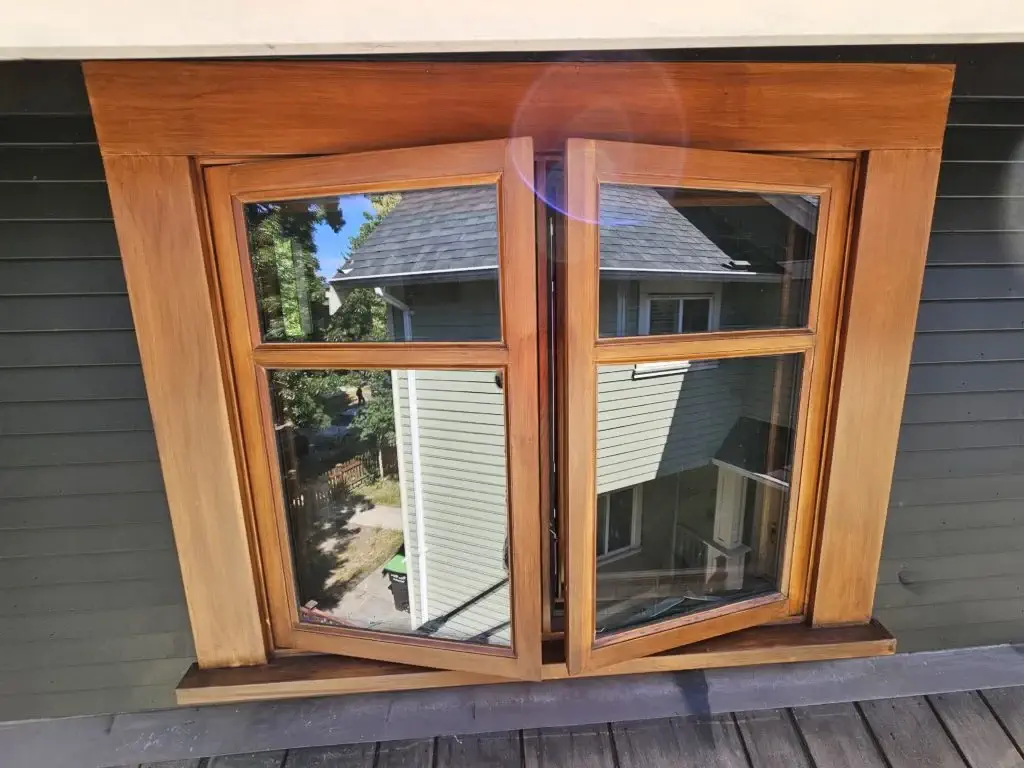
Pro Tip 5: Seal and Paint for Extra Protection
Once the repairs are complete, seal the wood with a high-quality primer and finish with a weather-resistant paint or stain. This final step not only enhances the appearance of the repaired wood but also provides an additional layer of protection against moisture and UV damage. Choose a paint or stain that complements your home’s exterior, elevating its curb appeal while ensuring long-lasting results.
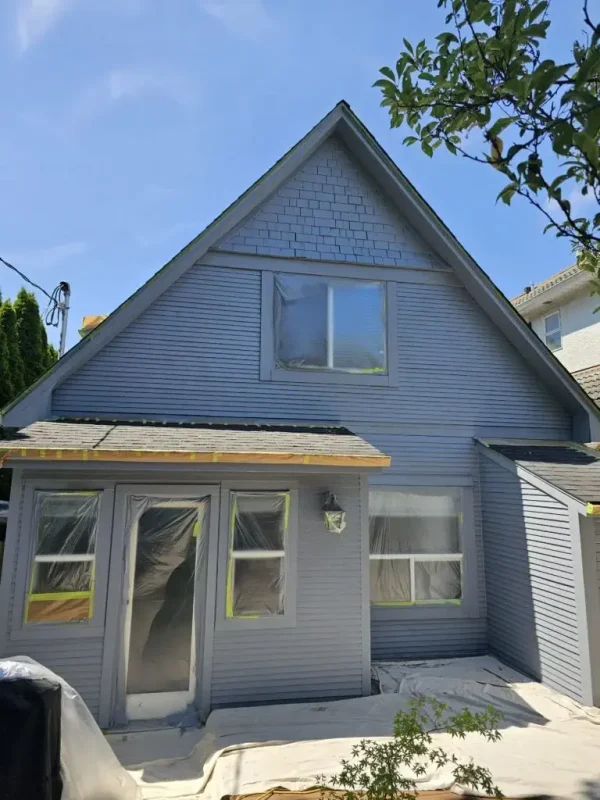
Effective rot repair is a crucial aspect of home maintenance that can save you from costly structural damage and preserve the beauty of your property. By promptly identifying and addressing rot, choosing the right repair method, treating the wood with preservatives, reinforcing vulnerable areas, and sealing the wood with paint or stain, you can achieve long-lasting results and ensure the longevity of your home’s carpentry. Remember, if you ever encounter extensive rot or feel unsure about the repair process, don’t hesitate to consult a professional carpenter for expert guidance.
