Restoring Weathered Fences: 5 Power Tips for Bringing Back Beauty
1. Thorough Cleaning:
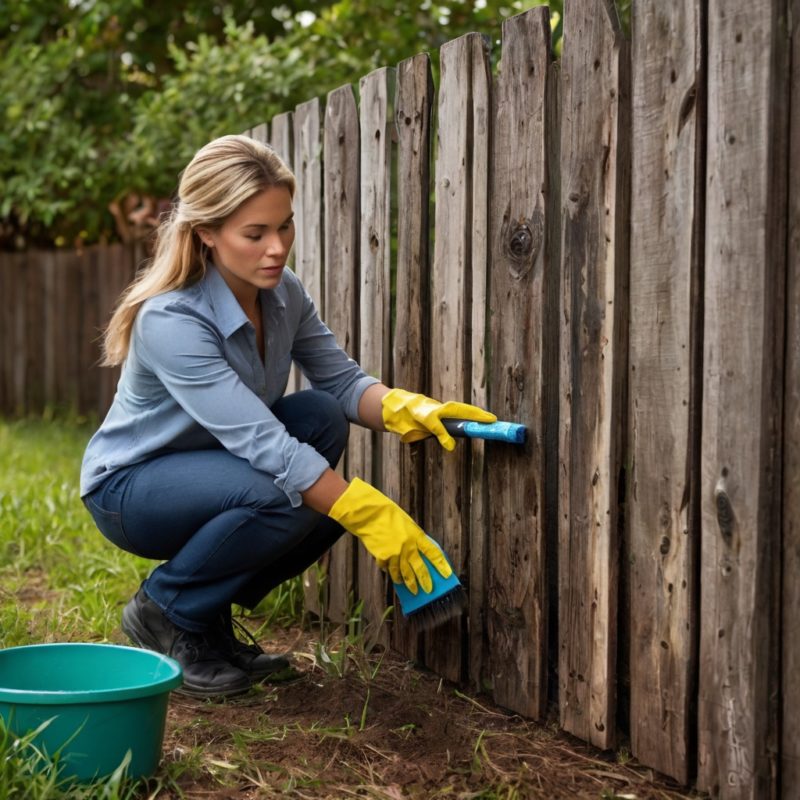
Restoring weathered fences starts with a thorough cleaning. This crucial first step removes accumulated dirt, mold, mildew, and peeling paint, which can affect the final appearance of your fence. Using a power washer can make the task easier and more effective, but a scrub brush with a mixture of water and mild detergent can also do the trick. Ensuring your fence is clean provides a fresh surface for any subsequent treatments and helps you identify areas that need additional repair or attention.
2. Repairing Damage:
After a thorough cleaning, the next step in restoring weathered fences is to address any damage. Carefully inspect your fence for signs of wear, such as broken or rotten boards, loose nails, and rusted screws. Here’s how to handle repairs based on the material of your fence:
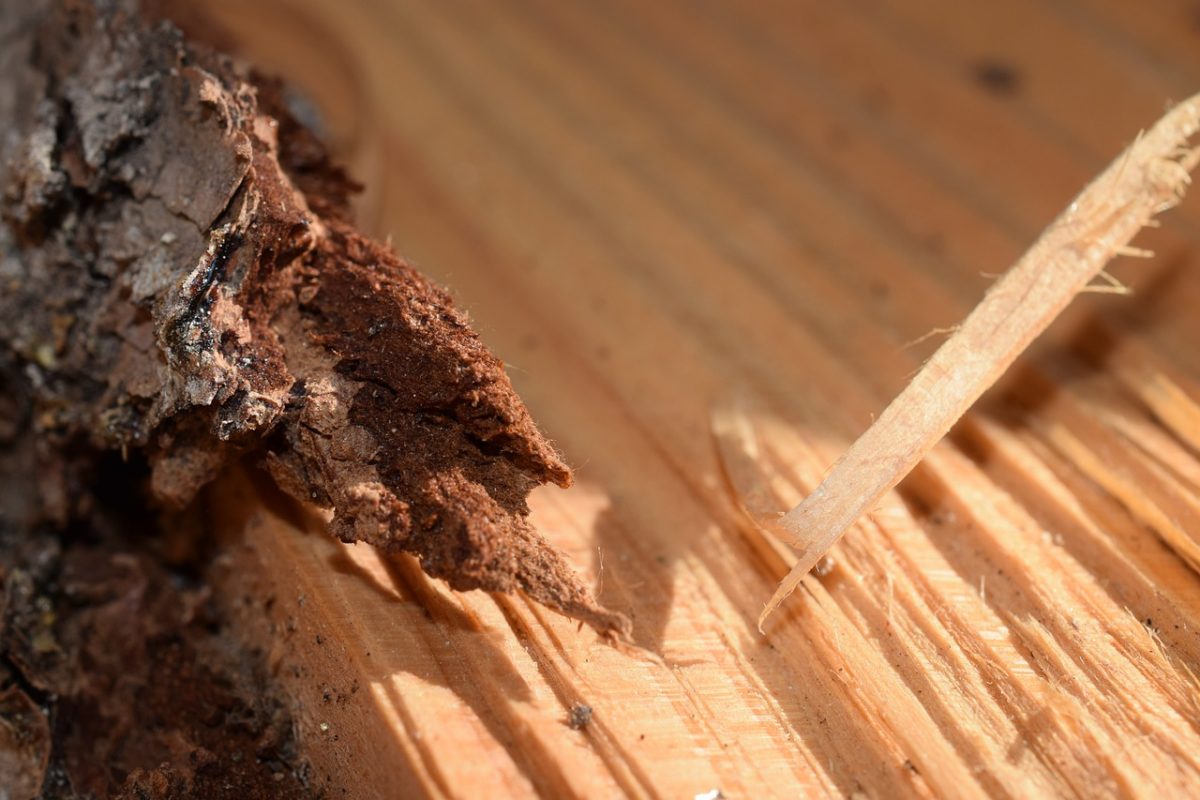
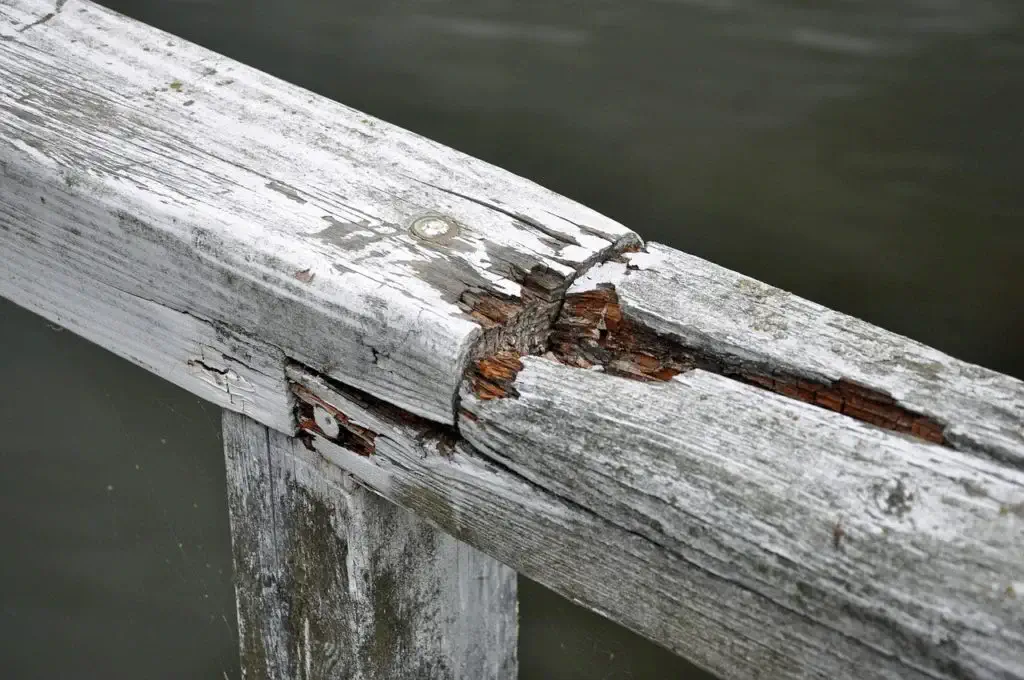
Wood Fences: Replace any broken or rotting boards and reinforce loose nails or screws. For larger areas of rot, you may need to replace entire sections. Sand down any rough spots and treat the wood with a preservative before painting or staining.
Metal Fences: Look for rusted sections and treat them with a rust remover or metal primer. Replace any bent or broken parts and ensure that all screws and bolts are secure. Applying a fresh coat of rust-resistant paint will help protect against future corrosion.
Vinyl Fences: Inspect for cracks or broken sections and replace damaged panels. Ensure that any connectors or posts are securely fastened. Clean the surface thoroughly and use a vinyl repair kit if needed to address minor damages.
3. Sanding and Smoothing:
Once your fence is clean and any damage has been repaired, it’s time to sand and smooth the surface. This step is crucial for ensuring that the new paint or stain adheres properly and gives a professional finish. Here’s how to approach sanding based on the material of your fence:
Wood Fences: Use medium-grit sandpaper or a sanding sponge to remove old paint, splinters, and rough patches. Sand in the direction of the wood grain to avoid scratches and achieve a smooth surface. For larger areas, a power sander can speed up the process. Once sanded, wipe down the fence with a damp cloth to remove dust before applying paint or stain.
Metal Fences: If your metal fence has rust spots or peeling paint, use a wire brush or sandpaper to remove these imperfections. Smooth out any rough areas to ensure a clean surface for the new coating. After sanding, wipe down the metal with a clean cloth to remove any remaining dust or debris.
Vinyl Fences: Vinyl fences generally require less sanding, but you should still smooth out any scratches or imperfections. Use fine-grit sandpaper to gently sand the surface, then clean the area thoroughly to remove any dust before applying any repair or protective coatings.


4. Applying a Fresh Coat of Stain or Paint: Key Steps for Restoring Weathered Fences
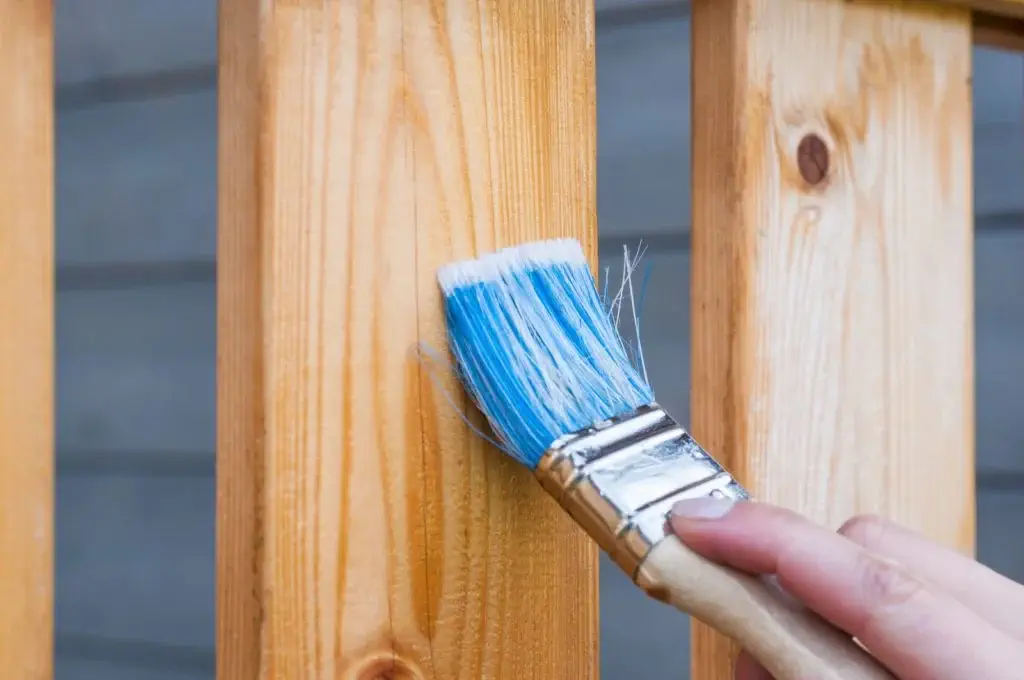
After cleaning, repairing, and sanding your fence, applying a fresh coat of stain or paint is crucial in restoring weathered fences and enhancing their appearance. Here’s how to achieve the best results:
Choose the Right Product: Select a high-quality paint or stain designed for outdoor use. For wood fences, opt for a penetrating stain that protects against moisture and UV damage while showcasing the natural grain. Metal fences need rust-resistant paint or primer, while vinyl fences may require specialized vinyl paints or cleaners. Stores like The Home Depot count with a variety of products to choose from.
Prepare Your Tools: Use brushes, rollers, or sprayers based on your fence’s material and size. Brushes are best for detailed areas, while rollers and sprayers are ideal for larger surfaces. Proper tools ensure a smooth and even application.
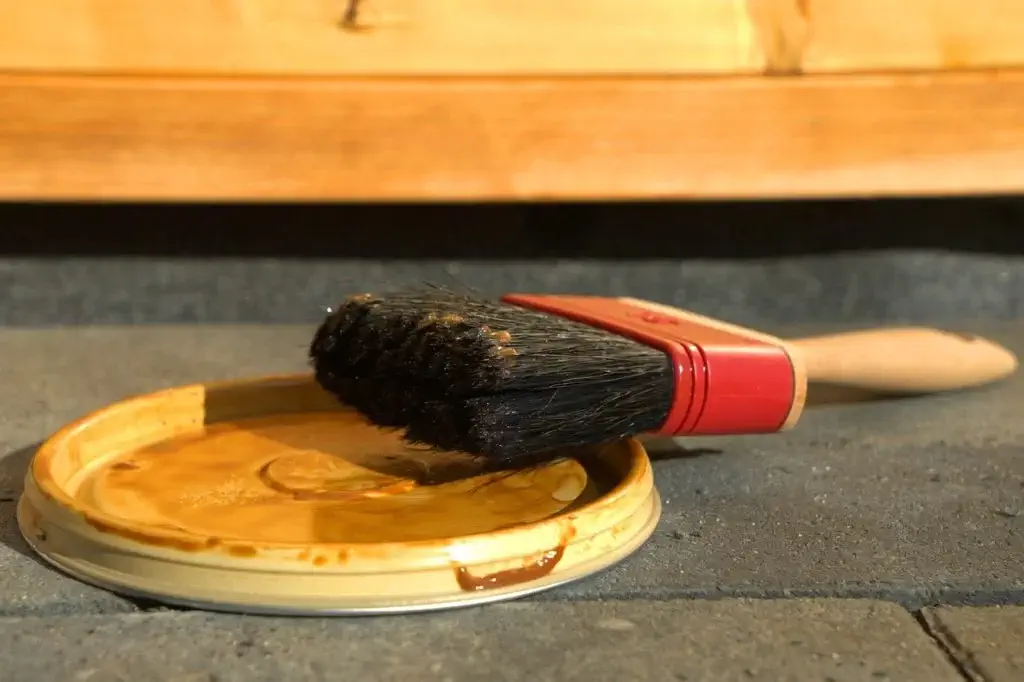
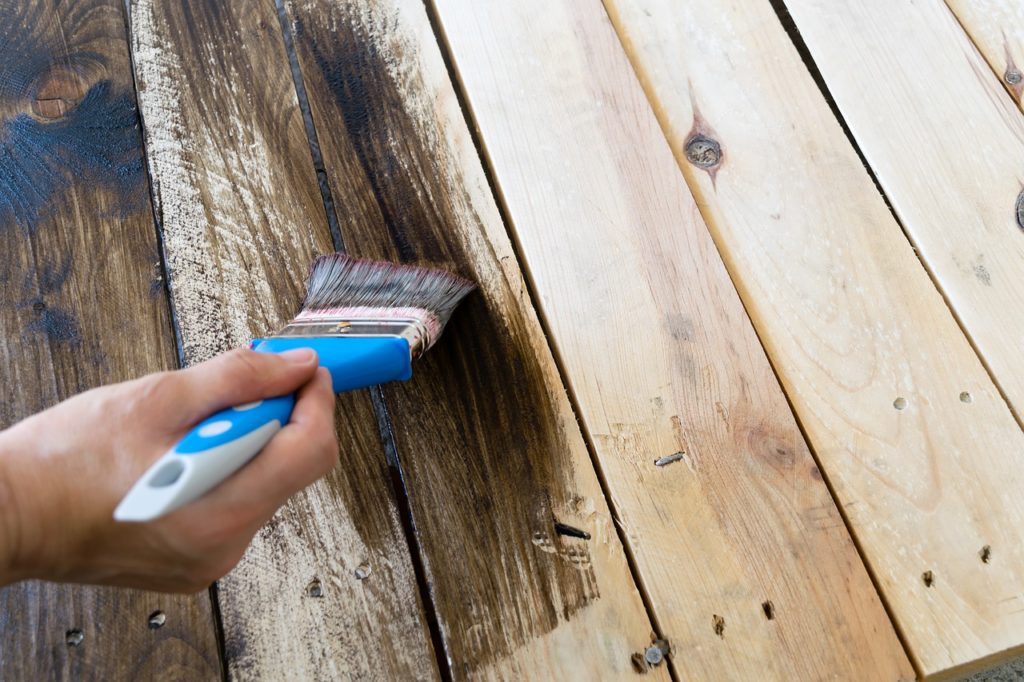
Apply Evenly: Apply the stain or paint in consistent strokes, starting from the top and working downward to prevent drips and achieve uniform coverage. Thin, even coats are preferable to avoid streaks, and follow the manufacturer’s recommendations for drying times between coats if additional layers are needed.
Finish and Protect: Allow the first coat to dry thoroughly before adding a second coat if necessary. Inspect the finished fence for touch-ups and consider sealing or finishing to enhance durability and appearance.
By focusing on restoring weathered fences with a fresh coat of high-quality paint or stain, you not only rejuvenate the fence’s look but also extend its lifespan and protection.
5. Regular Maintenance: Essential for Long-Term Success
To ensure your fence remains in top condition after restoring weathered fences, ongoing maintenance is key. Here’s how to keep your fence looking its best:
Schedule Regular Cleanings: Periodically wash your fence to remove dirt, algae, and grime that can accumulate over time. For wood and metal fences, use a mild detergent and a soft brush or power washer. For vinyl fences, a simple solution of water and vinegar or a specialized cleaner is effective.
Inspect for Damage: Regularly check your fence for signs of wear, such as cracks, rot, or rust. Address any issues promptly to prevent further deterioration. Early repairs help maintain the fence’s structural integrity and appearance.


Reapply Stain or Paint as Needed: Depending on the climate and exposure, you may need to reapply stain or paint every few years. This not only refreshes the appearance but also reinforces the protective layer against weather elements.
Address Issues Promptly: If you notice any damage or wear, take action immediately. Replace broken boards, fix loose nails, and touch up any areas where the paint or stain has worn off.
Restoring weathered fences is a worthwhile investment that brings back the beauty and functionality of your yard’s boundaries. By following these essential tips—thorough cleaning, repairing damage, sanding and smoothing, applying a fresh coat of stain or paint, and committing to regular maintenance—you can extend the life of your fence and enhance the overall appeal of your outdoor space. A well-maintained fence not only boosts curb appeal but also adds value and security to your property.

Call a Professional

