

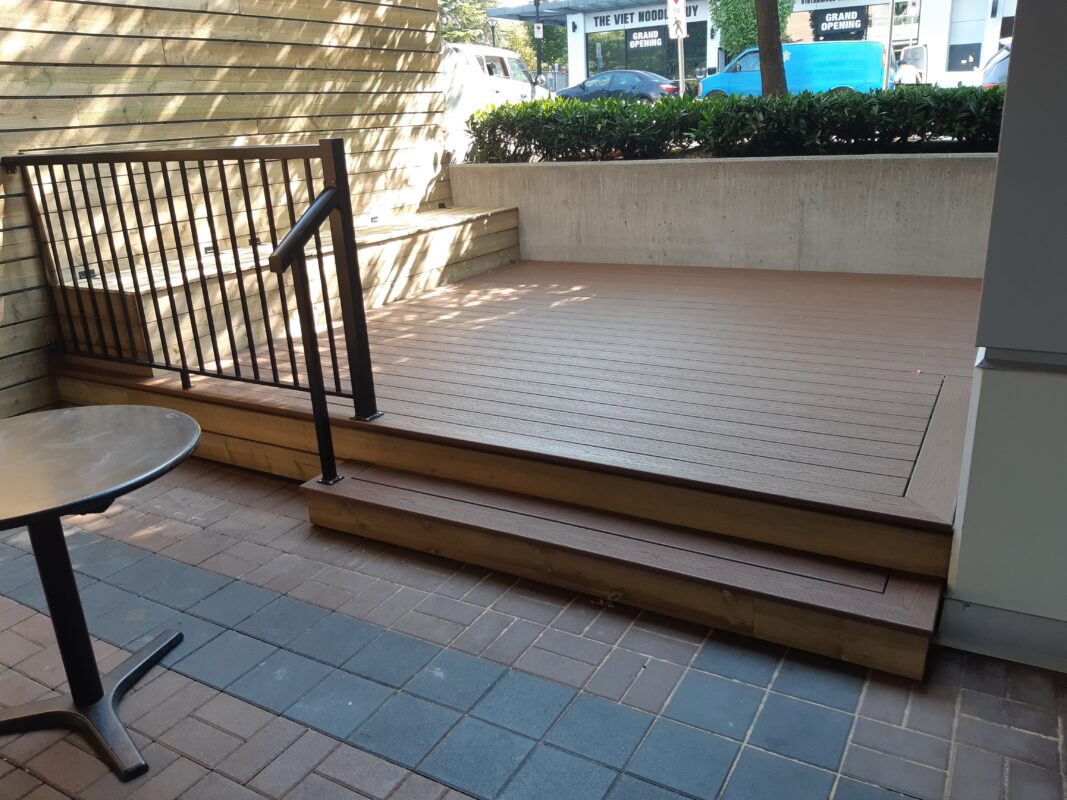
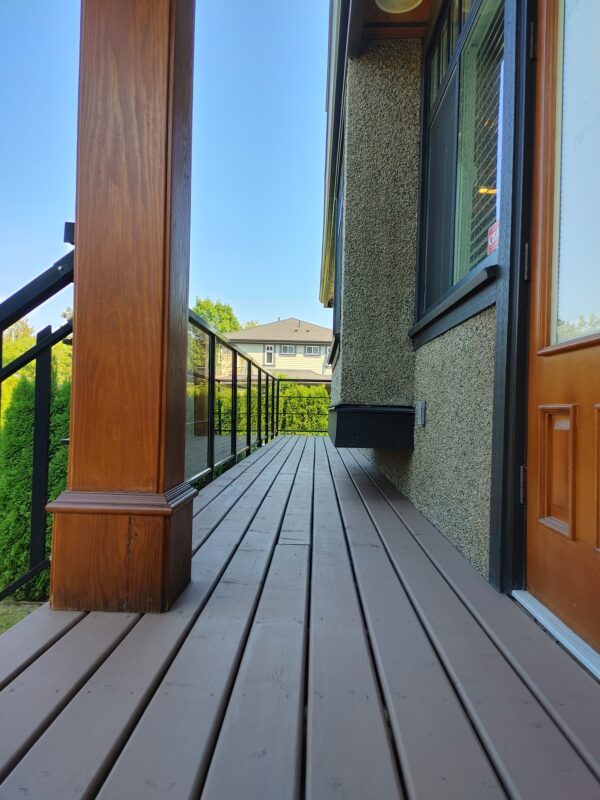
Transform Your Deck with DIY Deck Staining: A Step-by-Step Guide to Stunning Results
Staining your deck is a rewarding DIY project that many homeowners choose to tackle to refresh or protect their outdoor spaces. Whether your deck has seen better days or you’re looking to enhance its natural beauty, DIY deck staining is an effective and cost-efficient way to give it new life. Not only does staining improve the appearance of your deck by bringing out the wood’s rich colors, but it also provides a protective layer that shields it from the elements, extending its lifespan. With the right preparation and technique, you can achieve professional-looking results and ensure your deck remains beautiful and functional for years to come.
Things to Consider Before Staining Your Deck
Before diving into your DIY deck staining project, it’s important to consider a few key factors to ensure a successful and long-lasting finish.
Deck Condition
Start by assessing the condition of your deck. If there is any damaged wood, loose nails, or rotting areas, these need to be addressed before beginning your DIY deck staining. Repairing these issues will provide a stable surface for the stain to adhere to and ensure your deck is in good shape for years to come.
Weather Conditions
Ideal weather conditions are essential for DIY deck staining. For the best results, avoid staining your deck during rainy or excessively hot weather. The temperature should ideally be between 50°F and 85°F (10°C and 29°C). Ensure the deck is completely dry before staining, as moisture can prevent the stain from properly soaking into the wood.
Type of Wood
Different types of wood require different treatments when it comes to DIY deck staining. Pressure-treated wood, cedar, and redwood each have unique characteristics that may affect how the stain is absorbed. Be sure to choose the appropriate product for your deck’s wood type to achieve the best finish and ensure the stain lasts longer.
Deck Use
Consider how frequently your deck is used and the level of foot traffic it experiences. For high-traffic areas, you may want to use a more durable stain or finish that can withstand the wear and tear of daily use. By choosing the right product for your deck’s use, you can help maintain its beauty and protect it from damage.
Product Recommendations
When it comes to DIY deck staining, choosing the right products is key to achieving a beautiful and long-lasting finish. Below, we break down the essential factors to consider when selecting your stain and application tools.
Stain Types
There are three main types of stains to consider for your DIY deck staining project:
-
Transparent Stains: These stains offer a subtle finish that enhances the natural beauty of the wood. They are ideal for decks made from high-quality wood like cedar or redwood, allowing the grain to show through. However, they offer less protection and may need reapplication more frequently.
-
Semi-Transparent Stains: This type provides a balance between visibility of the wood’s grain and a protective finish. It’s perfect for decks that need a bit more protection against the elements, while still showcasing the natural texture of the wood.
-
Solid Stains: If you’re looking for full coverage and protection, solid stains are your best choice. They cover imperfections and provide the most durable finish, making them ideal for decks with older or more worn-out wood. They also last longer, requiring less frequent reapplication.

Top Stain Brands
For DIY deck staining, it’s important to choose a reputable brand known for delivering quality results. Here are a few trusted options:
-
Super Deck by Sherwin-Williams: Known for its superior protection and stunning finish, Super Deck is a top choice for DIY deck staining. It provides excellent coverage, UV protection, and long-lasting durability, perfect for high-traffic areas and outdoor elements.
-
Shark Skin: This high-performance stain offers excellent protection against harsh weather conditions, UV rays, and mildew. Shark Skin is known for its durability and resistance, making it a solid choice for DIY deck staining projects that require maximum protection and longevity.
-
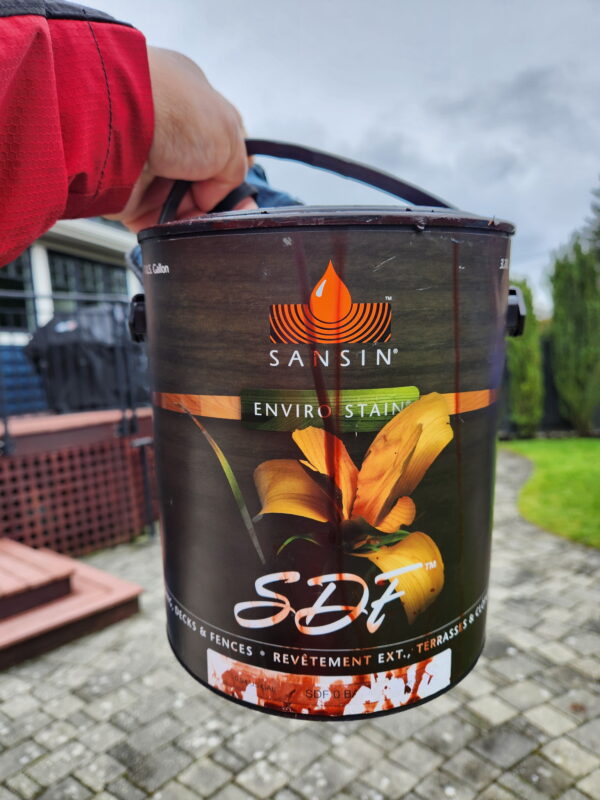
Sansin by Benjamin Moore: Sansin offers eco-friendly, high-quality deck stains that provide outstanding protection and long-lasting beauty. Their stains are perfect for homeowners who want a natural look while ensuring the deck is protected from the elements.
Eco-Friendly Options
For homeowners interested in sustainable options, consider eco-friendly and low-VOC (volatile organic compounds) stains. These products are ideal for those who want to reduce their environmental impact while still enjoying the benefits of a beautifully stained deck. According to the Environmental Working Group (EWG), selecting certified low-VOC products ensures that your deck staining process is safer for both the environment and your health. Look for stains that are certified by green organizations to meet high environmental standards.
Application Tools
The right tools can make all the difference in your DIY deck staining project. Depending on the size of your deck and the type of finish you’re applying, here are some recommended tools:
-
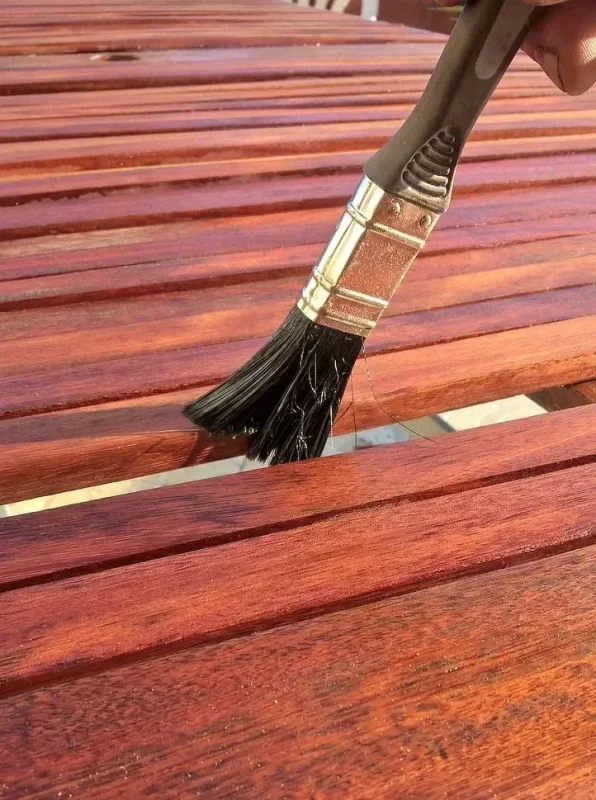
Brushes: A high-quality brush is ideal for applying stain to smaller areas and ensuring smooth, even coverage. For intricate details, such as corners and edges, a brush is the best option.
-
Rollers: Rollers are great for covering larger, flat surfaces quickly and evenly. For the best results, use a thick-nap roller designed specifically for staining.
-
Sprayers: If you’re tackling a large deck, a sprayer can help speed up the process while providing an even coat. Just be sure to carefully mask off surrounding areas to avoid overspray.
Step-by-Step Process for Staining Your Deck
1. Preparation
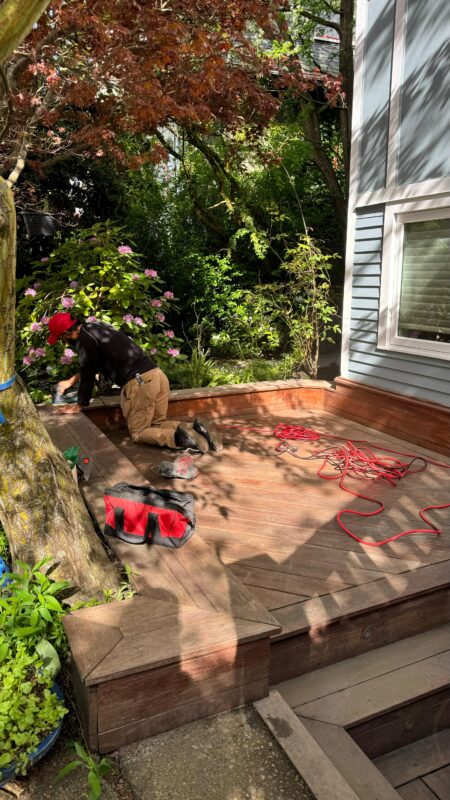
The first step in your DIY deck staining project is proper preparation. A clean surface ensures the stain adheres well and lasts longer. Follow these steps:
- Clean the Deck Thoroughly: Remove dirt, debris, and old stain (if necessary). If there’s old stain or finish, it’s essential to remove it to ensure the new stain applies smoothly and evenly.
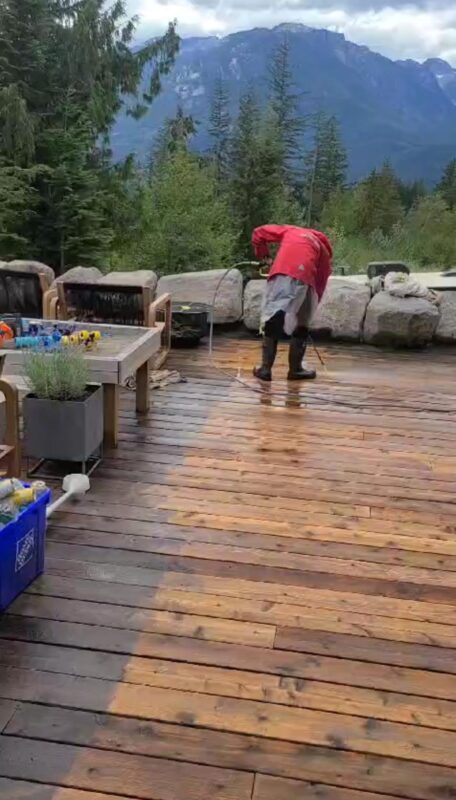
- Use a Deck Cleaner or Pressure Washer: To deeply clean the deck, use a deck cleaner designed for wood surfaces or a pressure washer. This will help remove grime, mold, and mildew, and provide a fresh surface for the stain. Allow the deck to dry completely before moving on to the next step.
- Sand the Deck: If your deck has rough spots or remnants of the old finish, lightly sand the surface to smooth it out. This will help the stain penetrate evenly and enhance the final finish.
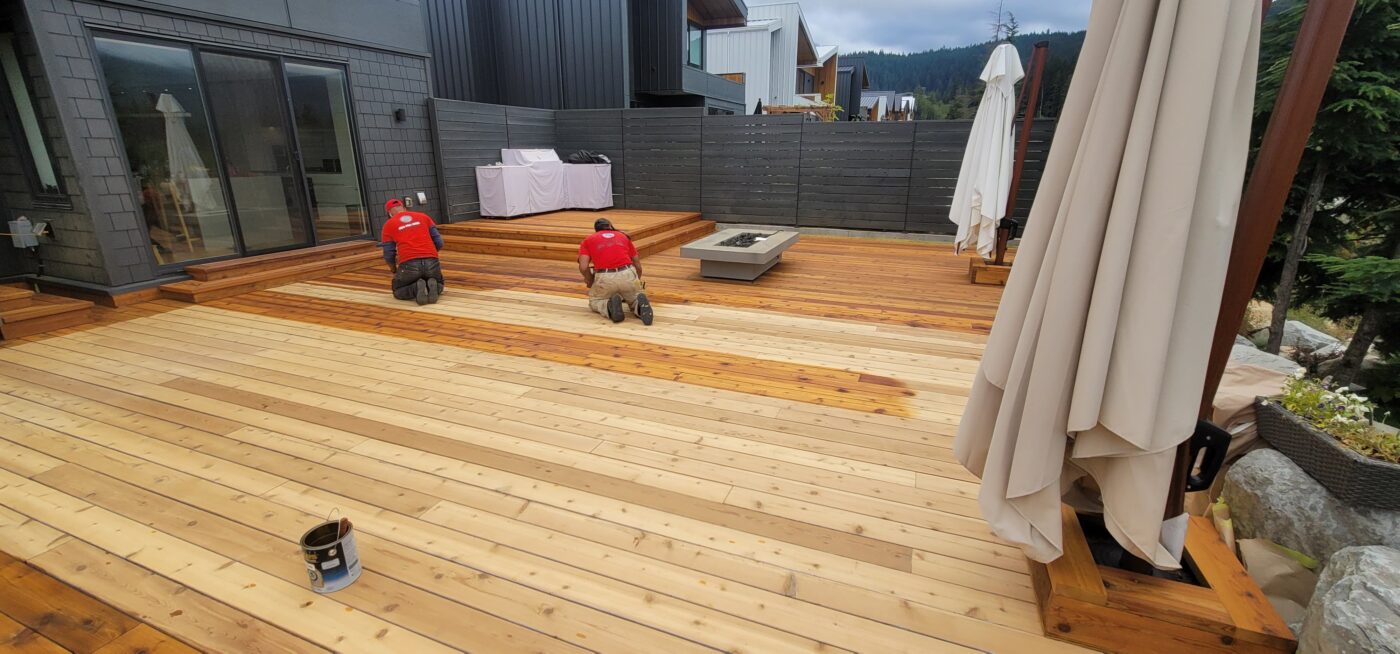
2. Apply the Stain
Once your deck is clean and dry, it’s time for the fun part: applying the stain. Here’s how to achieve the best results in your DIY deck staining project:
- Choose Your Application Method: Select the right tool for the job—brush, roller, or sprayer. A brush works well for detailed areas, while a roller is great for covering large surfaces. A sprayer can speed up the process for large decks but requires more careful masking.
- Apply the Stain Evenly: Start at one end of the deck and work in sections. Apply the stain in long, consistent strokes, always following the wood grain. This helps the stain penetrate evenly and avoid streaks.
- Avoid Over-Applying: It’s tempting to apply a heavy coat, but over-applying the stain can cause uneven coloring or streaks. A thin, even layer is best to achieve a smooth and uniform finish.

3. Drying Time
After applying the stain in your DIY deck staining project, the next step is ensuring proper drying time to allow the stain to fully cure and bond with the wood. Here’s what you need to know:
- Allow the Stain to Dry: Follow the manufacturer’s instructions for drying time, which is typically between 24 and 48 hours. Ensure that the deck is completely dry before allowing foot traffic.
- Precautions During Drying: Avoid walking on the deck during the drying period, as this can leave marks or streaks. It’s also important to keep the deck free from rain or moisture during this time. If possible, schedule your DIY deck staining project during a period of dry weather for the best results.
4. Maintenance Tips
To keep your deck looking beautiful and protect it from the elements, regular maintenance is key after your DIY deck staining project. Here are some tips to help you maintain your freshly stained deck:
- Clean Regularly: Regularly sweep the deck to remove debris and dirt. Wash the surface with a gentle cleaner to prevent the build-up of mold or mildew, which can affect the stain’s longevity.
- Reseal Every 2-3 Years: To maintain the protective layer, reapply a fresh coat of stain or sealer every 2 to 3 years, depending on the exposure to the elements and foot traffic.
- Check for Damage: Regularly inspect the deck for any signs of damage, such as cracks, rotting wood, or loose nails. Repairing these issues early can prevent more costly repairs later.
When it comes to DIY deck staining, re-staining is necessary when you notice signs that the stain is fading, peeling, or no longer providing adequate protection. If water no longer beads up on the surface or if the deck starts to look worn, it’s time to reapply the stain to protect the wood and maintain its appearance. For more detailed tips on maintaining your deck, check out our blog, “Spring Deck Maintenance: Essential Tips to Get Your Deck Ready for Warmer Days”, where we discuss how to prepare your deck for the changing seasons and extend its life.
DIY deck staining is a fantastic way to enhance the beauty and longevity of your outdoor space while enjoying the satisfaction of completing the project yourself. By carefully following the steps—from preparation to application—you can transform your deck into a stunning, protected area that will last for years to come. The sense of accomplishment that comes from a job well done is truly rewarding.
However, remember to take your time during the process to achieve a high-quality finish. Patience and attention to detail will ensure the best results. If you’d prefer to leave the job to the experts, Argenta Restoration Ltd. is always here to help with professional deck staining services, ensuring a flawless finish and long-lasting protection for your deck.