
Get Ready for Summer: DIY Deck Restaining for a Stunning Refresh
Looking to breathe new life into your outdoor space? Our DIY deck restaining guide has you covered! If your deck is looking weathered and worn, restaining is a fantastic way to rejuvenate its appearance and protect it for years to come. In this comprehensive tutorial, we’ll walk you through the entire process of restaining your deck step by step, from prepping the surface to applying the perfect finish. Whether you’re a seasoned DIYer or new to home improvement projects, our guide will provide you with the knowledge and confidence to achieve professional-quality results. Let’s dive in and transform your deck into a stunning outdoor haven!
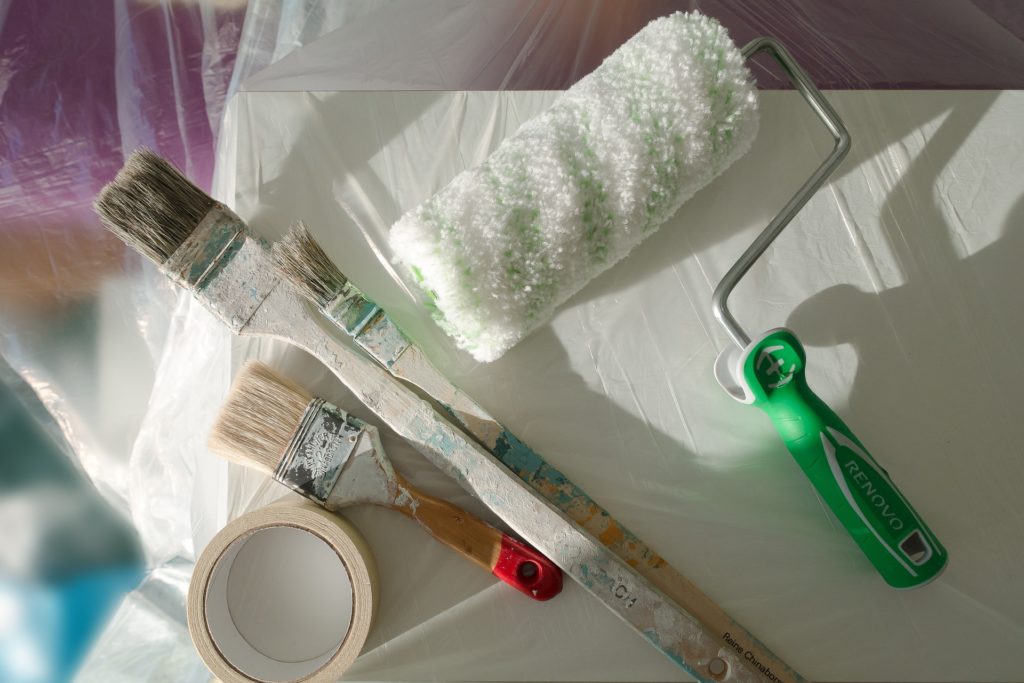
Gather Your Supplies: Essential Materials for Deck Restaining
Ensuring you have the right tools and materials at hand is key to simplifying your DIY deck restaining project. With the following items readily available, you’ll be well-prepared to tackle the task effectively:
- Deck stain: Provides color and protection to your deck’s surface.
- Deck cleaner: Removes dirt, grime, and mildew buildup, preparing the surface for staining.
- Deck brightener: Restores the natural color and brightness of the wood after cleaning.
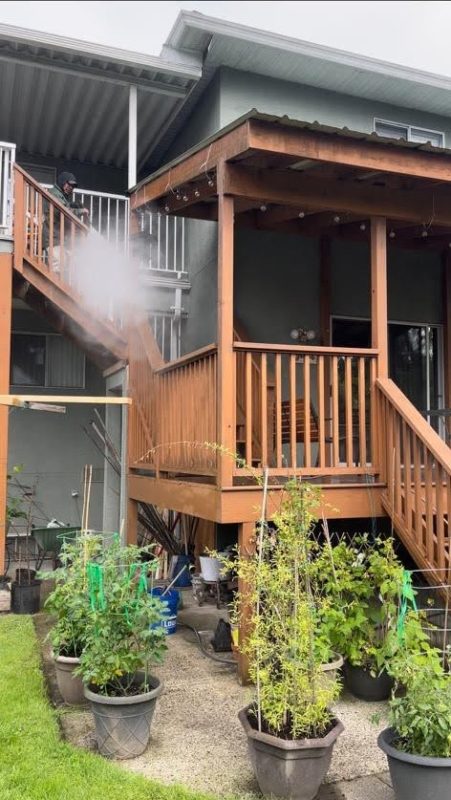
- Pressure washer or hose: Used to thoroughly clean the deck surface before staining.
- Scrub brush or broom: Helps scrub away tough stains and debris during cleaning.
- Sandpaper or deck sander: Smooths out rough spots and prepares the wood for staining.
- Paint roller or brush: Applies the stain evenly to the deck surface.
- Paint tray: Holds the stain for easy application.
- Protective gear (gloves, goggles, mask): Keeps you safe from potentially harmful chemicals and debris during the restaining process.
With these essential materials on hand, you’ll be equipped to tackle your DIY deck restaining project with confidence and achieve professional-quality results.
Selecting the Perfect Stain Color: Enhancing Your Outdoor Aesthetic
Prepping Your Deck: Essential Steps for a Clean Surface
Before diving into the DIY deck restaining process, it’s crucial to prepare your deck properly. Start by clearing the deck of any furniture, plants, and debris to create a clean workspace. Next, give the deck a thorough sweep to remove any loose dirt and debris. Once the surface is clear, use a pressure washer or hose to clean the deck surface, eliminating dirt, grime, and mildew buildup. Apply a deck cleaner according to the manufacturer’s instructions to tackle any remaining stains or discoloration, then rinse the deck thoroughly with water and allow it to dry completely before proceeding. This meticulous preparation ensures a clean and smooth surface for optimal restaining results.
Sanding for Smoothness: Preparing Your Deck Surface
To ensure your deck is prepped for a flawless finish, embark on the sanding process as part of your DIY deck restaining project. Begin by carefully inspecting the deck for any rough spots, splinters, or areas of damage. Armed with sandpaper or a deck sander, meticulously smooth out these imperfections and remove any remnants of old stain or paint. Your goal is to create a uniformly smooth surface across the entire deck, promoting optimal adhesion of the new stain. With diligent sanding, you’ll lay the groundwork for a stunning and long-lasting restained deck.
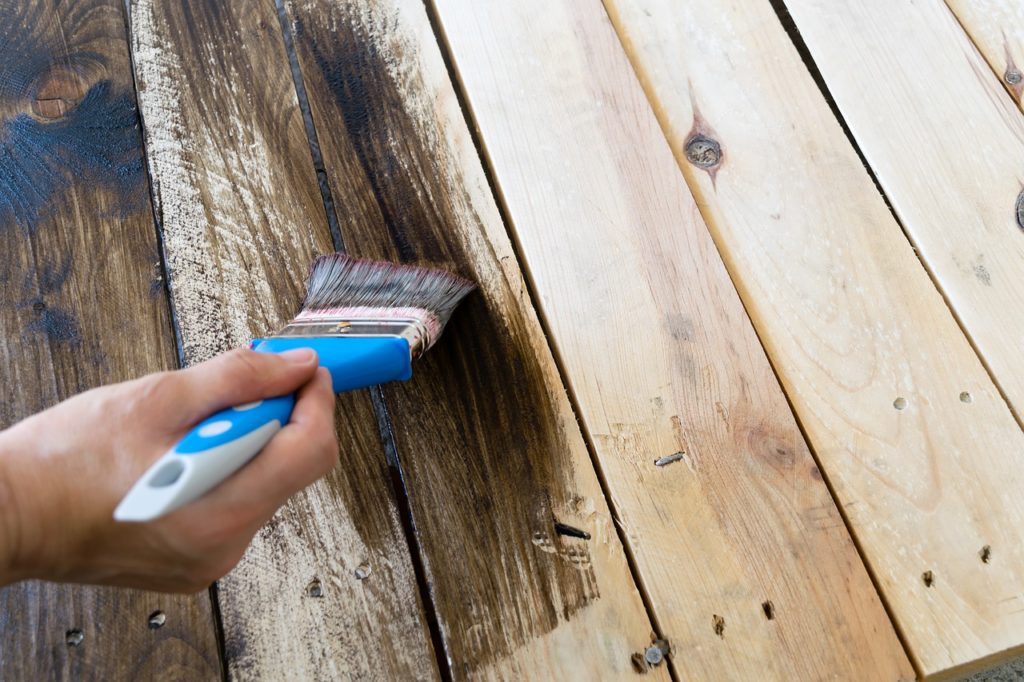
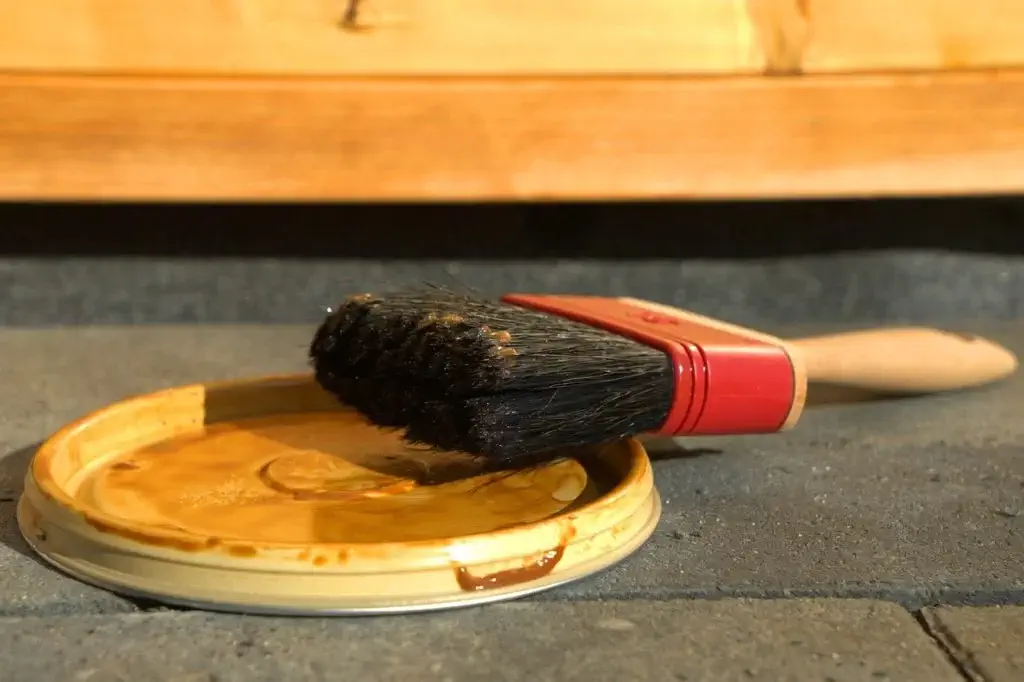
Applying the Stain: Enhancing Your Deck with Vibrant Color
As you embark on the journey of DIY deck restaining, applying the stain is a pivotal step in enhancing its aesthetic appeal and protecting it from the elements. Here’s how to proceed with precision
-
Select the Perfect Stain: Begin by choosing a high-quality deck stain in a hue that complements your outdoor space and reflects your personal style. Whether you opt for a classic wood tone or a contemporary color, ensure it harmonizes with your surroundings.
-
Thoroughly Mix the Stain: Before application, thoroughly stir the stain to achieve an even consistency, ensuring uniform color distribution and optimal results.
-
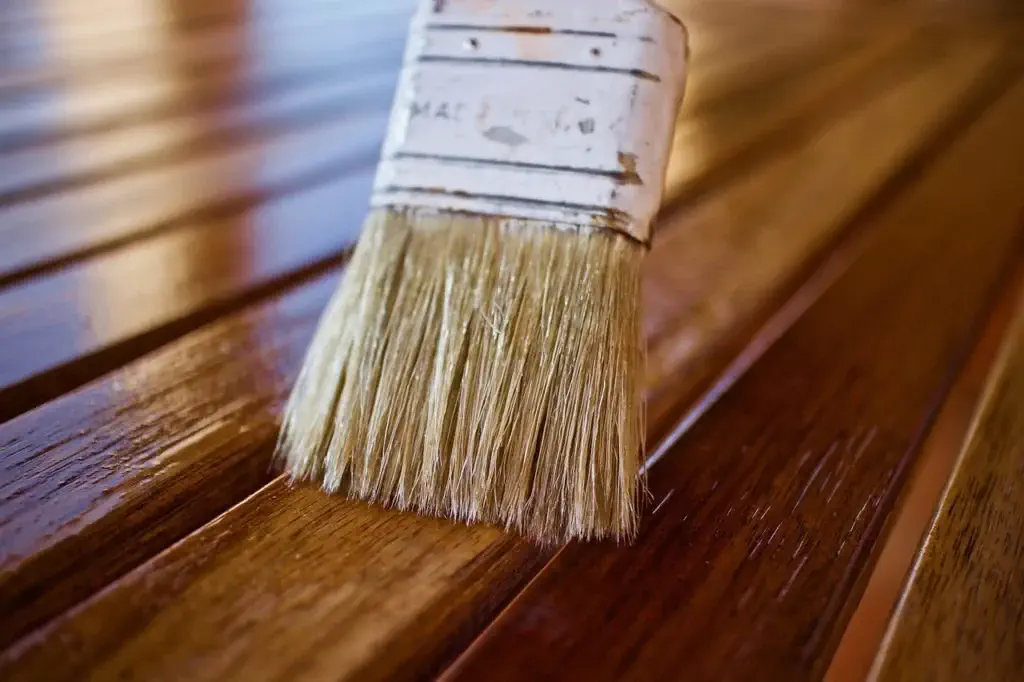
Application Technique: Utilize a paint roller or brush to apply the stain evenly across the deck surface, following the natural grain of the wood for a seamless finish.
-
Achieve Even Coverage: Apply the stain in thin, even coats, overlapping each pass slightly to ensure comprehensive coverage and a consistent color throughout.
-
Address High-Traffic Areas: Pay special attention to areas prone to heavy foot traffic or exposure to the elements, such as stairs and railings, ensuring they receive adequate protection and coverage.
-
Allow for Proper Drying: Allow the first coat of stain to dry completely according to the manufacturer’s instructions before considering the application of a second coat, if desired, to deepen the color and enhance durability.
Finish and Maintain Your DIY Deck Restaining Project
After completing the staining process, it’s essential to ensure that your deck receives the finishing touches it deserves. Here’s how to wrap up your DIY deck restaining project and keep it in pristine condition:
-
Inspect and Touch Up: Once the stain has dried completely, carefully inspect the deck for any missed spots or uneven areas. Touch up these areas as needed with additional stain to achieve a uniform finish.
-
Regular Maintenance: To prolong the lifespan and appearance of your newly stained deck, establish a regular cleaning and maintenance routine. Sweep away debris, wash the surface with a mild detergent solution, and rinse thoroughly with water to remove dirt and grime. Periodically reapply a protective sealant to safeguard the wood against moisture and UV damage.


Leave it to the Experts
Feeling overwhelmed or short on time to tackle a DIY deck restaining project? No need to worry – we’ve got you covered! Our team at Argenta Painting specializes in professional deck restaining services, ensuring exceptional results without the hassle. Contact us today to schedule your consultation and let us transform your outdoor space into a stunning oasis you’ll love to show off!
Transform your outdoor space into a stunning oasis with our professional deck restaining services. At Argenta Painting, we specialize in delivering exceptional results without the hassle. Whether you’re short on time or feeling overwhelmed, leave it to the experts and let us handle your DIY deck restaining project. Schedule your consultation today by contacting us at Argenta Painting and get ready to enjoy a refreshed deck for the summer.
You’ve crafted something truly timeless here — writing that will continue to resonate with readers for years to come.