From Small Cracks to Major Damage: How to Repair Drywall Like a Pro
Drywall is a common building material used in homes and commercial buildings for its affordability and ease of installation. While it is a durable material, it is not invincible and can be damaged over time. From small cracks to major damage, it’s important to know how to repair drywall like a pro. In this guide, we’ll take you through the step-by-step process of repairing drywall and getting your walls back to their original condition.
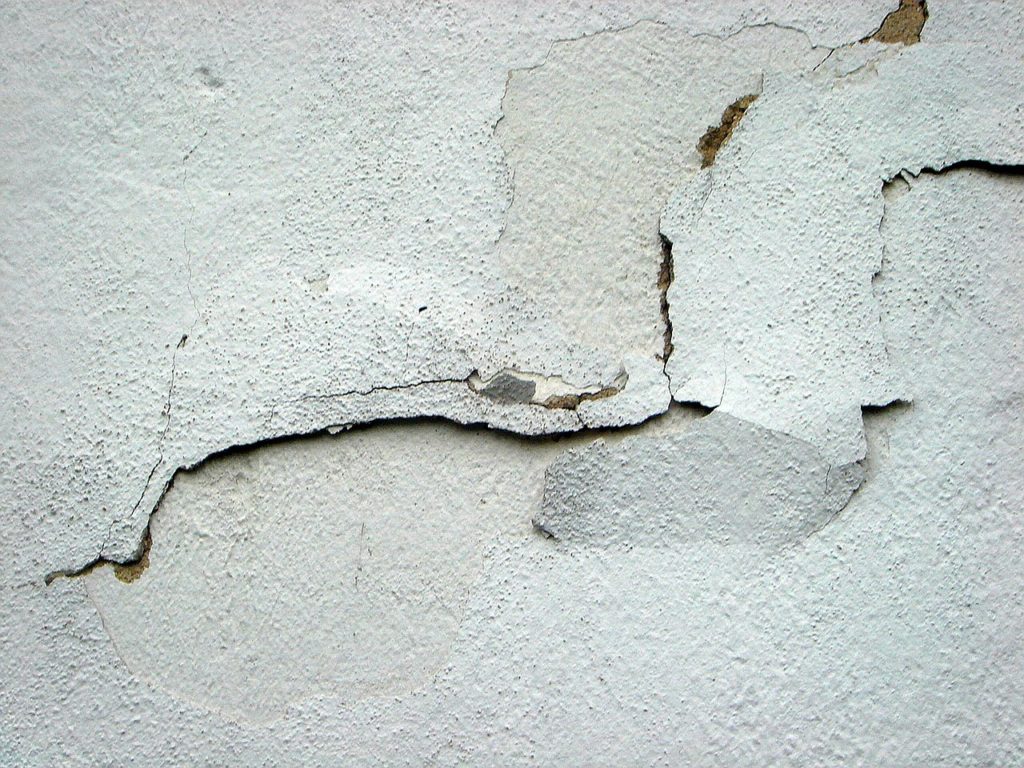
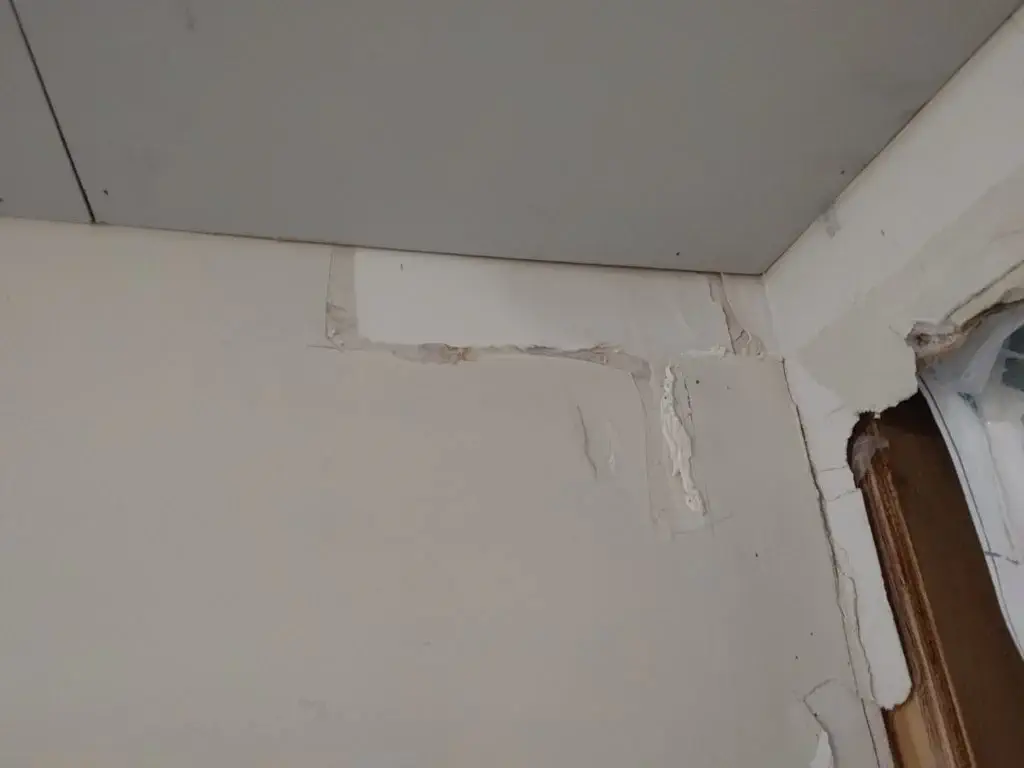
Section 1: Diagnosing the Damage
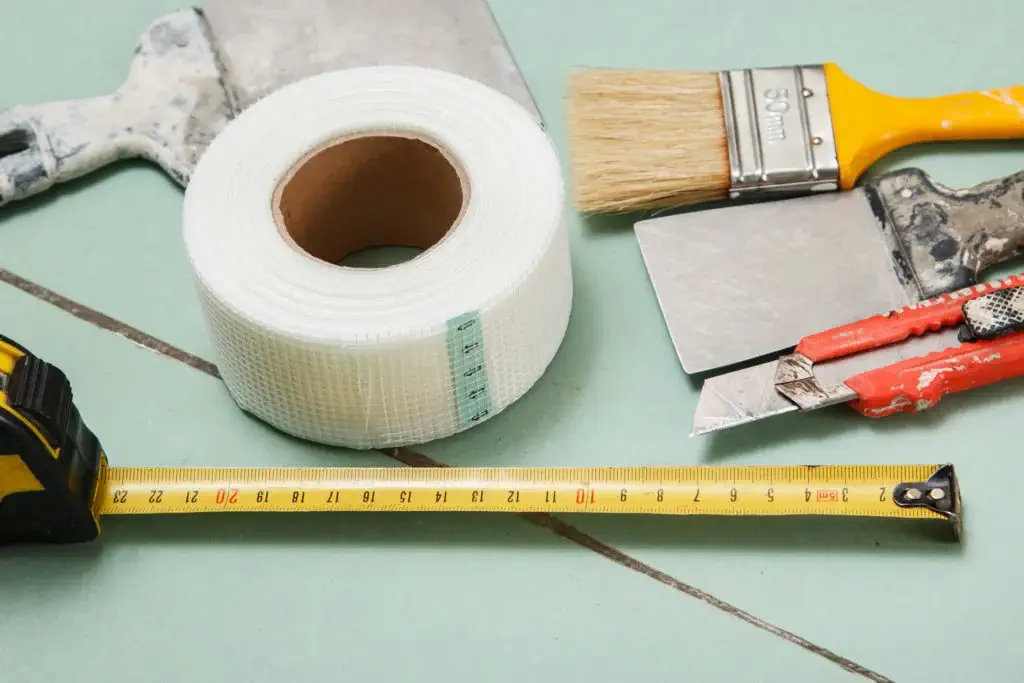
Section 2: Tools and Materials
Section 3: Small Cracks and Holes
Small cracks and holes in drywall are common and can be easily repaired. Start by cleaning the damaged area and removing any loose debris. Cut a piece of drywall tape and place it over the damaged area, making sure to extend the tape beyond the damaged area. Apply joint compound over the tape using a taping knife, smoothing it out to ensure an even finish. Once the joint compound is dry, sand it down until it is smooth and level with the surrounding area.

Section 4: Large Holes and Damage
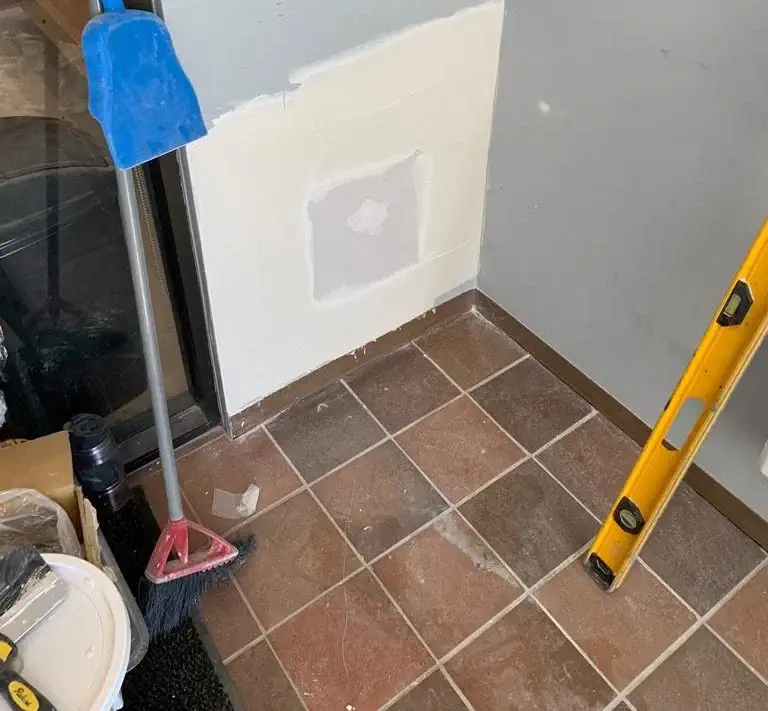
Large holes and damage to drywall require a different approach to repair. Start by cutting out the damaged area using a drywall saw or utility knife, creating a clean and even edge around the hole. Cut a piece of drywall slightly larger than the hole and fit it into the hole, securing it in place with drywall screws. Apply joint compound over the seams between the new and old drywall, using a putty knife to smooth out the compound. Once the compound is dry, sand it down until it is smooth and level with the surrounding area.
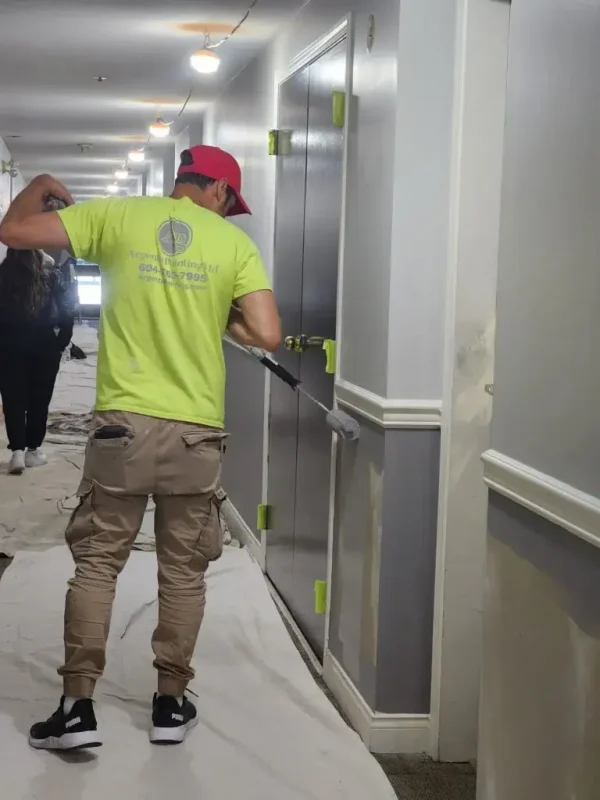
Section 5: Painting and Finishing
Repairing drywall may seem like a daunting task, but with the right tools and knowledge, it can be done like a pro. From small cracks to major damage, this guide has covered everything you need to know to repair your drywall and get your walls back to their original condition. If you’re not comfortable with repairing drywall on your own, don’t hesitate to reach out to