

How to Paint Trim Easy Professional Techniques
Following up on our “how to” blogs, it is time to talk about one of the most popular areas to paint in a home – window and door trim. In this blog you will learn how to paint trim like a pro!
Painting trim might seem like a pretty simple job, but it is important to understand the different types of trim. When we talk about trim this includes base board, crown molding, door, and window casing. However, the painting process is pretty much the same for all of them.
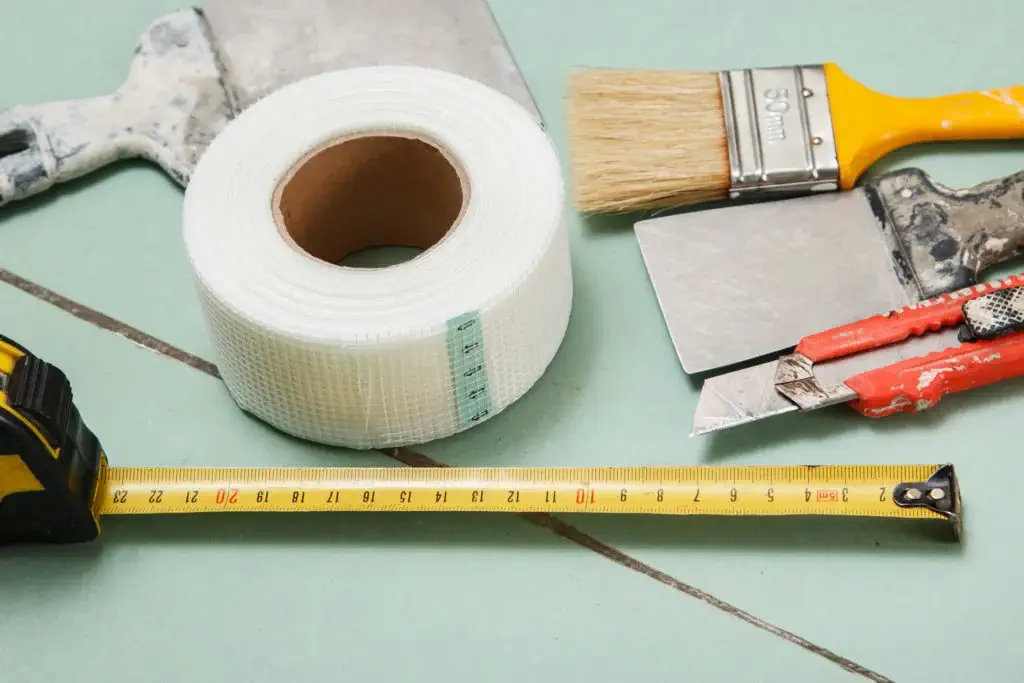
Tools & Materials
To paint the trims, you will need sanding blocks, caulking, caulking gun, painter’s tape, paint brush, a whiz roller and whiz roller handle. If you decide to spray the trim, then you will need an airless spraying machine.
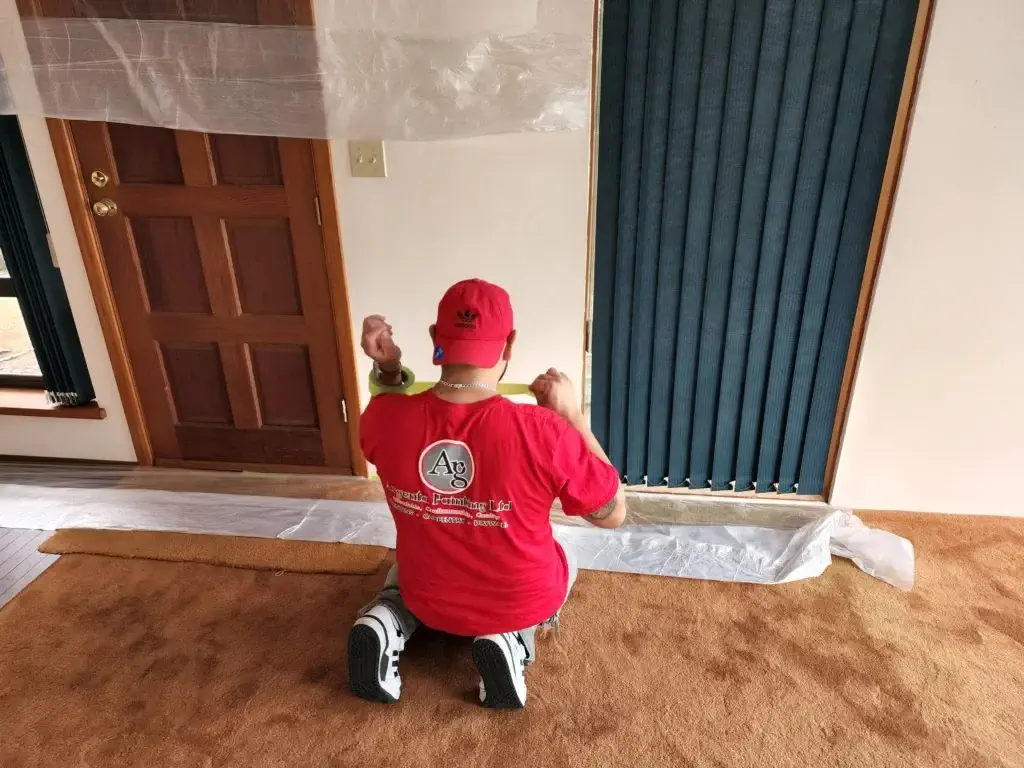
Preparing the Surface
Patching
Caulking
Sanding
What Type of Paint Do I Use?
After the surface is completely ready it is time to begin painting, but a question that often arises is what brand of paint is the best to use when painting trim? This depends on each individual’s preference, but we recommend using a latex based paint in a semigloss or high gloss finish. These two sheens are ideal for these surfaces as they are durable and washable.
Elevate your interior with the best trim paint! Discover top-rated products and expert tips in “The Best Trim Paint” article. Transform your space with ease and style.
How to Paint Trim
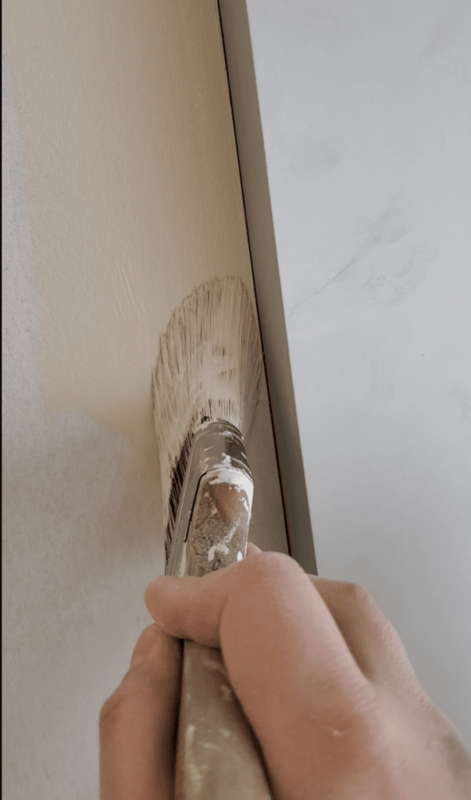
Like any other surface you will need two coats of paint to make sure your trim is evenly covered, and the paint is as durable as possible. Depending on the type of trim you can use a brush and a whiz roller to eliminate the brush marks. However, in some others you will only be able to use a brush, but you can also get nice result without having to use an airless sprayer.
Begin by making your cuts, and after you paint the middle of the baseboard. Once your brush doesn’t have paint you go back to erase any brush marks left behind. We recommend doing this in small sections because glossy paint tends to dry faster so if you do all the cuts first it will be harder to erase any imperfections left.
Pro tip: if you are not fast at cutting, we recommend investing on a “wet-edge” extender, such as Floetrol or Dynaflow (if you are using a latex-based paint), when painting trims because it reduces the time, you have to do each cut. We often use this product when we paint windows and trims as it is convenient and saves a lot of time.
When painting remember to carry a damp rag around to clean any yourself or paint in case of any accidents.
The second coat should be same process, I always like to start in the same place and follow sequence as it will be easier to keep track of what has already been painted, because believe me, after the first coat you can get lost easily on what has been done.
Cleaning
The last step in every painting job is always cleaning the area, make sure to clean all dust and debris left because of the sanding and the preparation process.

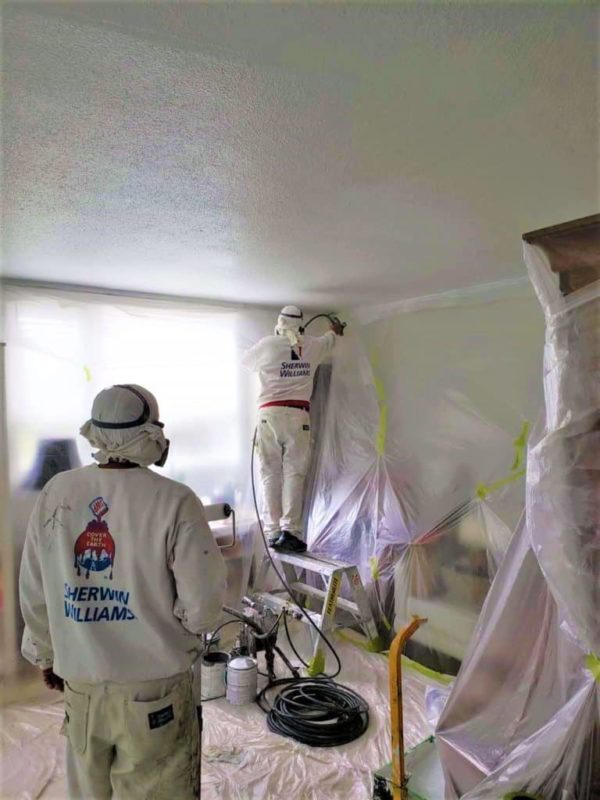
Call A Professional
It is a sound idea to call a professional contractor like us after a flood. We have the experience to mitigate mold damage and undertake the repairs that will make your home or commercial space like new again. If you have any questions or would like to schedule an appointment for a free quote, please contact us. We will be honored to help you restore the place you love.