
Interior Trim Installation: Transform Your Home with this Amazing 8-Step Guide
Welcome to our ultimate guide on interior trim installation, where we unlock the secrets to transforming your home with ease. Whether you’re embarking on a renovation project or adding the finishing touches to a new build, mastering the art of trim installation is essential for achieving a polished and cohesive look. In this comprehensive 8-step guide, we’ll walk you through everything you need to know to tackle this DIY project with confidence. Get ready to elevate your space and unleash your creativity!
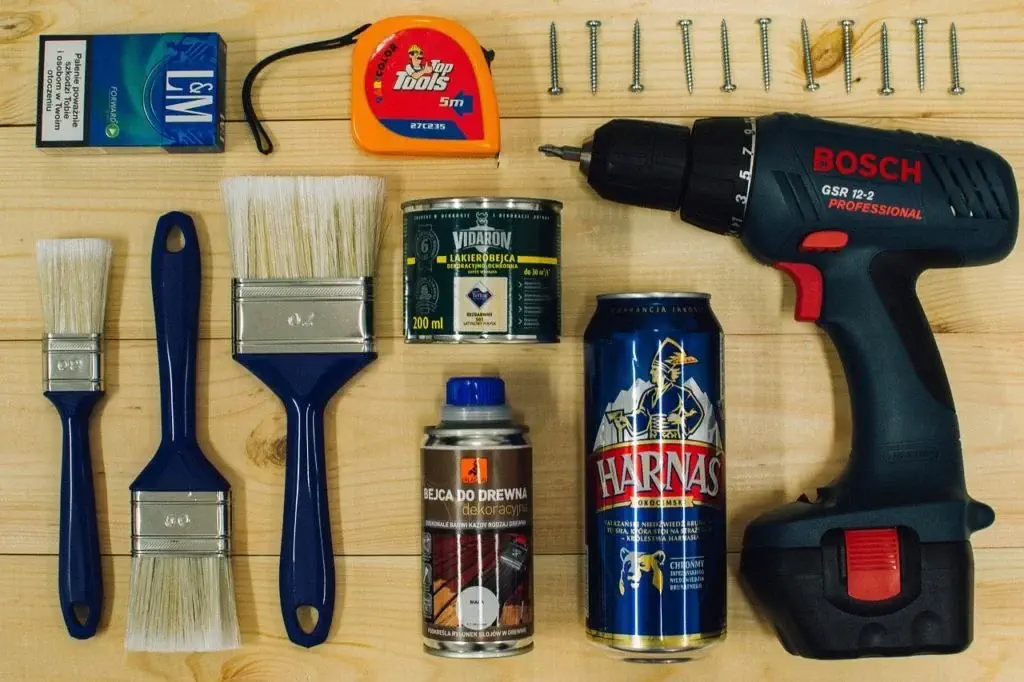
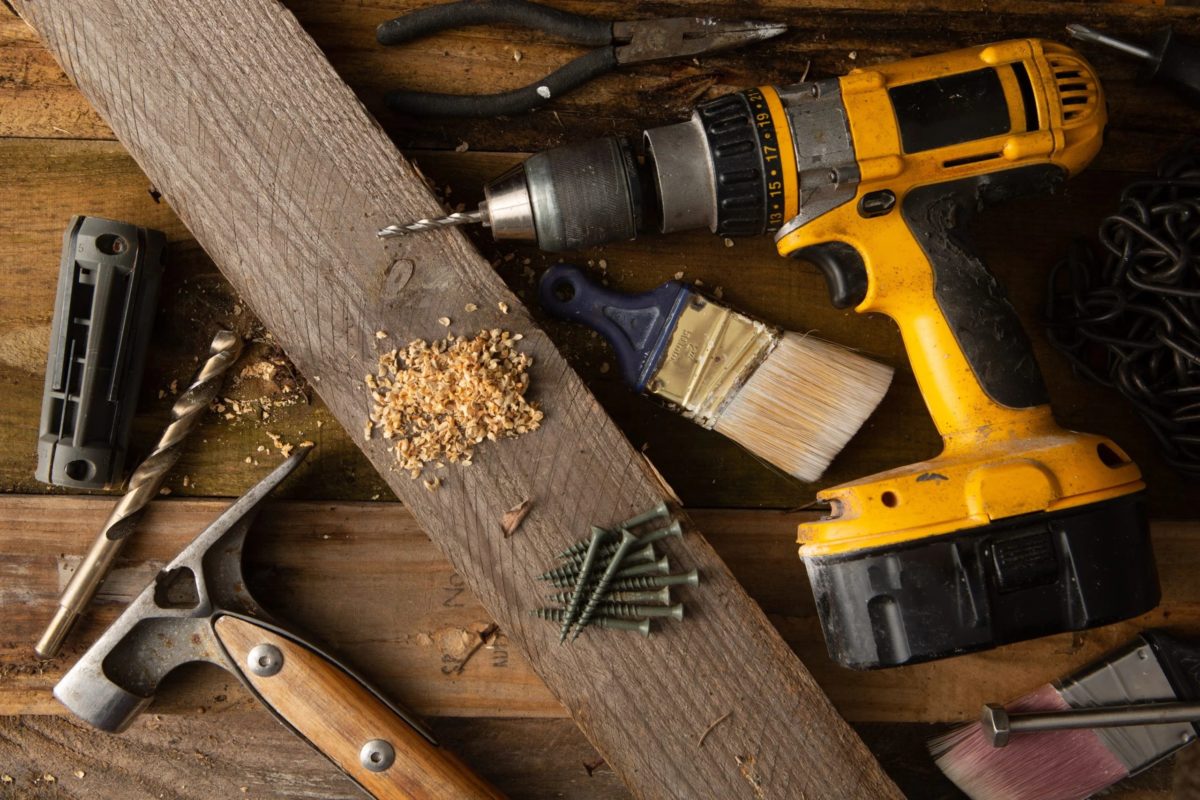
Step 1: Gathering Materials and Tools
Materials:
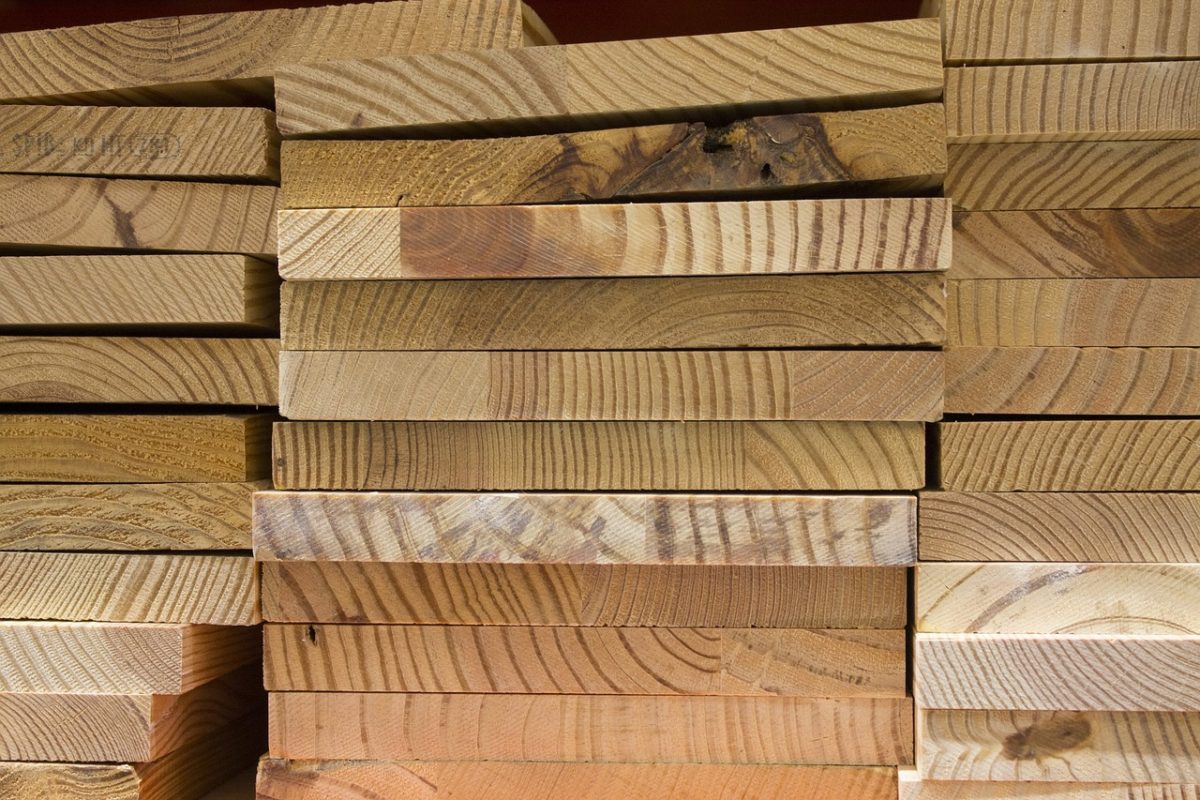
- Trim Boards: Select the type of trim boards that best suit your project, such as baseboards, casing, or crown molding. Consider factors like material (wood or composite), profile, and dimensions.
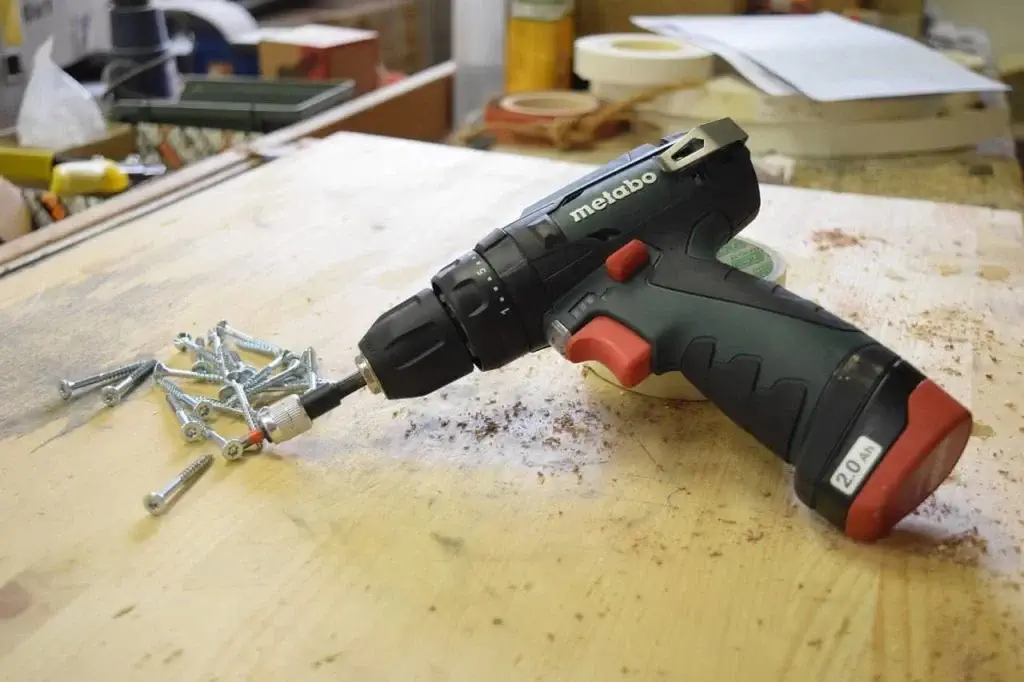
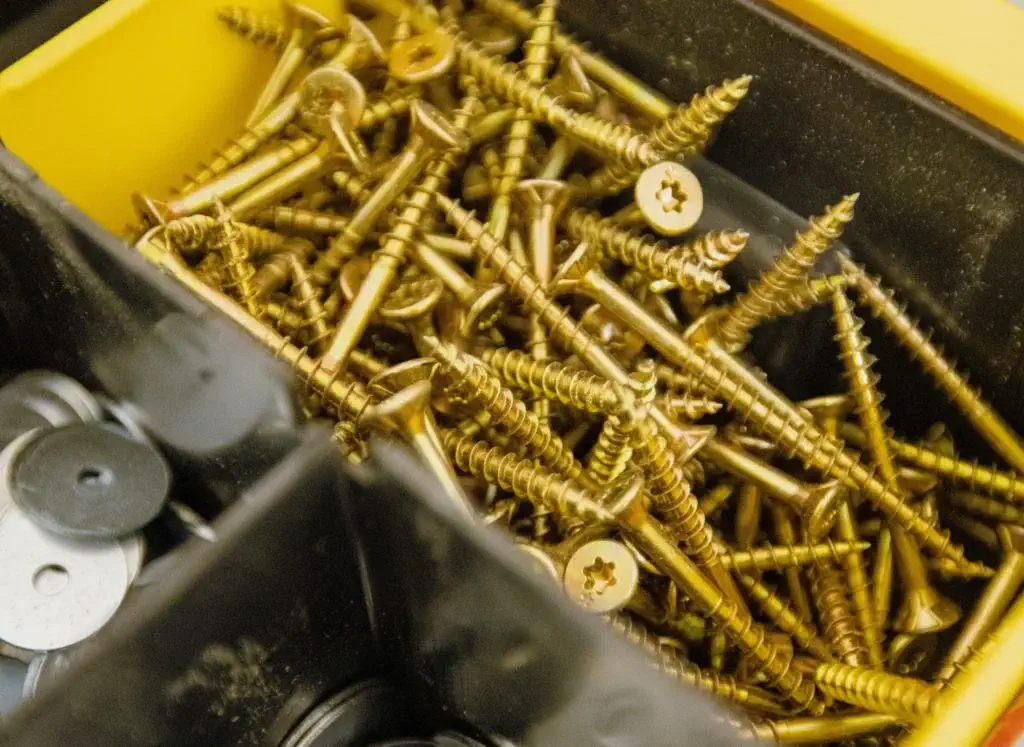
- Nails: Choose appropriate nails for securing the trim to the wall, such as finish nails or brad nails. Ensure they are the correct length to penetrate the trim and anchor securely into the wall.
- Construction Adhesive: Opt for a high-quality construction adhesive to provide additional support and stability for the trim pieces.
- Wood Filler: Prepare for any gaps or imperfections by having wood filler on hand to fill nail holes and joints.
- Caulk: Invest in a paintable caulk to seal gaps between trim and walls or between trim pieces, creating a seamless finish.
- Primer and Paint/Stain: If you plan to paint or stain the trim, make sure you have primer and your desired paint or stain colors ready.
- Sandpaper: Keep sandpaper of varying grits available for smoothing rough edges and surfaces before painting or staining.
Tools:
- Miter Saw or Miter Box: For cutting trim pieces at precise angles, especially for corners and joints.
- Brad Nailer or Finish Nailer: Use a pneumatic or cordless nail gun for efficient and secure attachment of trim to the wall.
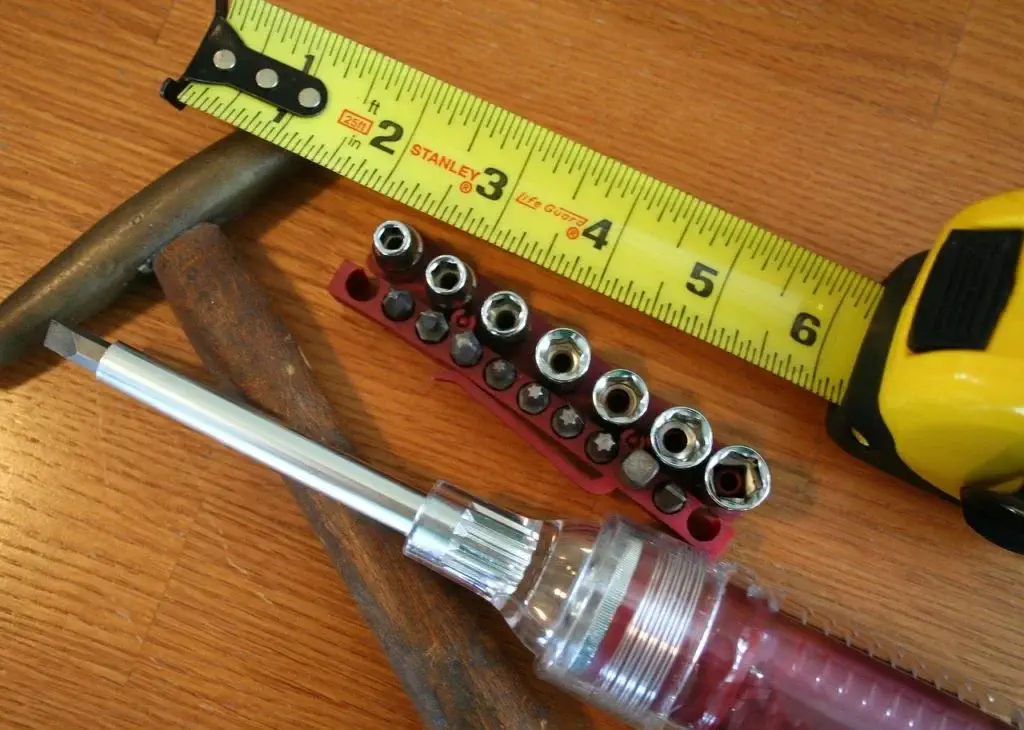
- Measuring Tape: Accurate measurements are essential for ensuring trim pieces fit correctly, so have a quality measuring tape on hand.
- Level: Maintain straight and level trim installations by using a level to check alignment.
- Coping Saw: Helpful for cutting trim to fit snugly around irregular shapes, such as door frames or baseboards.
- Putty Knife: Use a putty knife for applying wood filler and smoothing caulking.
- Caulk Gun: Necessary for applying caulk neatly and efficiently along trim seams and edges.
- Safety Gear: Ensure your safety with goggles, gloves, and a dust mask, especially when cutting and sanding trim materials.
If you don’t have all the tools needed, consider renting them from stores like Home Depot to save on costs while still getting the job done efficiently. By gathering these materials and tools upfront, you’ll be well-prepared to tackle your interior trim installation project with confidence and precision.”
Step 2: Measuring and Planning for Interior Trim Installation
Accurate measurements and careful planning are essential for a successful interior trim installation. Begin by measuring the length of each wall where trim will be installed, taking into account any corners or angles. Once you have your measurements, plan the layout of your trim, considering factors such as the style of trim, the desired height from the floor or ceiling, and any architectural features you want to highlight. Proper planning at this stage will ensure that your trim fits seamlessly and enhances the overall look of your space.
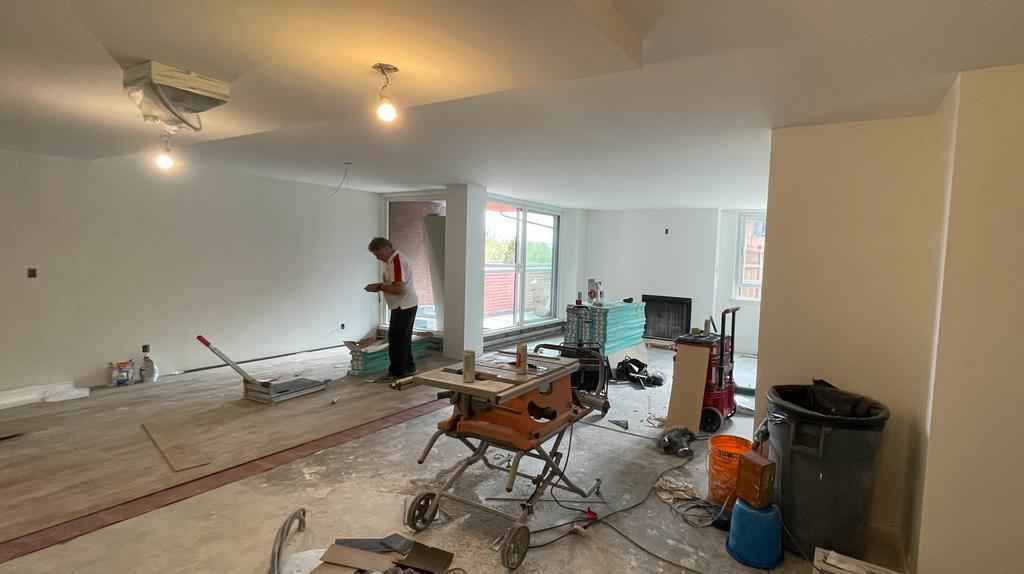
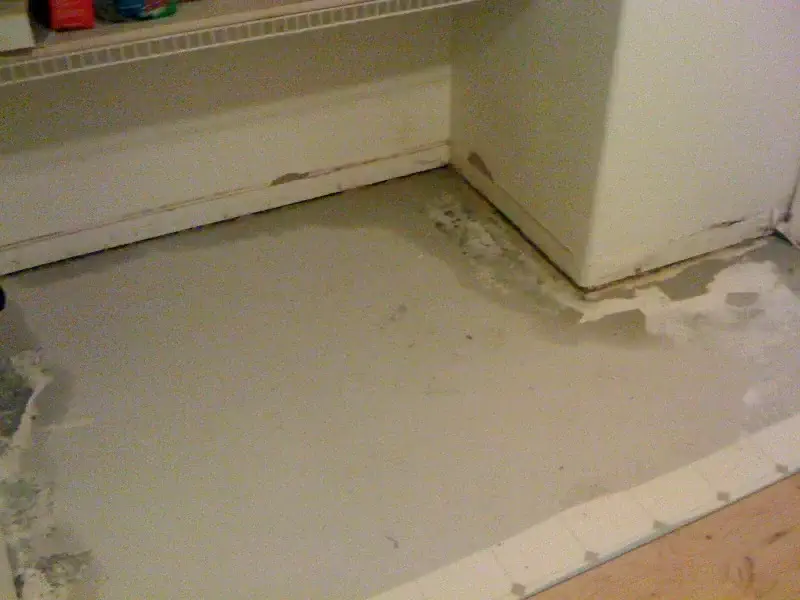
Step 3: Preparing the Area
Before you begin the interior trim installation, it’s crucial to prepare the area properly. Start by clearing the space of any furniture or obstacles to allow for easy access to the walls and floors. Next, thoroughly clean the walls and floors to remove any dirt, dust, or debris that could interfere with the installation process. Inspect the existing trim for any damage or imperfections and make any necessary repairs or replacements. Finally, ensure that the walls are smooth and free of any bumps or imperfections that could affect the fit of the new trim. Proper preparation of the area will ensure a smooth and successful installation process.
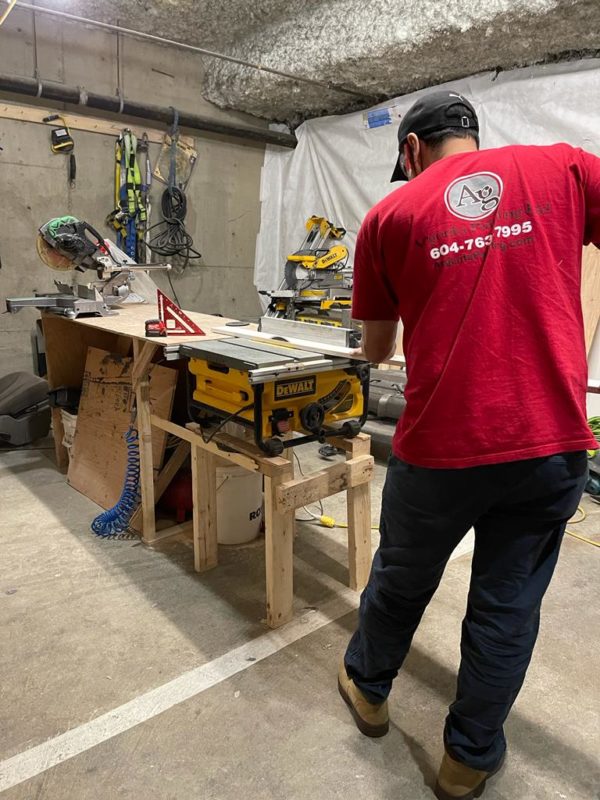
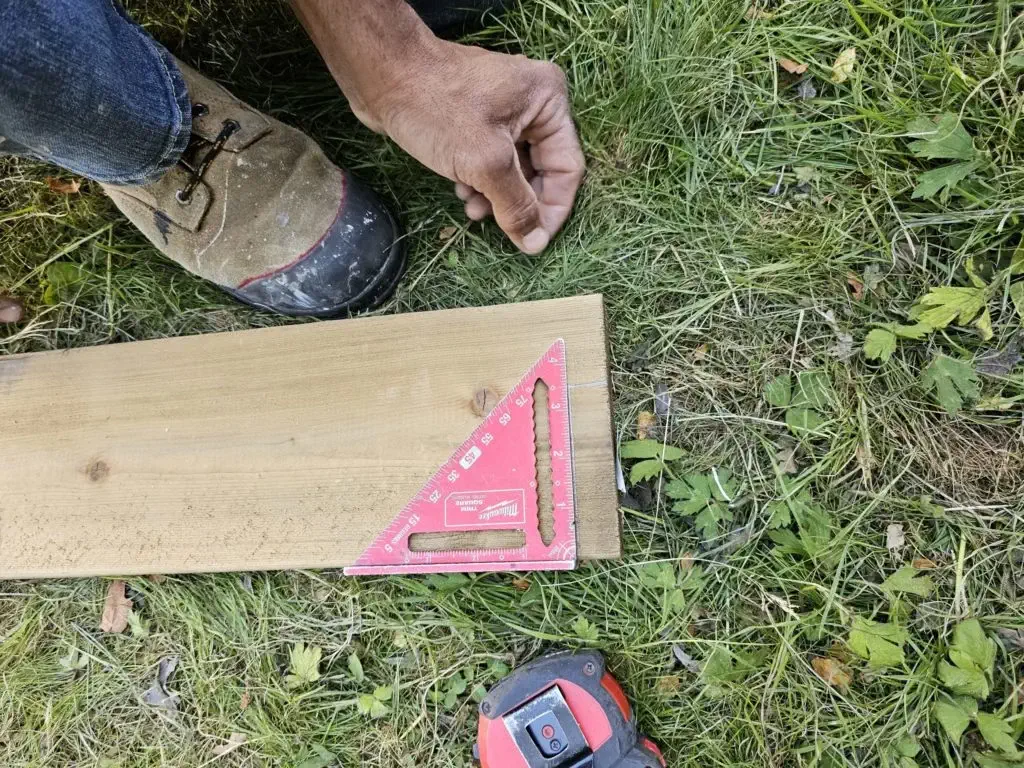
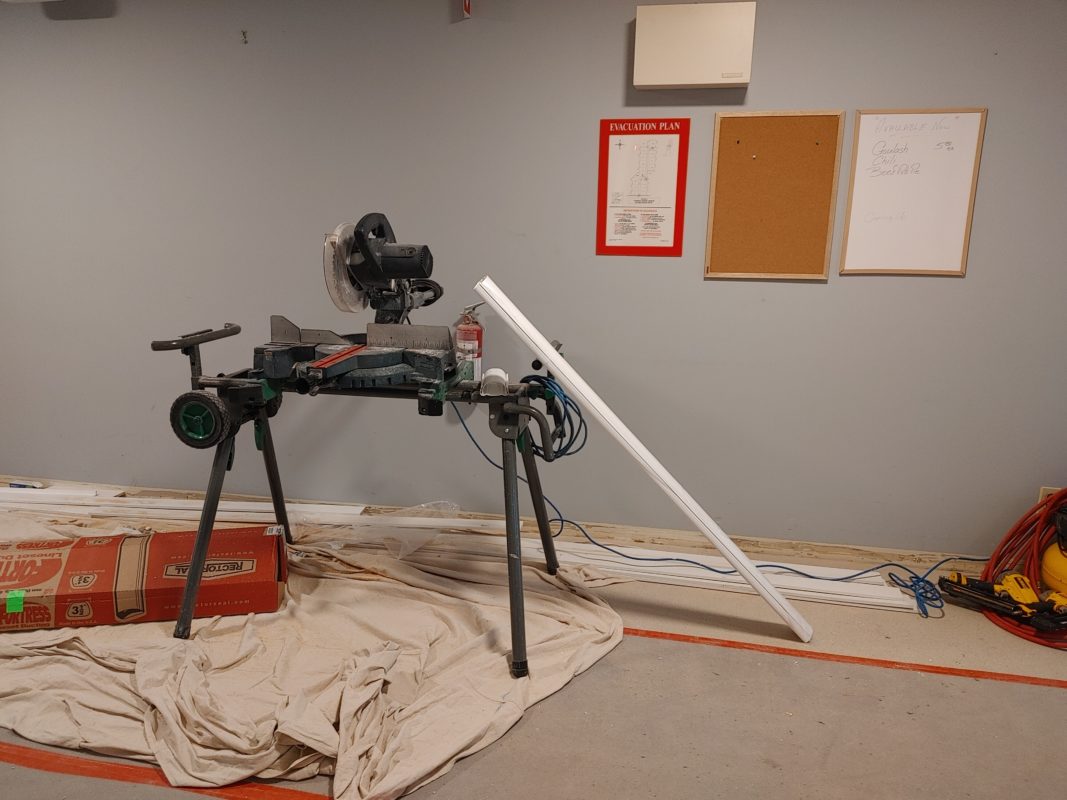
Step 4: Cutting and Mitering Trim Pieces
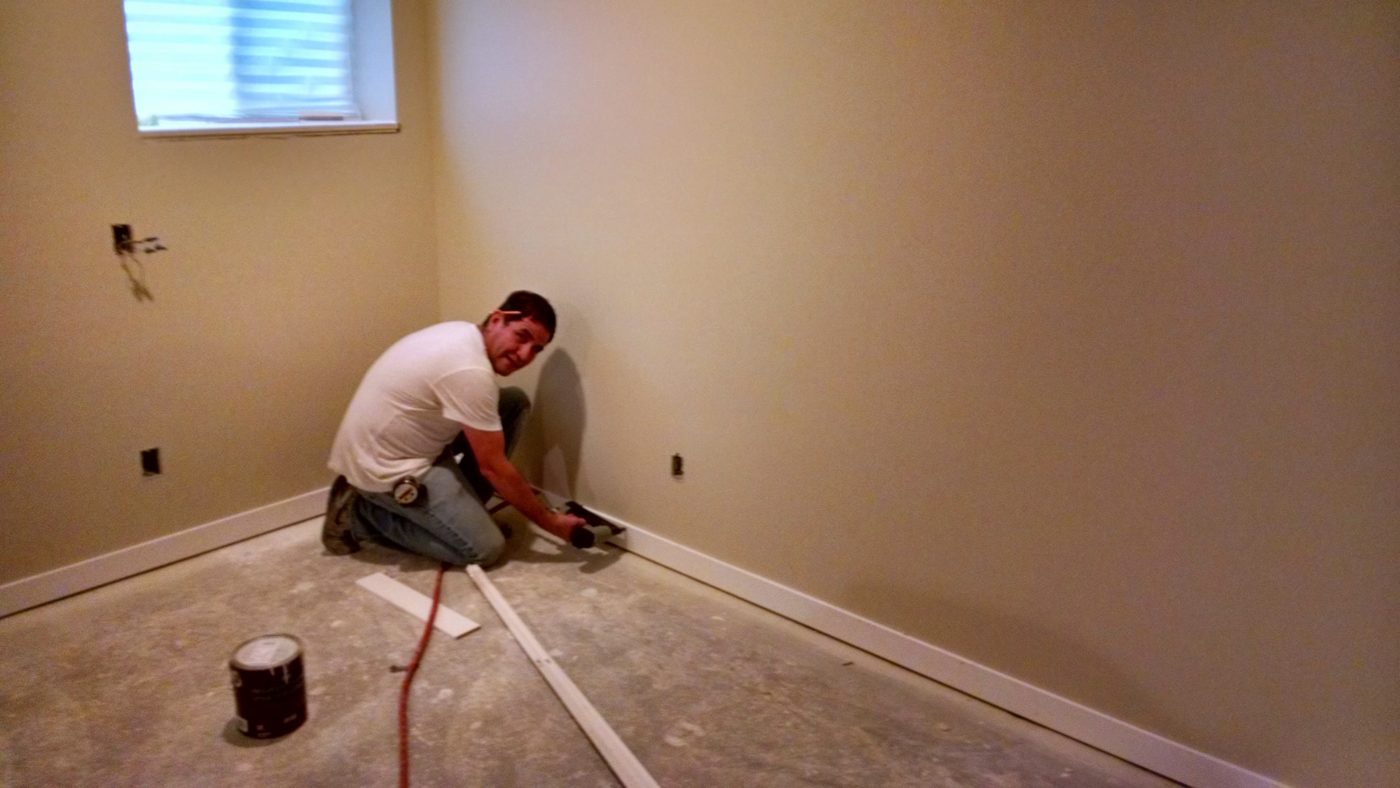
Step 5: Installing Baseboards
After you have cut the baseboard pieces to the appropriate lengths and angles, it’s time to install them along the bottom edge of your walls. Utilize a brad nailer or finish nails to securely attach the baseboards to the wall studs, starting from one end and progressing along each wall. Ensure the baseboards are level and snug against the wall surface, making any adjustments as needed for a seamless fit.
As you proceed, take pride in seeing how the installation of baseboards enhances the overall aesthetic of your space, bringing a sense of completion and sophistication to the room. This step-by-step guide ensures that your interior trim installation project proceeds smoothly and successfully, resulting in a beautifully finished space that you can enjoy for years to come.
Step 6: Adding Casing Around Doors and Windows
Step 7: Installing Crown Molding

Step 8: Finishing Touches

Call a Professional
Ready to get started on your interior trim installation project? Contact Argenta Painting today to learn more about our services and how we can help bring your vision to life!