Transforming Kitchens: From Dull to Dynamic with Expert Bulkhead Installation

Argenta Painting Ltd

Transforming Kitchens: From Dull to Dynamic with Expert Bulkhead Installation

At our company, we take pride in providing top-quality services for kitchen remodels. Our team of experts recently completed a project in Williams Lake, BC that involved installing bulkheads in 50 units. The project was initially straightforward, but as we demonstrated our abilities, the contracting company expanded our scope of work to include trim installation and painting. In this blog post, we’ll focus on our precise process for installing bulkheads and creating a seamless and visually appealing finish.

This project was located in Williams Lake, BC, which required our team to travel out of town. Despite the added travel, we were excited to take on the project and were ready to provide our best services to ensure a successful outcome.

Scope of the Project

The bulkhead installation was a crucial part of this project as it provided a clean and professional look to the overall design. The initial step of the installation process was to measure the area where the bulkhead was going to be installed. Accurate measurements were necessary to ensure that the bulkhead would fit perfectly and look like it was always meant to be there.

Argenta Painting Ltd

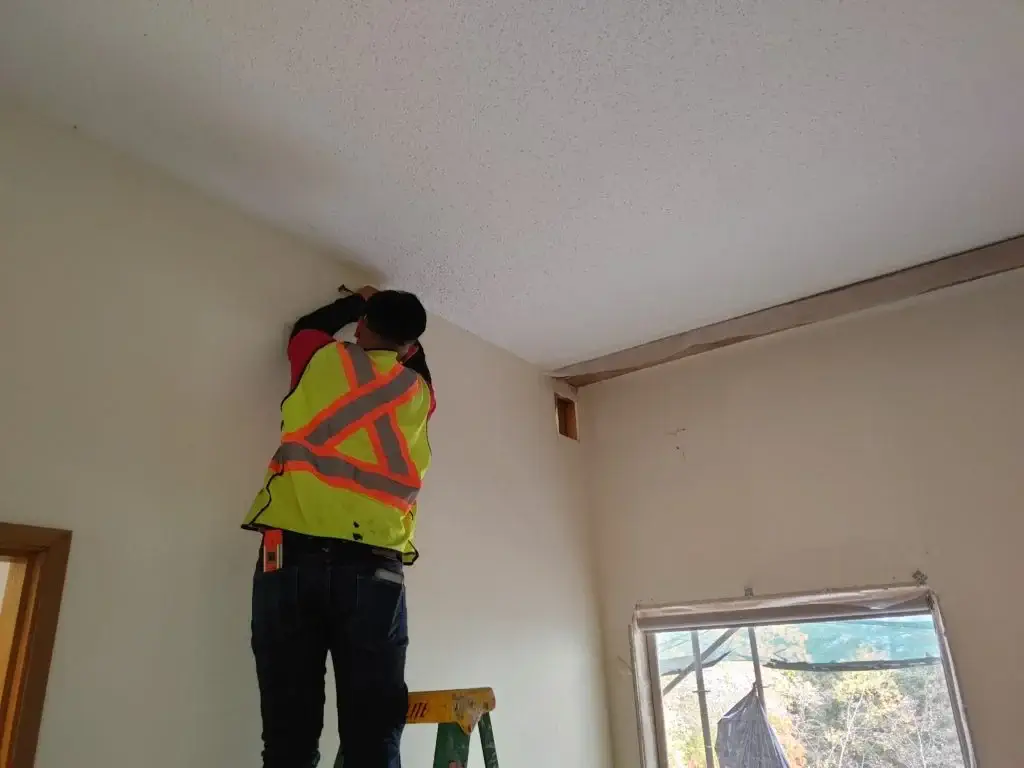
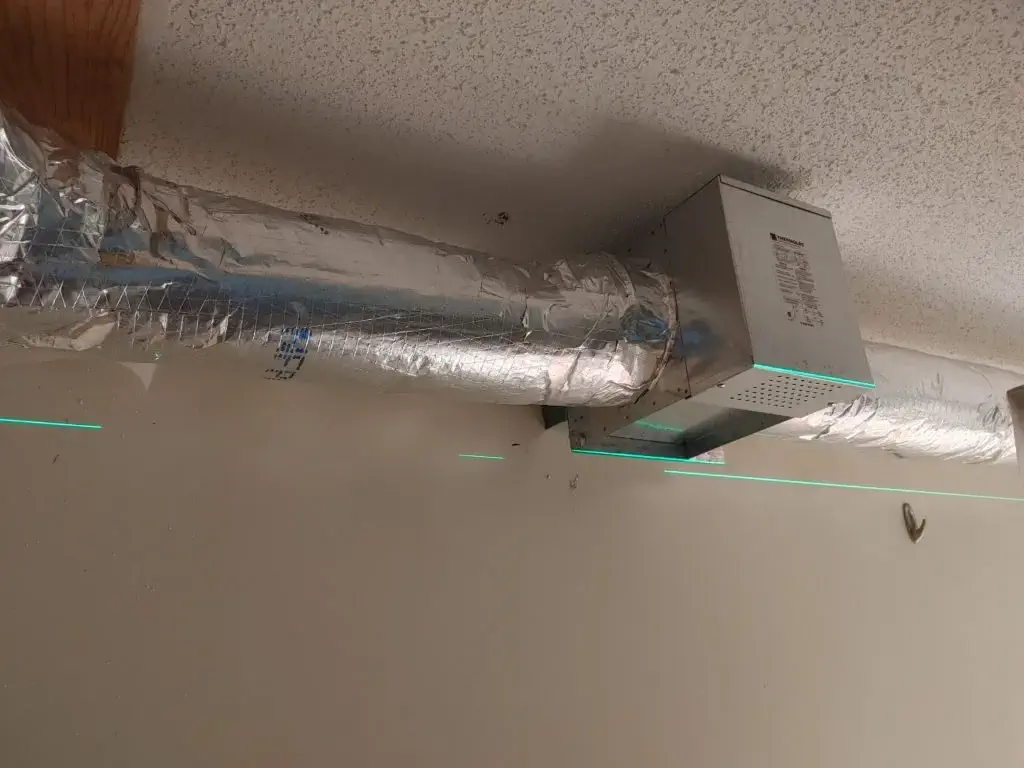
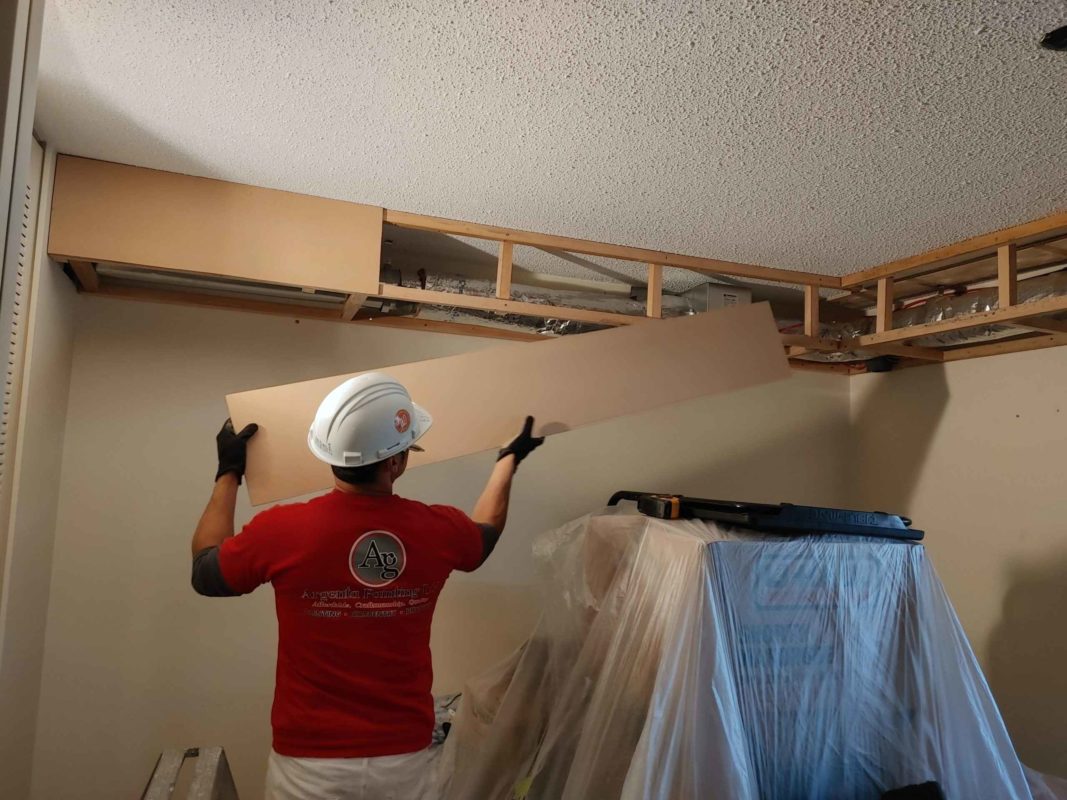
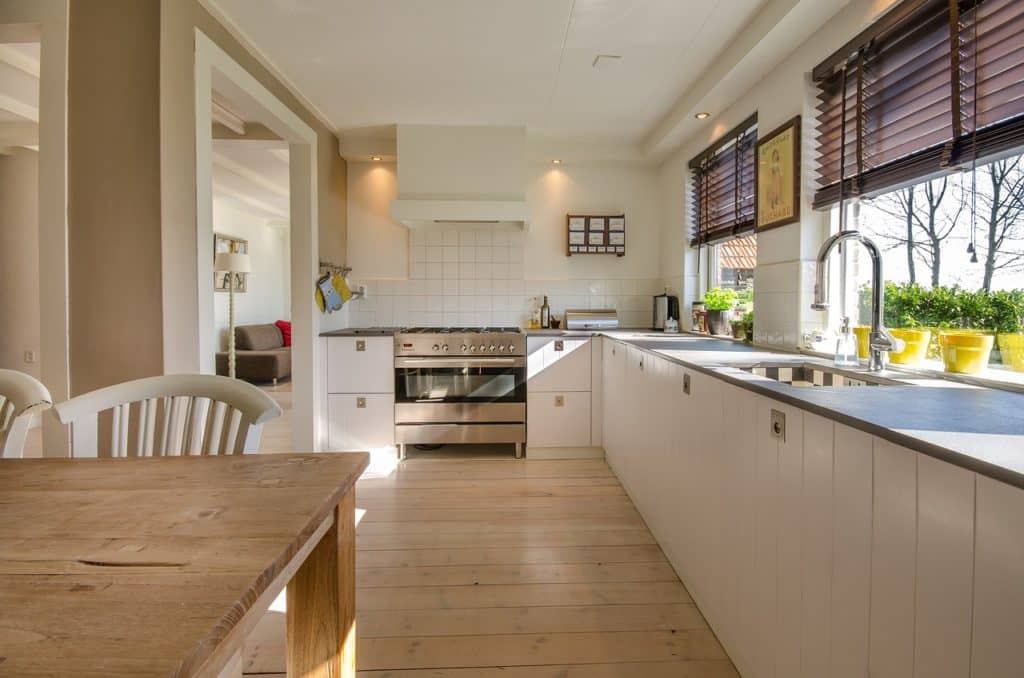
The purpose of installing bulkheads is to hide intake exhaust, refrigerating lines, and electrical wiring in the kitchen. Our first step was to measure the area where the bulkhead would be installed to get precise cuts in wood and start building the soffit ladder frame. We used a laser to ensure everything was level and nicely installed. The measurements varied depending on the unit we were working on because we wanted to create an illusion that the bulkhead was a part of the kitchen cabinet.

Once we had the measurements and the soffit ladder frame in place, we moved on to the next step of the process, which was boarding the soffit ladder with drywall. We ensured that the drywall was cut precisely to fit the soffit ladder frame. This step was important to avoid any gaps or overlaps in the drywall, which could cause issues later in the process.

Building the Soffit Ladder Frame

Once the measurements were taken, we began the process of constructing the soffit ladder frame, which was a crucial step in the bulkhead installation process. To ensure accuracy and precision, we carefully cut the wood to the correct lengths and angles, taking into account any variations in the unit’s layout. We made sure that the frame was completely square and level and used specialized tools to secure the pieces in place. 

The entire frame was then checked using a laser level, which allowed us to detect any inconsistencies in the frame and make any necessary adjustments.

 
Argenta Painting Ltd

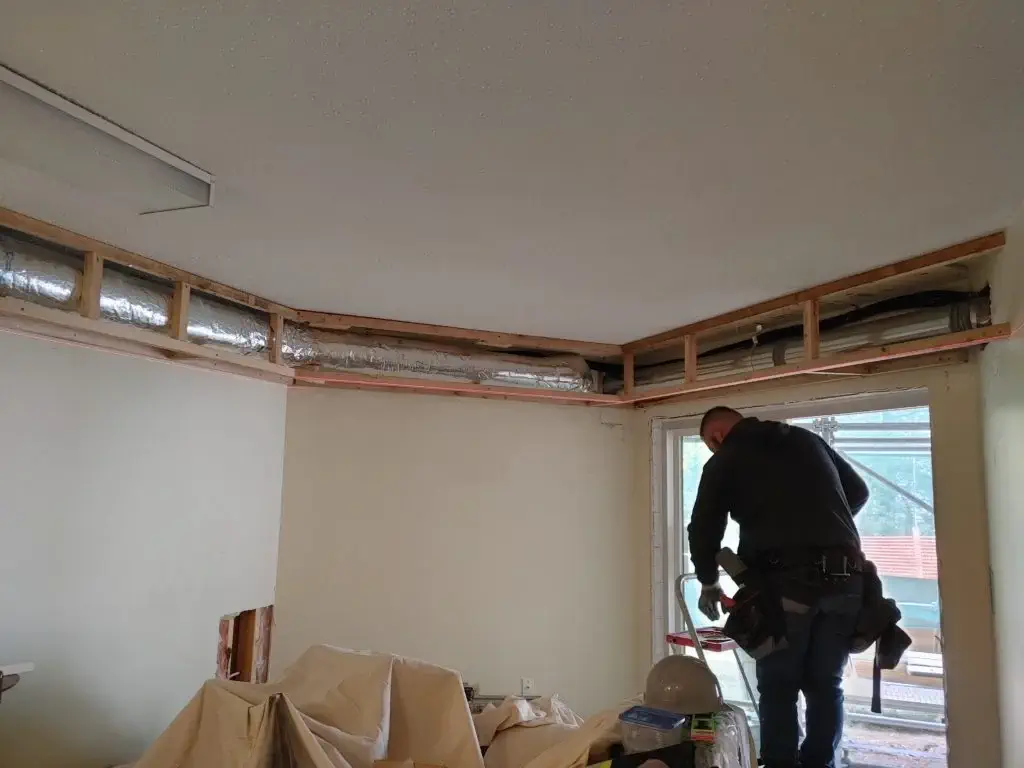
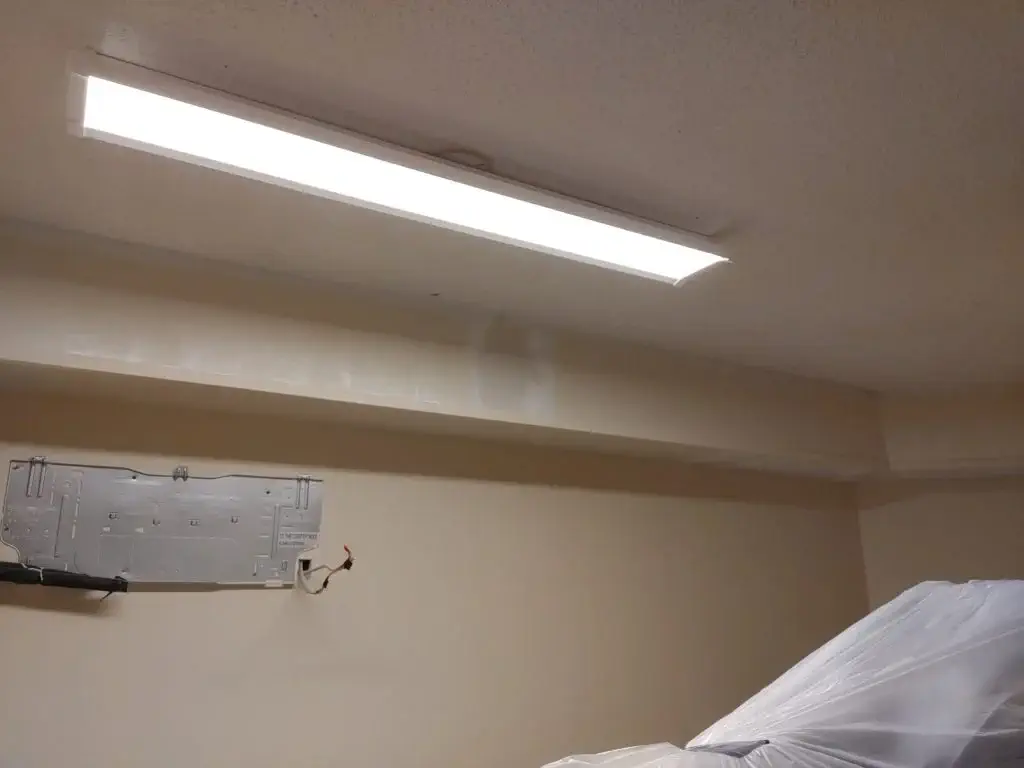
As we built the soffit ladder frame, we also paid close attention to the location of the intake exhaust, refrigerating lines, and electrical wiring, making sure to incorporate these elements seamlessly into the design. Our team of experienced professionals took great care to ensure that every aspect of the installation process was carried out to the highest standards, ensuring that the bulkhead installation was both functional and visually appealing. Through our dedication and attention to detail, we were able to create a sturdy and reliable frame that would support the drywall and provide a solid base for the rest of the installation process.

Boarding with Drywall

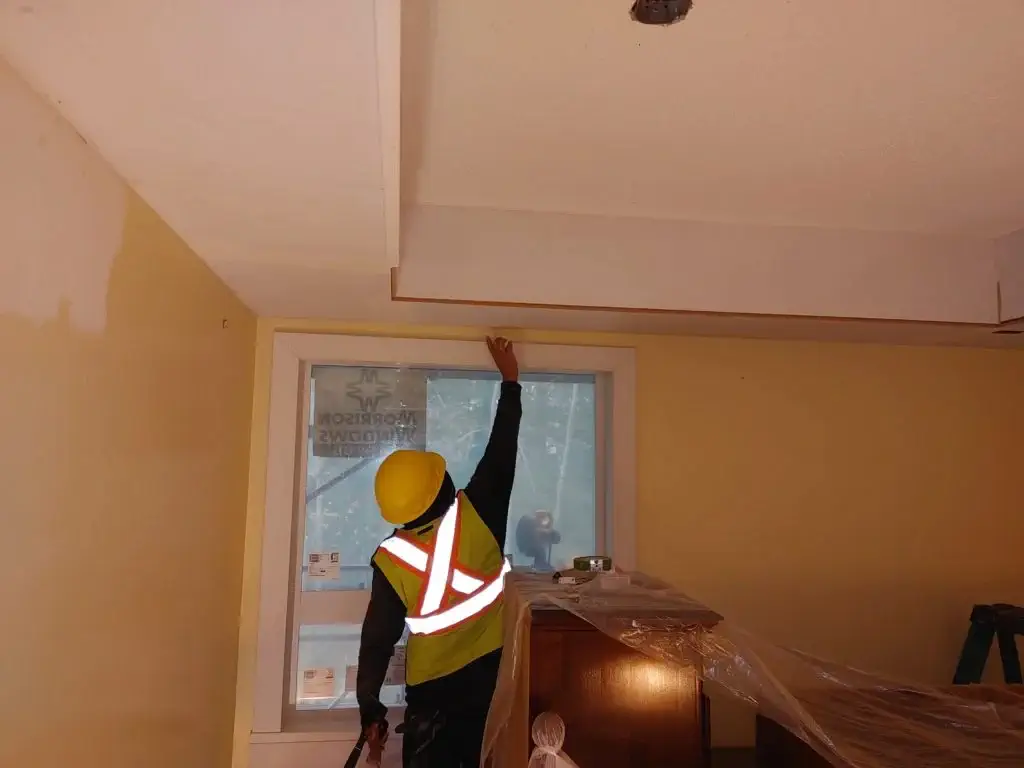
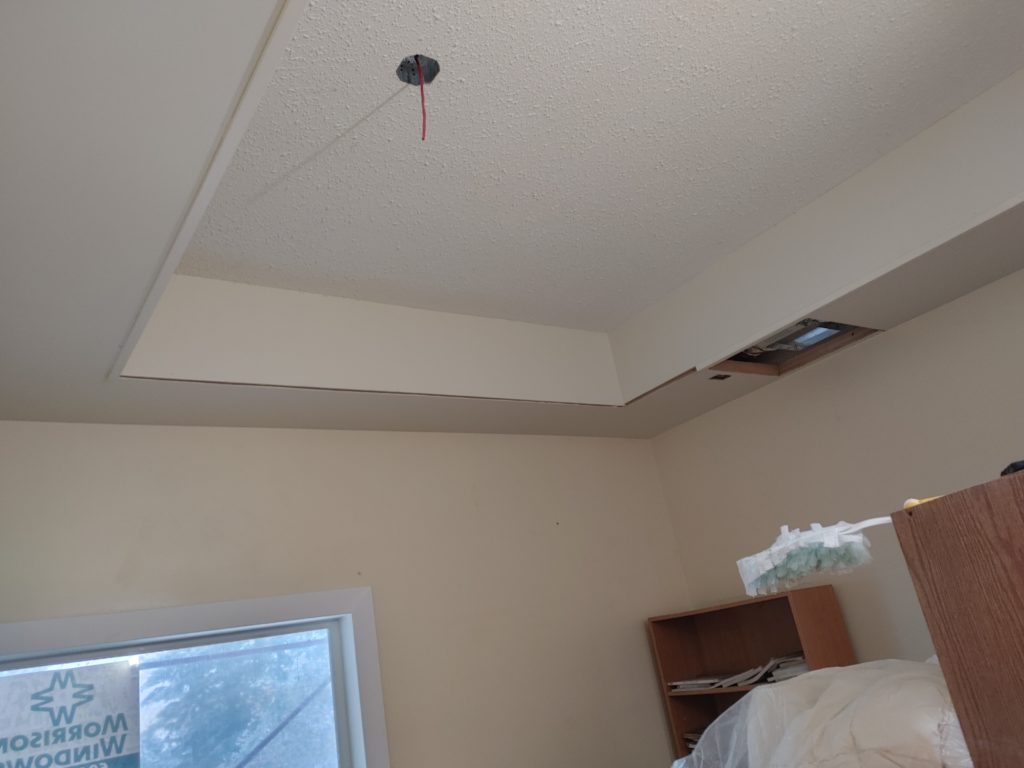
Once the soffit ladder frame was installed, our team moved on to the next step: covering it with drywall. This process was carefully executed to ensure that the drywall was cut to the correct size and then securely screwed onto the frame. We took extra care to ensure that the drywall was perfectly flush with the frame, so that it would create a seamless finish. During the installation process, we made sure to leave openings in the drywall for electrical and other wiring that needed to pass through. This required us to be meticulous and precise, as any mistake could have a significant impact on the final result.

Argenta Painting Ltd

Taping, Mudding, and Sanding

Taping, mudding, and sanding are crucial steps in the bulkhead installation process that help to create a flawless finish. After the drywall was installed, our team moved onto these steps. We began by applying joint tape to cover the seams between the drywall sheets, making sure that the tape was applied smoothly and evenly. Then, we applied mud over the tape, ensuring that it was spread evenly and smoothly across the entire surface. This required a high level of skill and precision, as we had to be careful not to apply too much mud, as it could cause bumps or uneven spots. Once the mud was dry, we carefully sanded it down, using a fine-grit sandpaper to create a perfectly smooth finish. This process required a lot of patience and attention to detail, as even the slightest imperfection could be visible in the final result.


Priming and Painting

Once the bulkheads were installed and drywalled, it was time to prime and paint them to create a polished and finished look. We carefully selected the primer to ensure that it would adhere well to the drywall surface and provide a good base for the paint to stick to. The primer was applied evenly to the bulkheads and the affected walls using a high-quality brush to ensure that there were no brush marks or streaks left behind.

After the primer was fully dried, we moved on to the painting process. We chose a high-quality paint that matched the existing kitchen walls to create a cohesive look. We made sure to apply the paint in thin and even coats, using a roller and a high-quality brush to ensure a smooth and consistent finish.

To ensure that the repairs were not noticeable, we used a corner-to-corner painting technique. This technique involved painting each wall from corner to corner, rather than stopping at the edges of the bulkheads. This created a seamless finish that blended perfectly with the rest of the kitchen, without any noticeable repairs or paint flashing.

Throughout the painting process, we were careful to protect the surrounding areas from any paint drips or splatters. We covered the floors and countertops with drop cloths and used painter’s tape to protect any fixtures or appliances in the area.

 
Argenta Painting Ltd

Conclusion:

At our company, we pride ourselves on providing top-quality bulkhead installation services for kitchen remodels. Our precise process ensures a seamless finish that blends in seamlessly with the rest of the kitchen. If you’re looking for expert bulkhead installation services, don’t hesitate to contact us.

Call A Professional

Our team of skilled professionals specializes in expert bulkhead installation services for kitchen remodels. Learn more about our precise process for creating a seamless and visually appealing finish.

Leave a Reply

Your email address will not be published. Required fields are marked *